4 Planning and installation – Installing the heating system
47
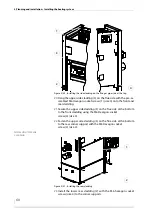
23.
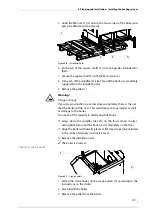
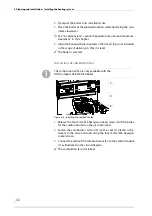
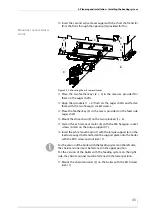
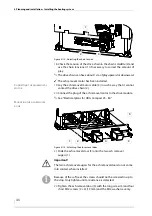
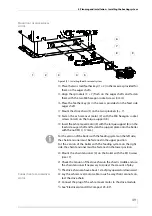
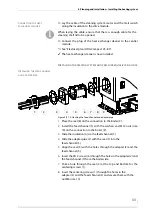
If necessary, align the ash removal augers (1) with the screws of
the ash removal door (2 + 4).
✓
The automatic ash removal system is installed.
I
NSTALLING
THE
AUTOMATIC
ASH
REMOVAL
SYSTEM
HDG C
OMPACT
45/50/65
I
NSTALLING
THE
ASH
REMOVAL
AUGER
AND
ASH
WALKING
FLOOR
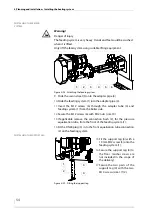
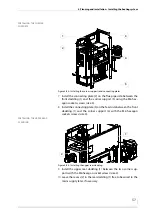
1.
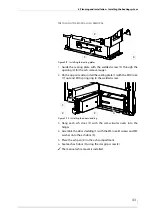
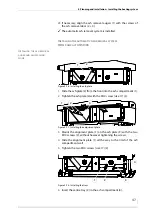
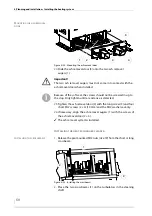
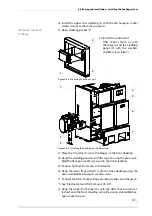
Slide the ash plate (2) from the front into the ash compartment (1).
2.
Tighten the ash plate (2) with the M10 screw (size 17) (3).
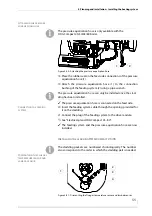
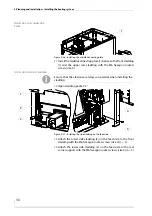
3.
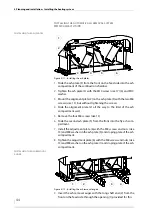
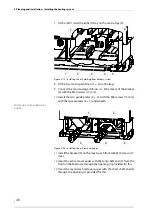
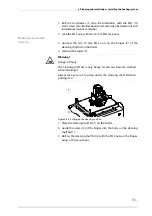
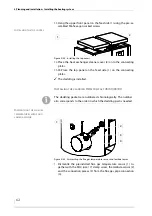
Mount the alignment plate (1) on the ash plate (3) with the two
M10 screws (2), without however tightening the screws.
4.
Slide the alignment plate (1) all the way to the limit of the ash
compartment wall.
5.
Tighten the two M10 screws (size 17) (2).
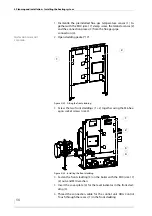
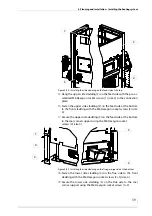
6.
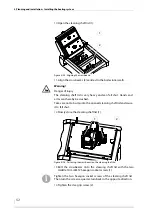
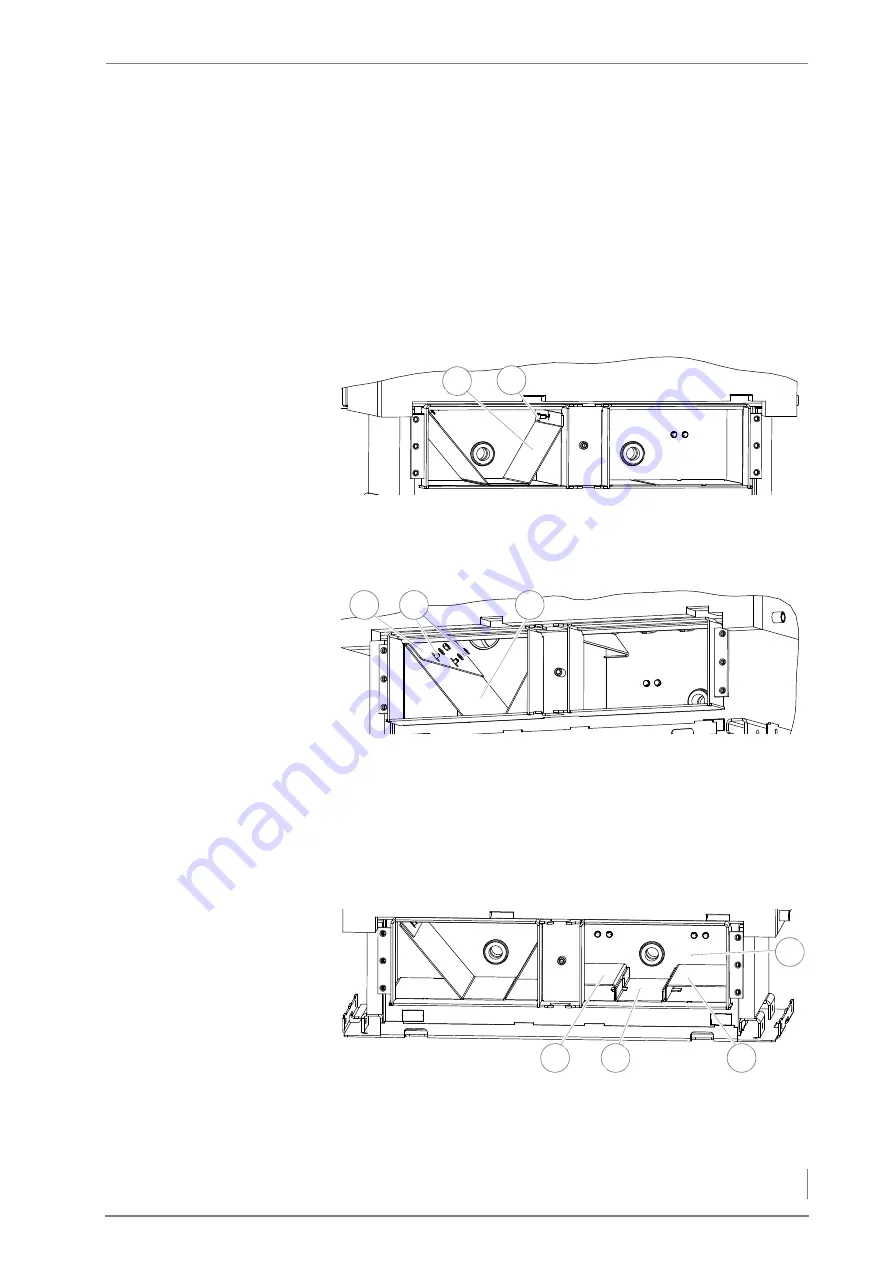
Insert the centre tray (2) in the ash compartment (4).
Figure 4/16 - Installing the ash plate
2
1
Figure 4/17 - Installing the adjustment plate
3
1
2
Figure 4/18 - Installing the trays
2
3
1
4
Содержание Compact 25
Страница 1: ...hdg bavaria com HDG Compact 25 35 HDG Compact 45 50 65 HDG Compact 80 Operating manual ...
Страница 2: ......
Страница 6: ...Operation Manual HDG Compact 25 80 Content 6 ...
Страница 107: ......


