
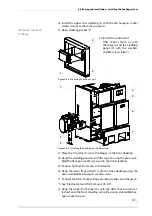

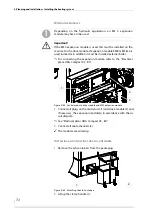

4 Planning and installation – Installing the heating system
59
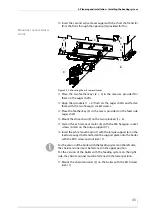
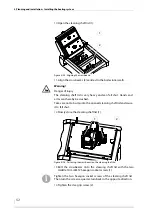
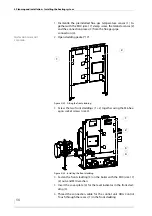
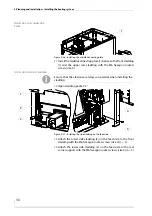
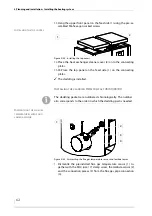
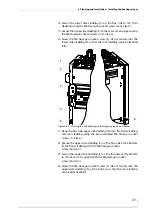
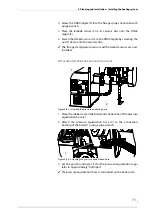
15.
Hang the upper side cladding (2) on the feed side with the pre-as-
sembled M6 Hexagon socket screws (1) (size 4) to the connection
plate.
16.
Fasten the upper side cladding (2) on the feed side at the bottom
to the front cladding with the M6 Hexagon socket screws (3) (size
4)
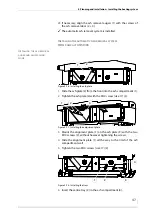
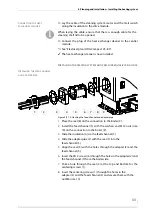
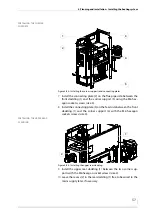
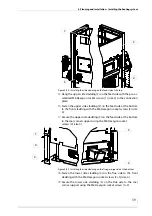
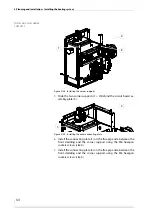
17.
Secure the upper side cladding (2) on the feed side at the bottom
to the rear corner support using the M6 Hexagon socket
screws (4) (size 4).
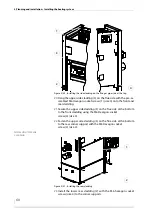
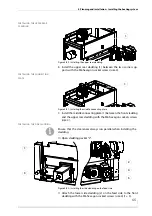
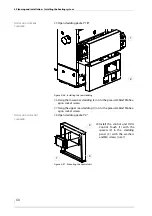
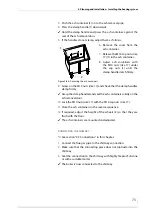
18.
Fasten the lower side cladding (4) on the flue side to the front
cladding with the M6 Hexagon socket screws (3+5) (size 4).
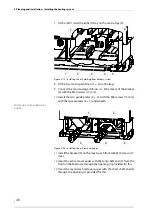
19.
Secure the lower side cladding (4) on the flue side to the rear
corner support using the M6 Hexagon socket screws (1+2).
Figure 4/38 - Installing the side cladding on the feed side at the top
3
4
1
2
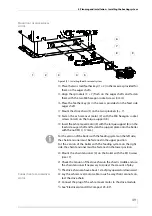
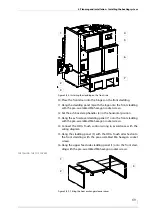
Figure 4/39 - Installing the side cladding on the flue gas pipe side at the bottom
1
2
5
3
4
Содержание Compact 25
Страница 1: ...hdg bavaria com HDG Compact 25 35 HDG Compact 45 50 65 HDG Compact 80 Operating manual ...
Страница 2: ......
Страница 6: ...Operation Manual HDG Compact 25 80 Content 6 ...
Страница 107: ......


