Chapter 7 Advanced Copy Management
7.9 ODX Management
ETERNUS Web GUI User’s Guide (Settings)
Copyright 2015 FUJITSU LIMITED
P2X0-1270-13ENZ0
663
For details on the parameters for this function, refer to
"A.7.11 Create ODX Buffer Volume" (page 966)
For the factory default settings for this function, refer to
"Appendix B Create ODX Buffer Volume" (page 1013)
.
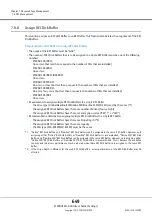
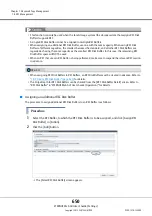
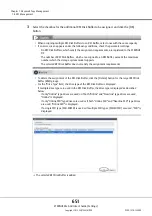
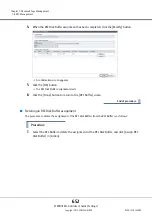
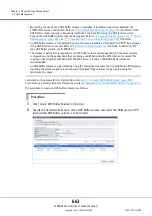
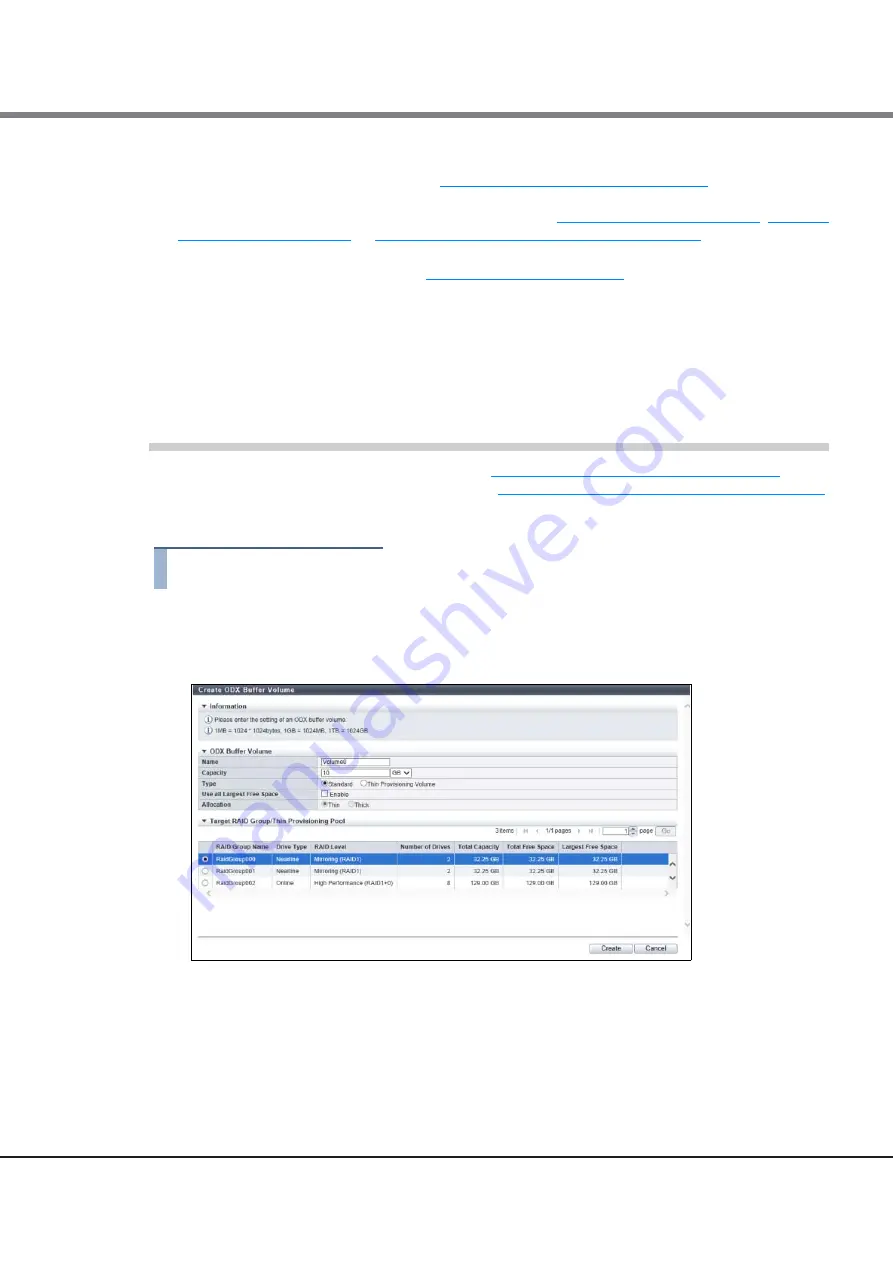
The procedure to create an ODX Buffer volume is as follows:
Procedure
1
Click [Create ODX Buffer Volume] in [Action].
2
Specify the detailed information of the ODX Buffer volume and select the RAID group or TPP
in which the ODX Buffer volume is to be created.
•
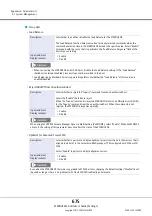
Monitoring the usage of an ODX Buffer volume is available. If insufficient capacity is detected, the
ETERNUS DX sends a notification. Refer to
"1.9.1 Setup Event Notification" (page 144)
for details. If the
ODX Buffer volume capacity is frequently insufficient, the benefit of using the ODX function is lost.
Expand the ODX Buffer volume capacity as required. Refer to
"3.5 Expand Volume" (page 278)
,
"3.7.1 Expand Thin Provisioning Volume" (page 285)
for details.
•
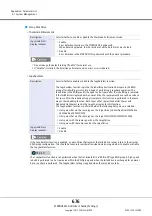
An ODX Buffer volume can be deleted by using the same procedure as "Standard" and "TPV" type volumes
if the ODX function is not used. Refer to
"3.2 Delete Volume" (page 272)
for details. To delete an "FTV"
type ODX Buffer volume, use ETERNUS CLI.
•
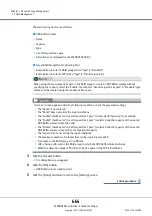
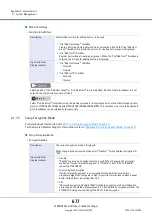
The volume capacity that is required for an ODX Buffer volume varies depending on the server system
configuration and the applications that are being used. When using the ODX function for normal file
copying or file migration with Microsoft Windows Server, creating a 10GB ODX Buffer volume is
recommended.
•
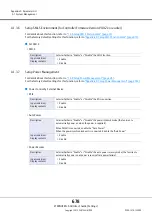
An ODX Buffer volume can be created by using the maximum free space that is available in a RAID group.
Inputting the volume capacity is not required. "Standard" type volumes can be created using the
maximum free space.
Содержание Eternus DX200F
Страница 2: ...This page is intentionally left blank ...
Страница 1082: ......

