Chapter 6 Thin Provisioning Pool Management
6.5 Expand Thin Provisioning Pool
ETERNUS Web GUI User’s Guide (Settings)
Copyright 2015 FUJITSU LIMITED
P2X0-1270-13ENZ0
575
5
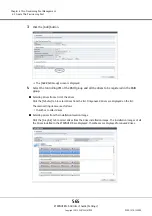
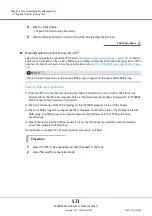
Click the [OK] button.
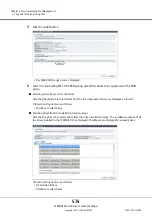
The screen returns to the previous screen. The added RAID group is displayed in the RAID group list.
6
When creating multiple RAID groups, repeat
through
7
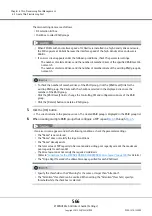
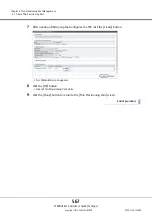
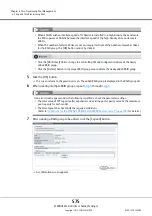
After creating a RAID group to be added, click the [Expand] button.
A confirmation screen appears.
•
When SSD-Ms with an interface speed of 12Gbit/s are installed in a high-density drive enclosure,
the SSDs operate at 6Gbit/s because the interface speed of the high-density drive enclosure is
6Gbit/s.
•
When the number of selected drives is not an integral multiple of the number of member drives
for the RAID group, the [OK] button cannot be clicked.
•
Click the [RAID Level] link to change the Controlling CM and configuration drives of the newly
added RAID group.
•
Click the [Delete] button in the target RAID group area to delete the newly added RAID group.
If an error screen appears under the following conditions, check the parameter settings.
•
The total value of TPP capacity after expansion and existing pool capacity exceeds the maximum
pool capacity for each model
•
The drive layout does not satisfy the required conditions
(Refer to
"Conditions for the ETERNUS DX8700 S3/DX8900 S3 drive layout" (page 528)
for details.)
Содержание Eternus DX200F
Страница 2: ...This page is intentionally left blank ...
Страница 1082: ......

