Chapter 7 Advanced Copy Management
7.8 REC Management
ETERNUS Web GUI User’s Guide (Settings)
Copyright 2015 FUJITSU LIMITED
P2X0-1270-13ENZ0
643
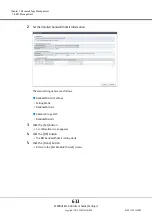
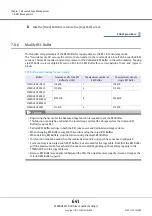
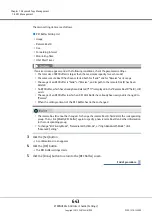
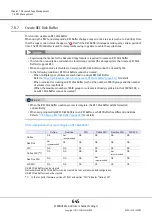
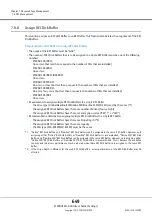
The main setting items are as follows.
●
REC Buffer Setting List
•
Usage
•
Remote Box ID
•
Size
•
Forwarding Interval
•
Monitoring Time
•
HALT Wait Timer
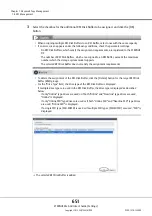
3
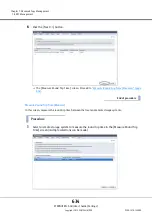
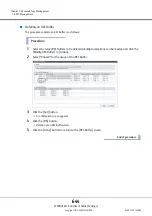
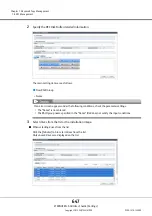
Click the [Set] button
A confirmation screen appears.
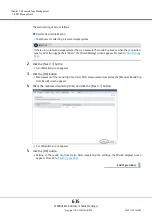
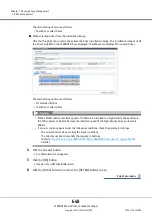
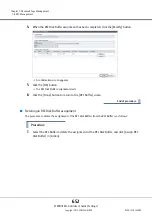
4
Click the [OK] button.
The REC Buffer settings starts.
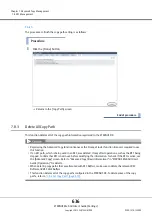
5
Click the [Done] button to return to the [REC Buffer] screen.
End of procedure
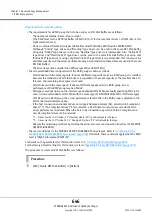
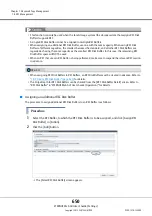
If an error screen appears under the following conditions, check the parameter settings.
•
The total size of REC Buffers is larger than the maximum capacity for each model
•
The same remote Box ID has been selected both for "Send " and for "Receive" as its usage
•
The usage of an REC Buffer is "Send" or "Receive", and its path to the remote Box ID has been
deleted
•
An REC Buffer, which has already been deleted ("???" is displayed in the "Remote Box ID" field), still
exists
•
The usage of an REC Buffer to which an REC Disk Buffer has already been assigned is changed to
"Receive"
•
When the setting contents of the REC Buffer has not been changed
•
The remote Box ID cannot be changed. To change the remote Box ID, first delete the corresponding
group. Then, click [Modify REC Buffer] again to specify a new remote Box ID and other information
in the corresponding group.
•
To change "I/O Priority Mode", "Immediate HALT Mode", or "High Bandwidth Mode", click
"Advanced Setting".
Содержание Eternus DX200F
Страница 2: ...This page is intentionally left blank ...
Страница 1082: ......

