


Chapter 7 Advanced Copy Management
7.8 REC Management
ETERNUS Web GUI User’s Guide (Settings)
Copyright 2015 FUJITSU LIMITED
P2X0-1270-13ENZ0
652
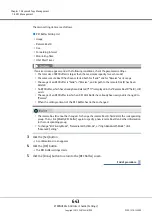
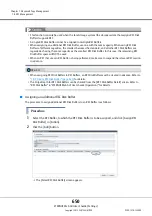
4
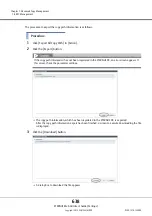
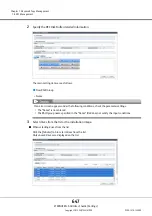
When the REC Disk Buffer assignment has been completed, click the [Modify] button.
A confirmation screen appears.
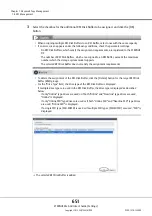
5
Click the [OK] button.
The REC Disk Buffer assignment starts.
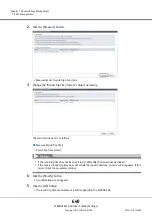
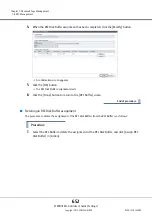
6
Click the [Done] button to return to the [REC Buffer] screen.
End of procedure
■
Deleting an REC Disk Buffer assignment
The procedure to delete the assignment of the REC Disk Buffers from the REC Buffer is as follows:
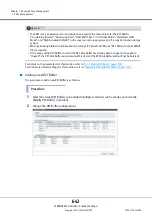
Procedure
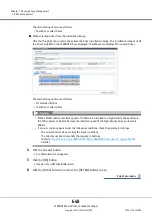
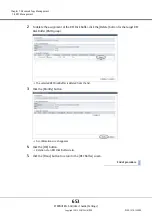
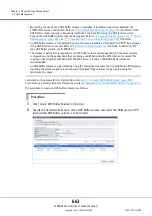
1
Select the REC Buffer to delete the assignment of the REC Disk Buffer, and click [Assign REC
Disk Buffer] in [Action].
Содержание Eternus DX200F
Страница 2: ...This page is intentionally left blank ...
Страница 1082: ......