Printer Connection and Software Installation
77
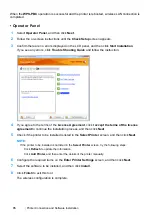
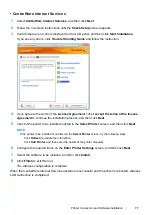
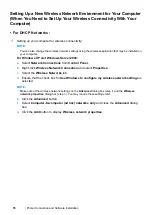
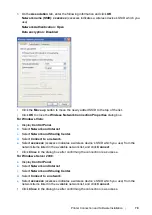
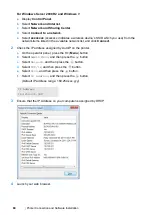
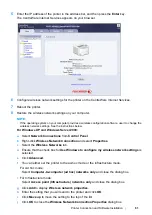
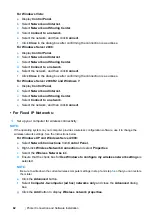
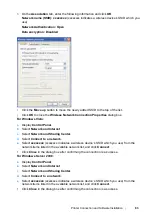
• CentreWare Internet Services
1
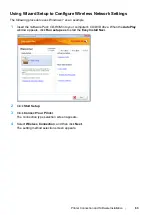
Select
CentreWare Internet Services
, and then click
Next
.
2
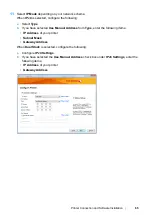
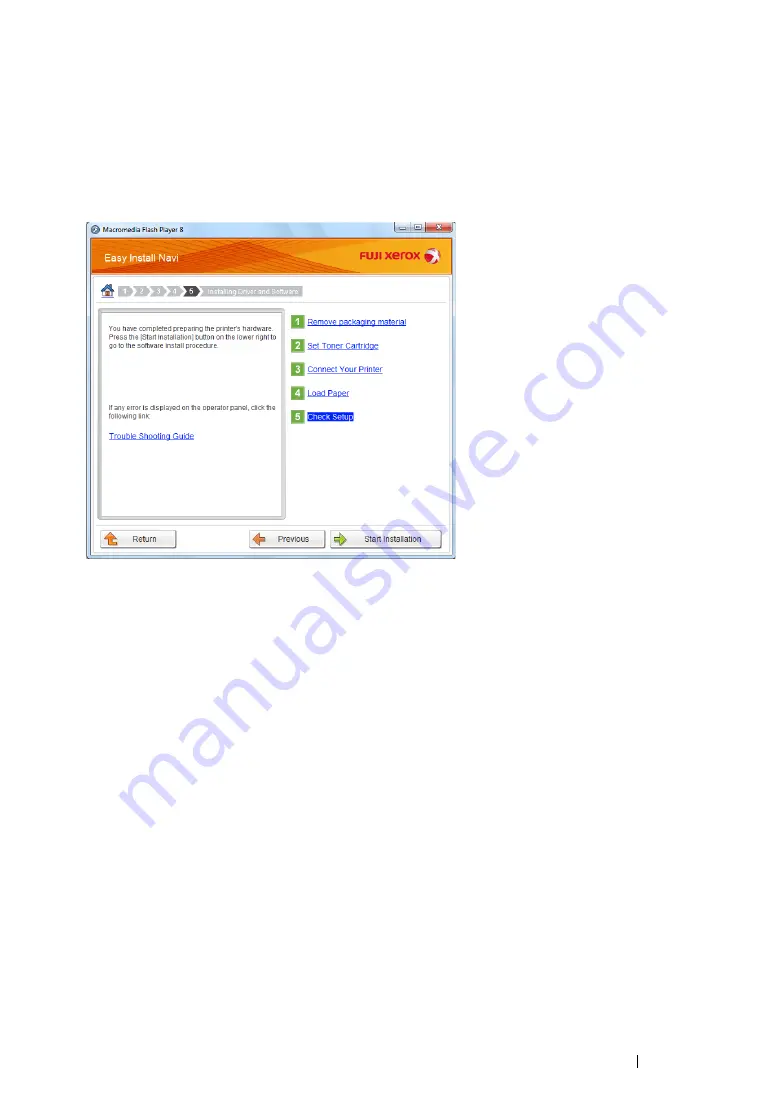
Follow the on-screen instructions until the
Check Setup
screen appears.
3
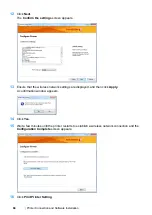
Confirm there are no errors displayed on the LCD panel, and then click
Start Installation
.
If you see any errors, click
Trouble Shooting Guide
and follow the instruction.
4
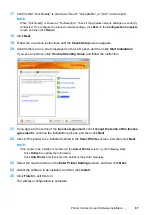
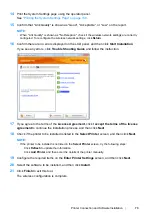
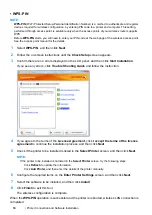
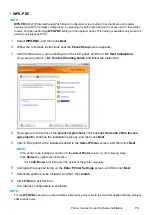
If you agree to the terms of the
License Agreement
, click
I accept the terms of the license
agreement
to continue the installation process, and then click
Next
.
5
Check if the printer to be installed is listed in the
Select Printer
screen, and then click
Next
.
NOTE:
•
If the printer to be installed is not listed in the
Select Printer
screen, try the following steps:
-
Click
Refresh
to update the information.
-
Click
Add Printer
, and then enter the details of the printer manually.
6
Configure the required items on the
Enter Printer Settings
screen, and then click
Next
.
7
Select the software to be installed, and then click
Install
.
8
Click
Finish
to exit this tool.
The wireless configuration is complete.
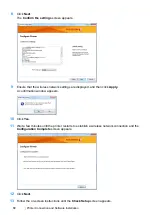
When the CentreWare Internet Services operation is successful and the printer is rebooted, wireless
LAN connection is completed.
Содержание DocuPrint P255 dw
Страница 1: ...User Guide DocuPrint P255 d P255 dw ...
Страница 6: ...6 Contents ...
Страница 26: ...26 Product Features ...
Страница 38: ...38 Basic Operation ...
Страница 69: ...Printer Connection and Software Installation 69 5 Select Advanced ...
Страница 114: ...114 Printer Connection and Software Installation ...
Страница 195: ...Troubleshooting 195 7 Close the rear cover 8 Insert the paper tray into the printer and push until it clicks into place ...
Страница 197: ...Troubleshooting 197 4 Lower the levers to the original position 5 Close the rear cover ...
Страница 226: ...226 Troubleshooting ...
Страница 248: ...248 Contacting Fuji Xerox ...
Страница 252: ...252 Index X XML Paper Specification print driver 58 96 ...

