80
Printer Connection and Software Installation
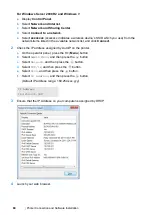
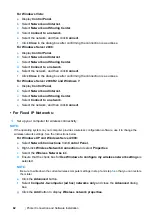
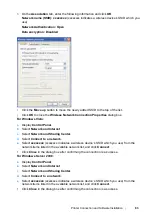
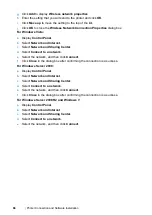
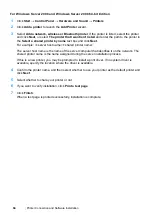
For Windows Server 2008 R2 and Windows 7:
a
Display
Control Panel
.
b
Select
Network and Internet
.
c
Select
Network and Sharing Center
.
d
Select
Connect to a network
.
e
Select
xxxxxxxx
(xxxxxxxx indicates a wireless device’s SSID which you use) from the
network items listed in the available network list, and click
Connect
.
2
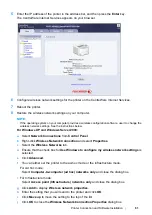
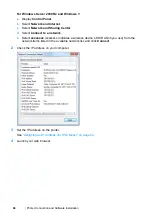
Check the IP address assigned by AutoIP on the printer.
a
On the operator panel, press the
(
Menu
) button.
b
Select
Admin Menu
, and then press the
button.
c
Select
Network
, and then press the
button.
d
Select
TCP/IP
, and then press the
button.
e
Select
IPv4
, and then press the
button.
f
Select
IP Address
, and then press the
button.
(Default IP address range: 169.254.xxx.yyy)
3
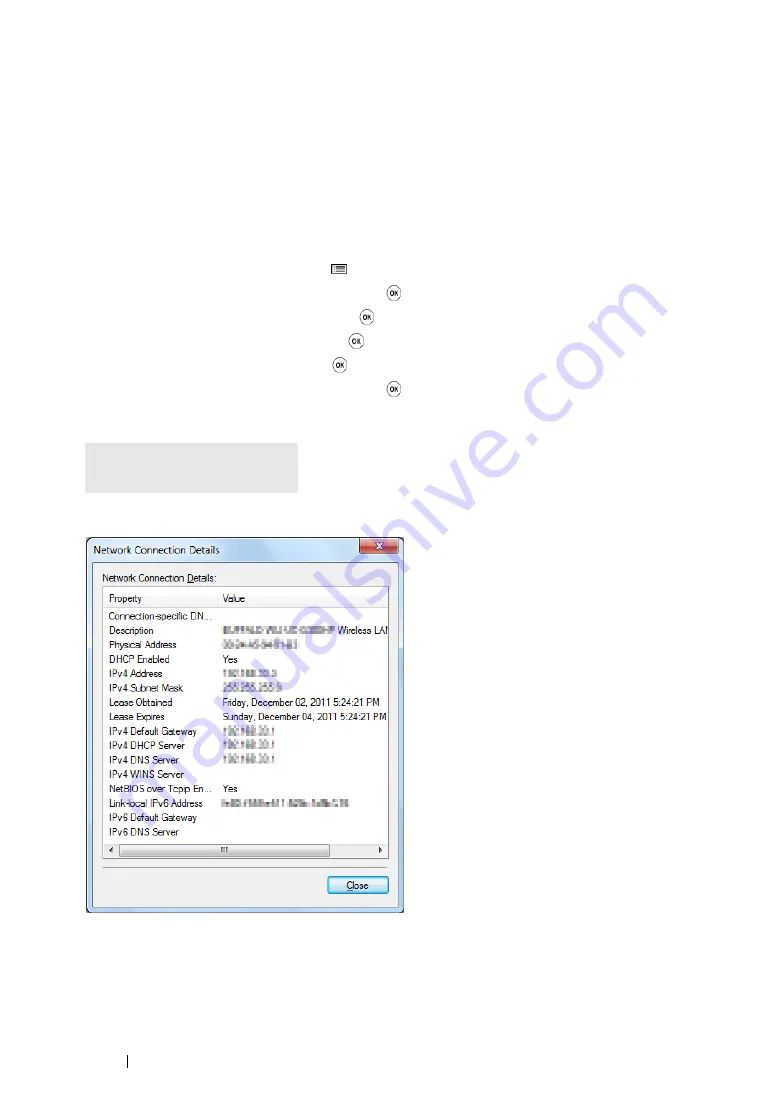
Ensure that the IP Address on your computer is assigned by DHCP.
4
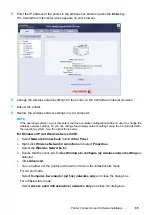
Launch your web browser.
IP Address
169.254.000.041*
Содержание DocuPrint P255 dw
Страница 1: ...User Guide DocuPrint P255 d P255 dw ...
Страница 6: ...6 Contents ...
Страница 26: ...26 Product Features ...
Страница 38: ...38 Basic Operation ...
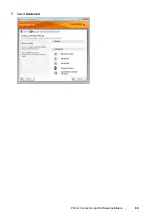
Страница 69: ...Printer Connection and Software Installation 69 5 Select Advanced ...
Страница 114: ...114 Printer Connection and Software Installation ...
Страница 195: ...Troubleshooting 195 7 Close the rear cover 8 Insert the paper tray into the printer and push until it clicks into place ...
Страница 197: ...Troubleshooting 197 4 Lower the levers to the original position 5 Close the rear cover ...
Страница 226: ...226 Troubleshooting ...
Страница 248: ...248 Contacting Fuji Xerox ...
Страница 252: ...252 Index X XML Paper Specification print driver 58 96 ...

