Printer Connection and Software Installation
79
h
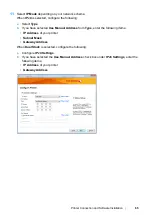
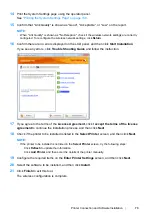
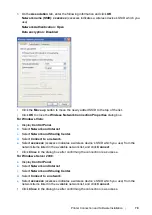
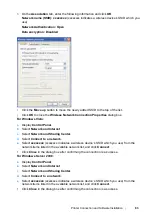
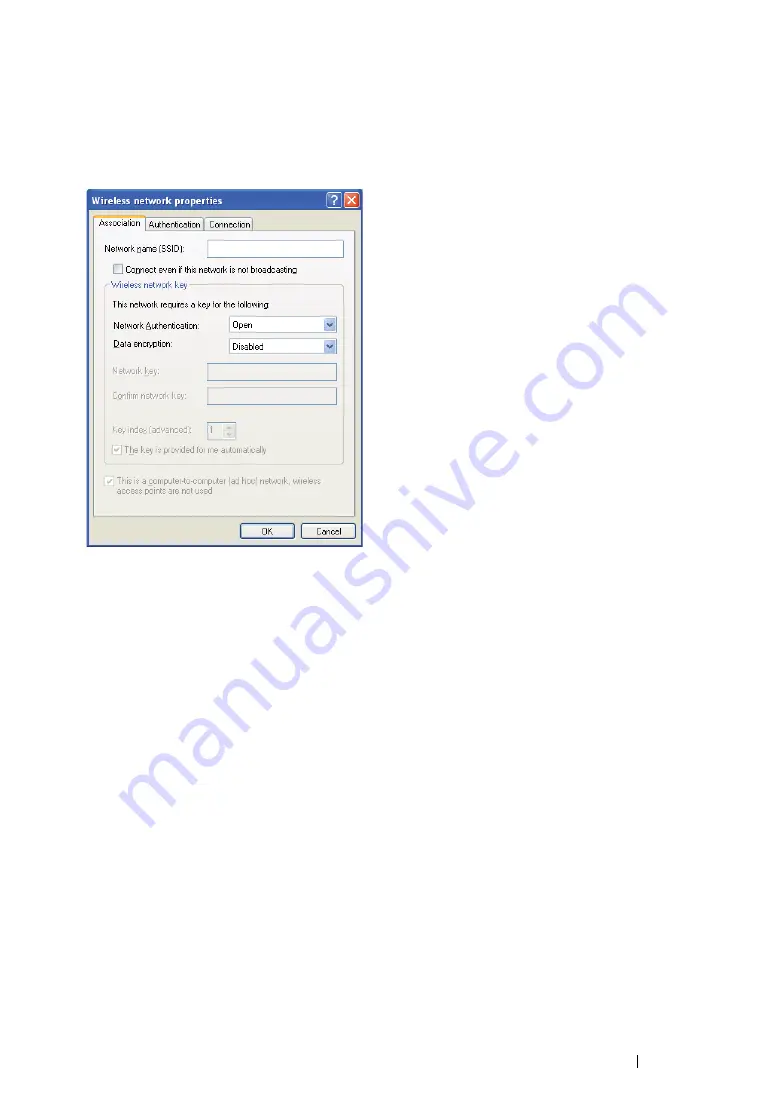
On the
Association
tab, enter the following information and click
OK
.
Network name (SSID): xxxxxxxx
(xxxxxxxx indicates a wireless device’s SSID which you
use)
Network Authentication: Open
Data encryption: Disabled
i
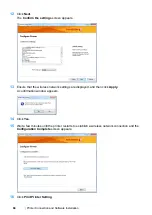
Click the
Move up
button to move the newly added SSID to the top of the list.
j
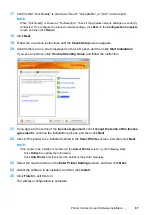
Click
OK
to close the
Wireless Network Connection Properties
dialog box.
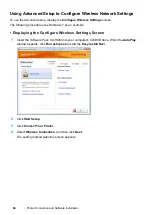
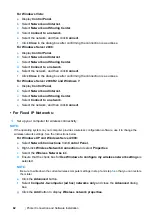
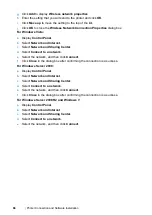
For Windows Vista:
a
Display
Control Panel
.
b
Select
Network and Internet
.
c
Select
Network and Sharing Center
.
d
Select
Connect to a network
.
e
Select
xxxxxxxx
(xxxxxxxx indicates a wireless device’s SSID which you use) from the
network items listed in the available network list, and click
Connect
.
f
Click
Close
in the dialog box after confirming the connection is a success.
For Windows Server 2008:
a
Display
Control Panel
.
b
Select
Network and Internet
.
c
Select
Network and Sharing Center
.
d
Select
Connect to a network
.
e
Select
xxxxxxxx
(xxxxxxxx indicates a wireless device’s SSID which you use) from the
network items listed in the available network list, and click
Connect
.
f
Click
Close
in the dialog box after confirming the connection is a success.
Содержание DocuPrint P255 dw
Страница 1: ...User Guide DocuPrint P255 d P255 dw ...
Страница 6: ...6 Contents ...
Страница 26: ...26 Product Features ...
Страница 38: ...38 Basic Operation ...
Страница 69: ...Printer Connection and Software Installation 69 5 Select Advanced ...
Страница 114: ...114 Printer Connection and Software Installation ...
Страница 195: ...Troubleshooting 195 7 Close the rear cover 8 Insert the paper tray into the printer and push until it clicks into place ...
Страница 197: ...Troubleshooting 197 4 Lower the levers to the original position 5 Close the rear cover ...
Страница 226: ...226 Troubleshooting ...
Страница 248: ...248 Contacting Fuji Xerox ...
Страница 252: ...252 Index X XML Paper Specification print driver 58 96 ...

