70
Printer Connection and Software Installation
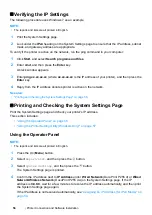
• Select a connection method from the following
• "Ethernet Cable" on page 70
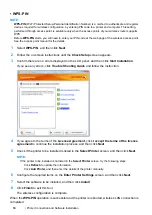
• "WPS-PIN" on page 74
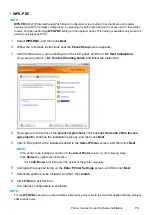
• "WPS-PBC" on page 75
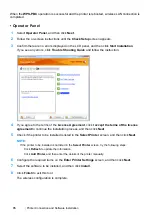
• "Operator Panel" on page 76
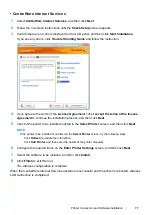
• "CentreWare Internet Services" on page 77
• Ethernet Cable
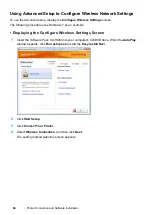
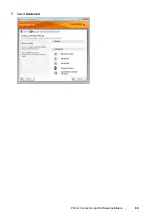
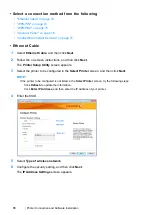
1
Select
Ethernet Cable
, and then click
Next
.
2
Follow the on-screen instructions, and then click
Next
.
The
Printer Setup Utility
screen appears.
3
Select the printer to be configured in the
Select Printer
screen, and then click
Next
.
NOTE:
•
If the printer to be configured is not listed in the
Select Printer
screen, try the following steps:
-
Click
Refresh
to update the information.
-
Click
Enter IP Address
, and then enter the IP address of your printer.
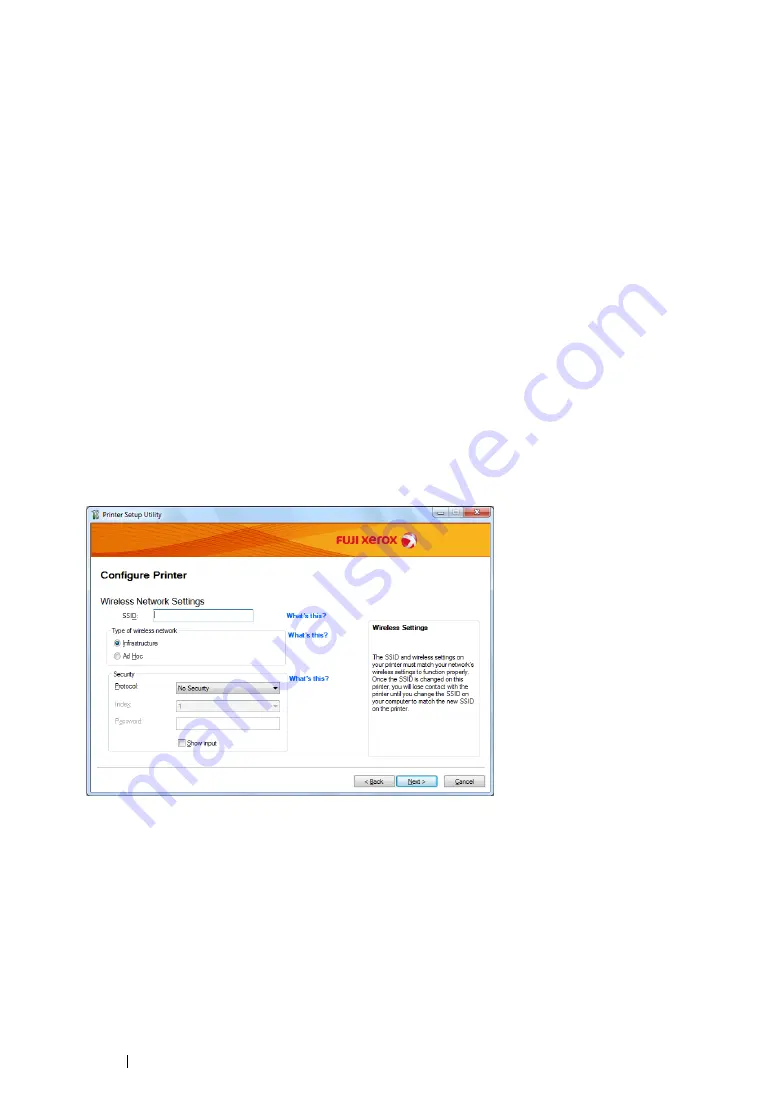
4
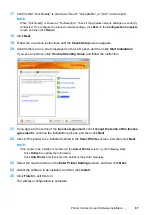
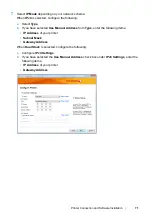
Enter the SSID.
5
Select
Type of wireless network
.
6
Configure the security setting, and then click
Next
.
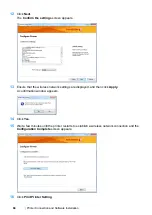
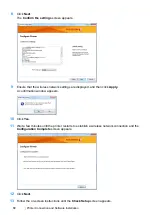
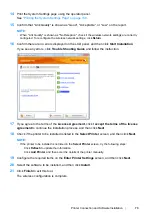
The
IP Address Settings
screen appears.
Содержание DocuPrint P255 dw
Страница 1: ...User Guide DocuPrint P255 d P255 dw ...
Страница 6: ...6 Contents ...
Страница 26: ...26 Product Features ...
Страница 38: ...38 Basic Operation ...
Страница 69: ...Printer Connection and Software Installation 69 5 Select Advanced ...
Страница 114: ...114 Printer Connection and Software Installation ...
Страница 195: ...Troubleshooting 195 7 Close the rear cover 8 Insert the paper tray into the printer and push until it clicks into place ...
Страница 197: ...Troubleshooting 197 4 Lower the levers to the original position 5 Close the rear cover ...
Страница 226: ...226 Troubleshooting ...
Страница 248: ...248 Contacting Fuji Xerox ...
Страница 252: ...252 Index X XML Paper Specification print driver 58 96 ...

