74
Printer Connection and Software Installation
• WPS-PIN
NOTE:
•
WPS-PIN
(Wi-Fi Protected Setup-Personal Identification Number) is a method to authenticate and register
devices required for wireless configuration, by entering PIN code to a printer and computer. This setting,
performed through access point, is available only when the access points of your wireless router supports
WPS.
•
Before
WPS-PIN
starts, you will need to enter your PIN code at the web page of the wireless access point.
See the access point manual for the details.
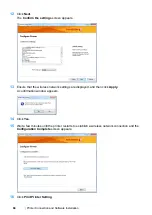
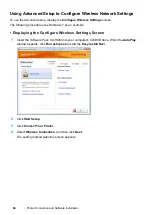
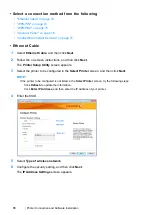
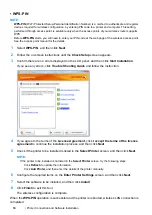
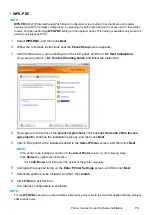
1
Select
WPS-PIN
, and then click
Next
.
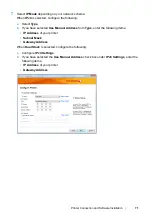
2
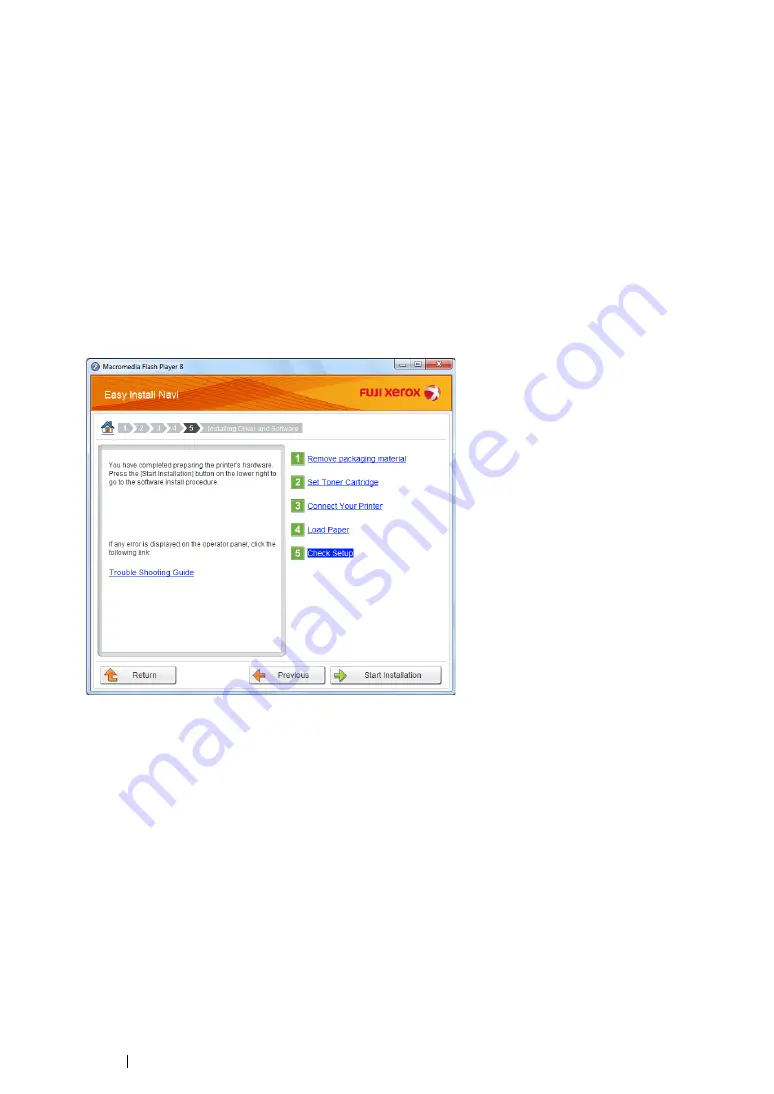
Follow the on-screen instructions until the
Check Setup
screen appears.
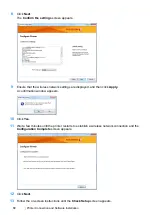
3
Confirm there are no errors displayed on the LCD panel, and then click
Start Installation
.
If you see any errors, click
Trouble Shooting Guide
and follow the instruction.
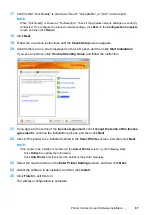
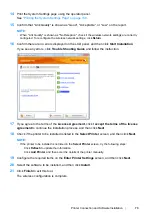
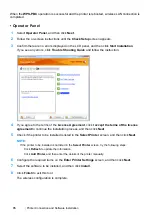
4
If you agree to the terms of the
License Agreement
, click
I accept the terms of the license
agreement
to continue the installation process, and then click
Next
.
5
Check if the printer to be installed is listed in the
Select Printer
screen, and then click
Next
.
NOTE:
•
If the printer to be installed is not listed in the
Select Printer
screen, try the following steps:
-
Click
Refresh
to update the information.
-
Click
Add Printer
, and then enter the details of the printer manually.
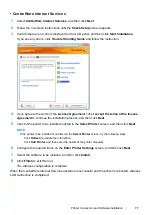
6
Configure the required items on the
Enter Printer Settings
screen, and then click
Next
.
7
Select the software to be installed, and then click
Install
.
8
Click
Finish
to exit this tool.
The wireless configuration is complete.
When the
WPS-PIN
operation is successful and the printer is rebooted, wireless LAN connection is
completed.
Содержание DocuPrint P255 dw
Страница 1: ...User Guide DocuPrint P255 d P255 dw ...
Страница 6: ...6 Contents ...
Страница 26: ...26 Product Features ...
Страница 38: ...38 Basic Operation ...
Страница 69: ...Printer Connection and Software Installation 69 5 Select Advanced ...
Страница 114: ...114 Printer Connection and Software Installation ...
Страница 195: ...Troubleshooting 195 7 Close the rear cover 8 Insert the paper tray into the printer and push until it clicks into place ...
Страница 197: ...Troubleshooting 197 4 Lower the levers to the original position 5 Close the rear cover ...
Страница 226: ...226 Troubleshooting ...
Страница 248: ...248 Contacting Fuji Xerox ...
Страница 252: ...252 Index X XML Paper Specification print driver 58 96 ...

