Printer Connection and Software Installation
85
5
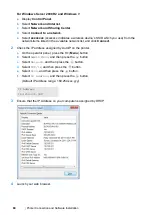
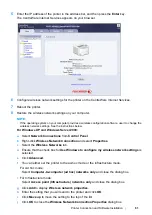
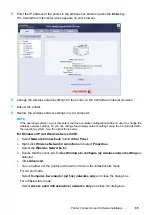
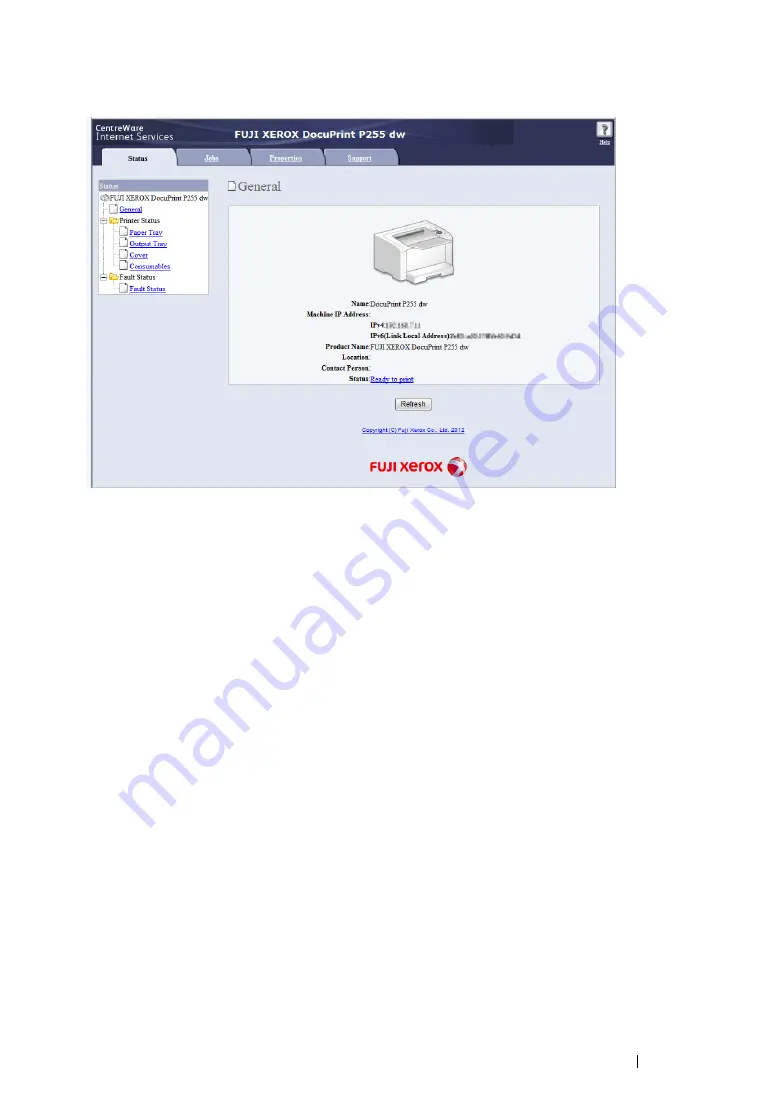
Enter the IP address of the printer in the address bar, and then press the
Enter
key.
The CentreWare Internet Services appears on your browser.
6
Change the wireless network settings for the printer on the CentreWare Internet Services.
7
Reboot the printer.
8
Restore the wireless network settings on your computer.
NOTE:
•
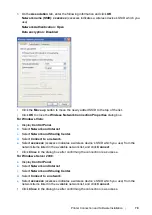
If the operating system on your computer provides a wireless configuration software, use it to change the
wireless network settings. Or you can change the wireless network settings using the tool provided with
the operating system. See the instructions below.
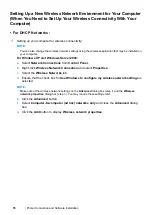
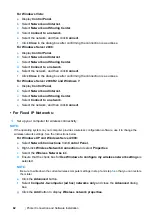
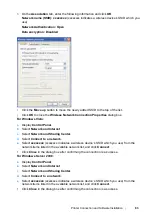
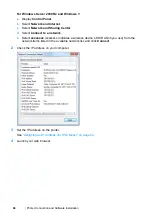
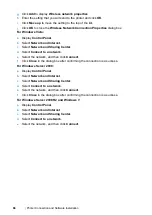
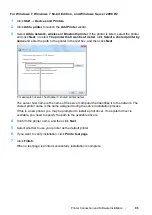
For Windows XP and Windows Server 2003:
a
Select
Network Connections
from
Control Panel
.
b
Right-click
Wireless Network Connection
and select
Properties
.
c
Select the
Wireless Networks
tab.
d
Ensure that the check box for
Use Windows to configure my wireless network settings
is
selected.
e
Click
Advanced
.
f
You can either set the printer to the ad-hoc mode or the infrastructure mode.
•
For Ad hoc mode:
Select
Computer-to-computer (ad hoc) networks only
and close the dialog box.
•
For Infrastructure mode:
Select
Access point (Infrastructure) networks only
and close the dialog box.
Содержание DocuPrint P255 dw
Страница 1: ...User Guide DocuPrint P255 d P255 dw ...
Страница 6: ...6 Contents ...
Страница 26: ...26 Product Features ...
Страница 38: ...38 Basic Operation ...
Страница 69: ...Printer Connection and Software Installation 69 5 Select Advanced ...
Страница 114: ...114 Printer Connection and Software Installation ...
Страница 195: ...Troubleshooting 195 7 Close the rear cover 8 Insert the paper tray into the printer and push until it clicks into place ...
Страница 197: ...Troubleshooting 197 4 Lower the levers to the original position 5 Close the rear cover ...
Страница 226: ...226 Troubleshooting ...
Страница 248: ...248 Contacting Fuji Xerox ...
Страница 252: ...252 Index X XML Paper Specification print driver 58 96 ...

