5.14 Specifying Image Orientation
117
M
a
k
ing Cop
ies
Adde
d
F
e
atu
res
B
asi
c
Fe
a
ture
s
Ima
g
e Q
u
a
lit
y
Output
For
m
a
t
St
ore
d
Job T
e
mpl
a
tes
Procedure
1
Load the documents.
2
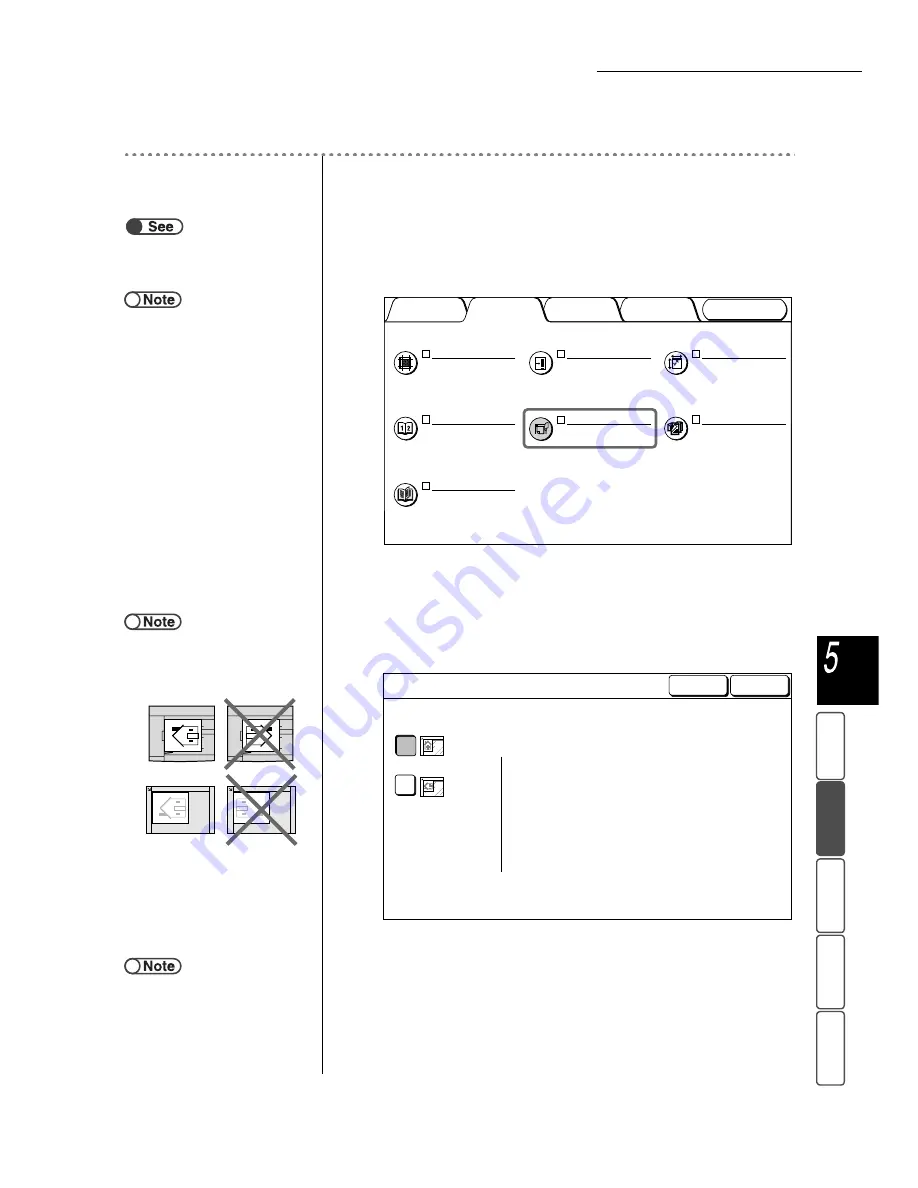
Select Original Orientation on the Others screen.
The Original Orientation screen is displayed.
3
Select Head to Top or Head to Left based on the orientation
of the document loaded.
When the documents are placed in the DADF:
4
Select Save to specify settings for other features if necessary.
5
Using the keypad, enter the number of copies desired and
then press Start on the control panel.
Copies will be made.
●
“3.2 Loading Documents”
●
When Original Orientation is
selected after selecting the Bound
Originals function, a screen is
displayed to confirm whether the
Bound Originals function is to be
canceled. Perform operations as
directed by the displayed screens.
Bound Originals
Off
Margin Shift
S1: No Shift
S2: No Shift
Edge Erase
T/B: 0.1/ 0.1"
L/R: 0.1/ 0.1"
Bind: 0.0"
Original Size
Size Detect
Mixed Size Originals
Off
Original Orientation
Head to Top
Book Duplex
Off
Image Quality
Added
Features
Basic
Features
Output Format
Stored
Job Templates
●
When Head to Left is selected for
Original Orientation, refer to the
diagram below for the correct way of
loading the documents.
Head to Top
Head to Left
Select the image orientation
of your originals.
Cancel
Original Orientation
Save
●
To cancel any setting, select Cancel.


