


72
Chapter 3 Working with MultiLab
3.5.7.
Define a Custom Sensor
Usually you will not need to use this option, however, MultiLab enables the user to
define additional custom sensors. This is a useful tool for when TriLog is
communicating with many sensors from
different vendors.
Any additional sensor that you would like to connect to TriLog must comply with the
following restrictions:
1) The sensor
’
s output must be greater than or equal to
0V
and less than or equal
to
5V
. Remember that all sensors transform actual data into electrical data, so
the electrical output should remain between 0 and 5 volts.
2) The sensor Transfer Function (sensor output voltage changes vs. the sampled
phenomenon changes) must be a linear Transfer Function.
3) The sensor must have a code resistor in order to be automatically identified. If
the sensor does not have a code resistor, you will have to work in
8 sensors
mode and select the sensor manually.
To determine whether your sensor has a code resistor or not, simply plug it in to
TriLog (while in
Auto ID
mode) and see if TriLog displays the setup menu and the
sensor name.
Refer to the appendix to learn how to add a code resistor to your custom sensor.
To define a new sensor:
1. Connect TriLog to the PC
2. Select
Define new sensor
from the
Logger
menu to open the
Define new sensor dialog box:
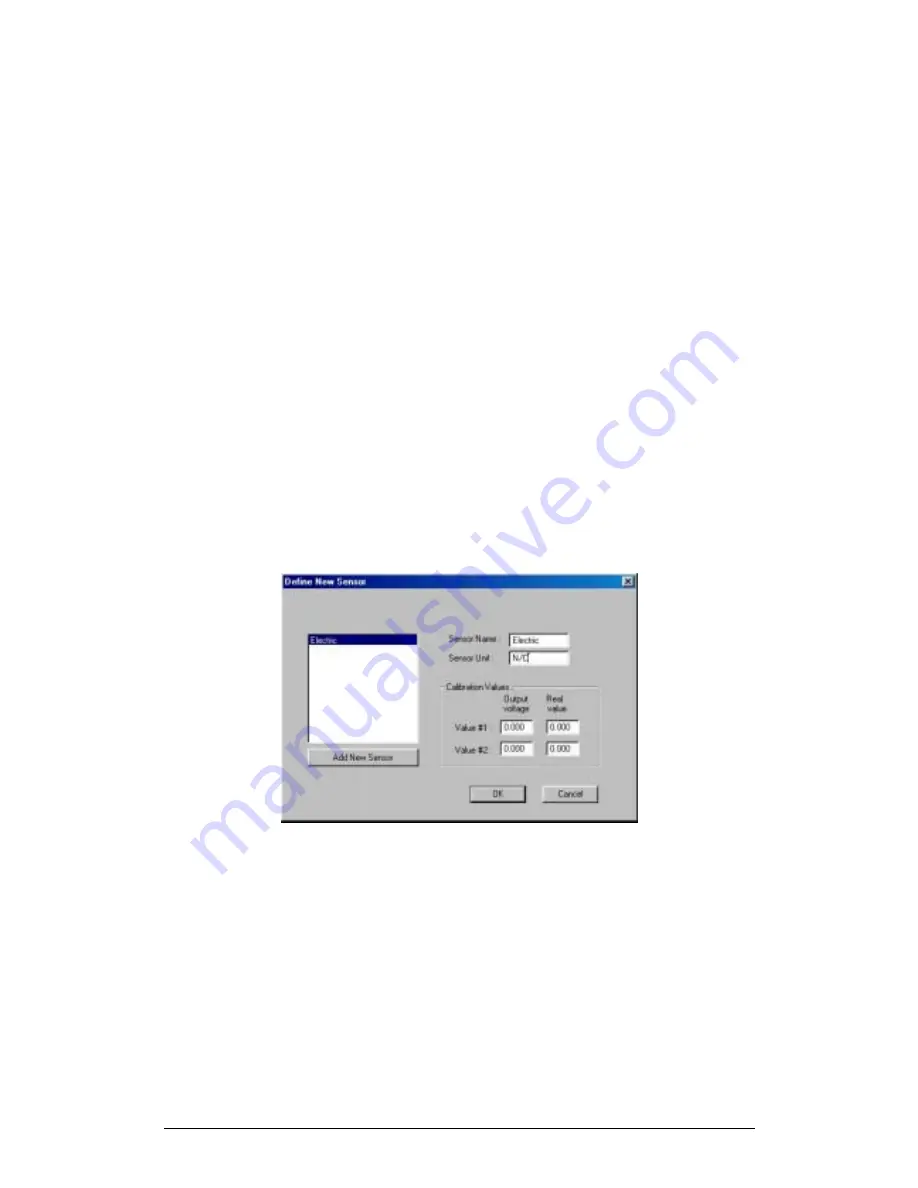
Figure 21: Define new sensor dialog box
3. Click
Add New Sensor
4. Type in a sensor name and a sensor unit
5. Type in two calibration values (two real values and the
corresponding output voltages of the sensor)
6. Click
OK


