


Chapter 2 Working with Palm Handheld
27
3. Tap
Done
to save your data
Note:
When collecting data at sampling rates greater than 100 samples
per second, ImagiProbe 3.0 application will display data in real
time at 25 samples per second so you can visualize trends in the
data. At the end of the trial, the application will download the full
dataset for inspection.
Note:
When collecting at rates greater than 10,000 samples per second:
•
You cannot manually stop data collection. Data collection will
continue until the TriLog
’
s data buffer fills.
•
Data will not be displayed until data collection is complete.
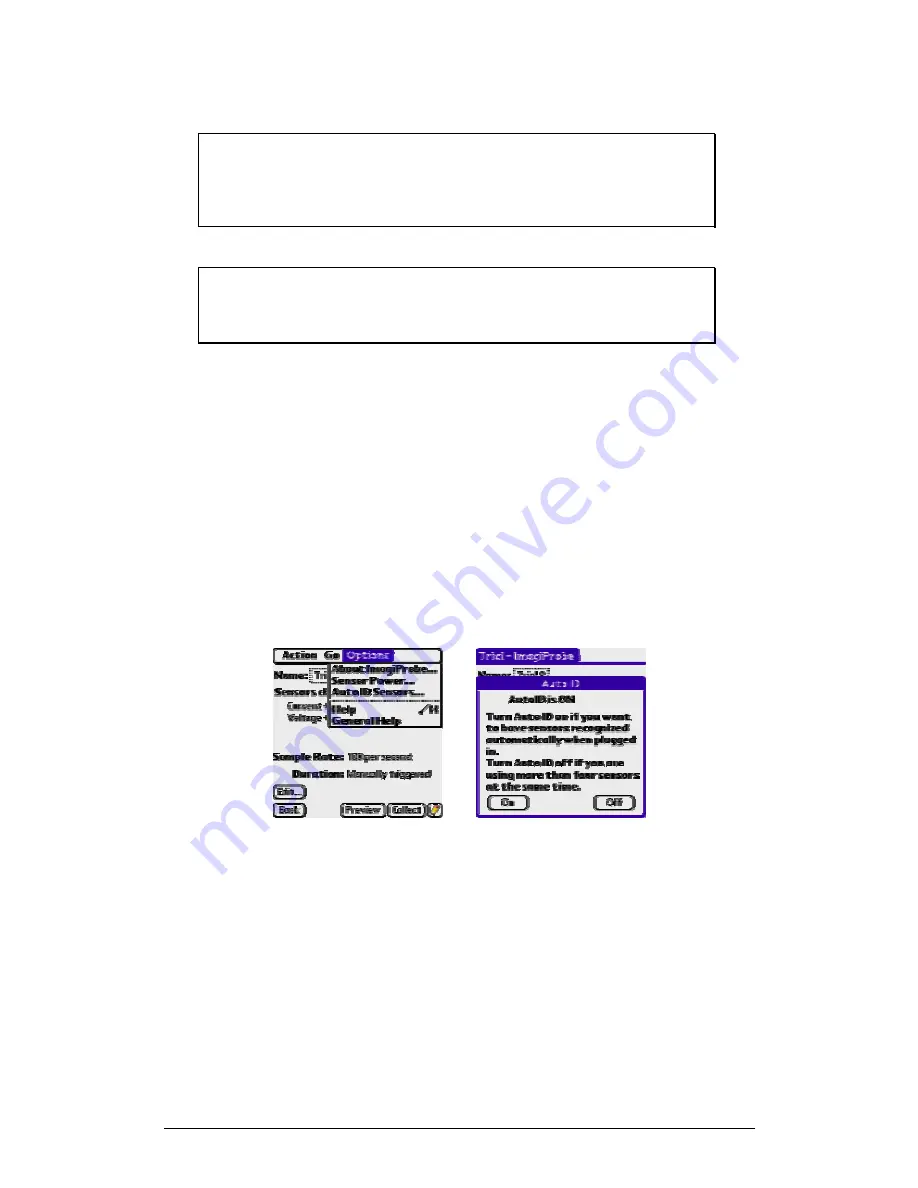
2.4.2.
Selecting working mode
Before you can assign sensors for a trial you must first setup the application to
expect manual or automatic sensor assignment. For manual setup, ensure that the
Auto ID function is off. For automatic setup, ensure that the Auto ID function is on.
To activate the Auto ID function, from the Investigation or Trial form:
1. Tap the Menu icon to display the ImagiProbe 3.0 menus
2. Tap the
Options
menu
3. Select
Auto ID Sensors…
4. To enable TriLog’s Auto ID mode (see on page 12) tap the
On
button. To disable TriLog’s Auto ID mode tap on the
Off
button. The
Auto ID function will remain in effect until the next time you change it
2.4.3.
Manually Assigning Sensors and Their Calibrations
To assign a sensor and its calibration to input, from the Edit Trial Setup form:
1. Tap on a Sensor Selector field.


