


Chapter 3 Working with MultiLab
67
3. Select the desired recording rate in the
Select rate
drop list
4. Select the
Scroll
option if you want the graph window to scroll as the
data recording progresses
5. Select the desired data recording mode in the
Select recording
mode
drop list
6. Click
Next
to move to the third step:
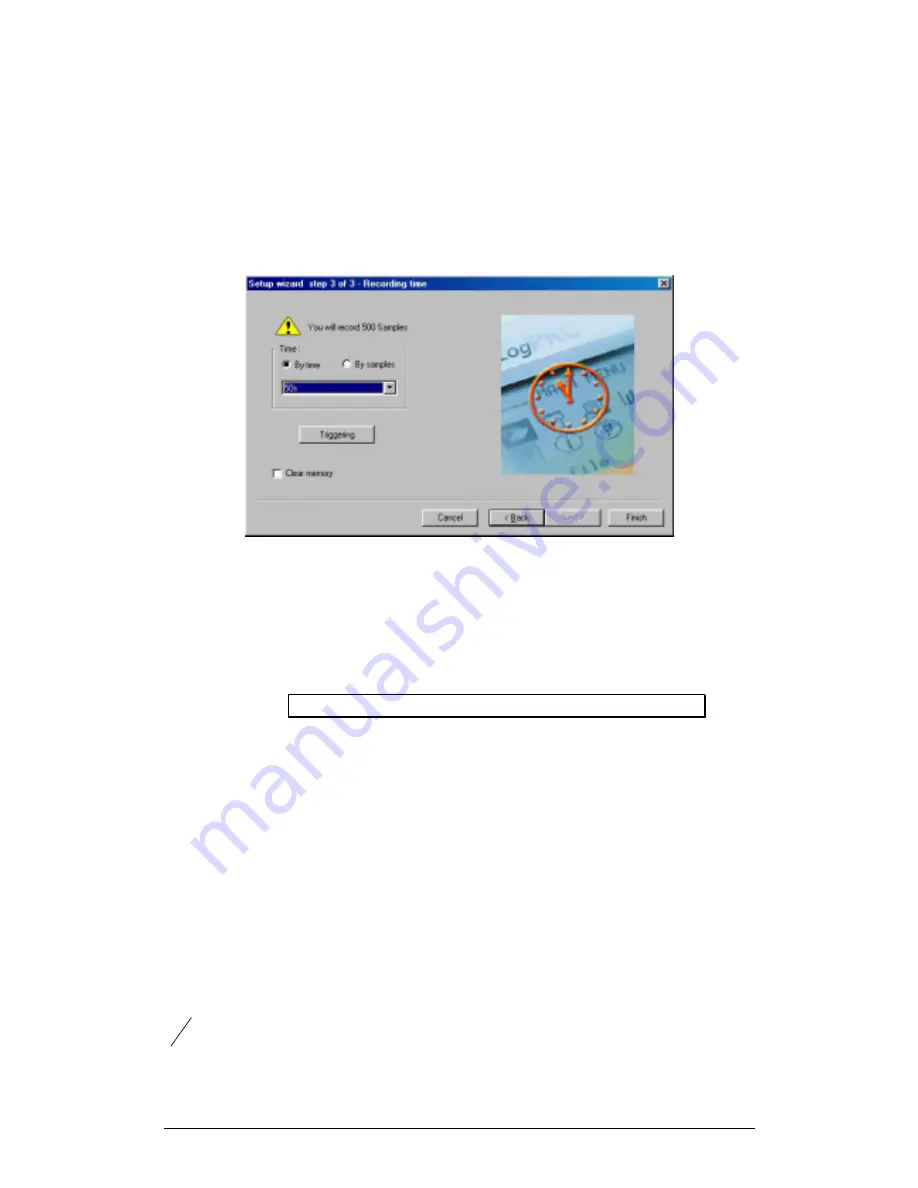
Figure 18: Setup wizard step 3 of 3
7. Select the desired length of the recording period in the
Select
recording time
drop list
The recording period is displayed as a unit of time by default. To
display the recording period as the number of recording samples,
select the
By samples
option. The number of samples is calculated
with the following formula:
Total recording samples
Recording period
Recording rate
=
×
8. To start the data recording only when a specific time or
measurement condition has been met click
Triggering
to open the
triggering dialog box (see page 69)
9. Click
Finish
to complete the setup and to send the setup command
to the TriLog
2. Define sensor properties
Some of the sensors can produce more than one measurement. For example, the
distance sensor measures distance, but MultiLab also calculates the velocity and
acceleration of the measured body in real time. MultiLab automatically displays the
basic measurement of distance, but enables you to display any combination of
distance, velocity and acceleration. Other sensors may only give one measurement,
but can display the data in different units. For example, the acceleration sensor can
display the acceleration in multiples of the gravity acceleration, or in the standard unit
2
s
m
.


