Chapter 2 Setup
77
2
Setting the DIP Switches
Cha
ng
e
t
he DIP sw
it
ch se
tting
s
in
t
he follow
ing
cases.
• Whe
n
a
tt
ach
ing
t
he power sw
it
ch cover
t
o preve
nt
t
he power sw
it
ch from be
ing
pressed
• Whe
n
sw
it
ch
ing
t
he paper
t
ype be
t
wee
n
roll paper a
n
d fa
n
fold paper (The defa
u
l
t
se
tting
i
s
roll paper)
• Whe
n
cha
nging
t
he vol
u
me of
t
he b
u
zzer
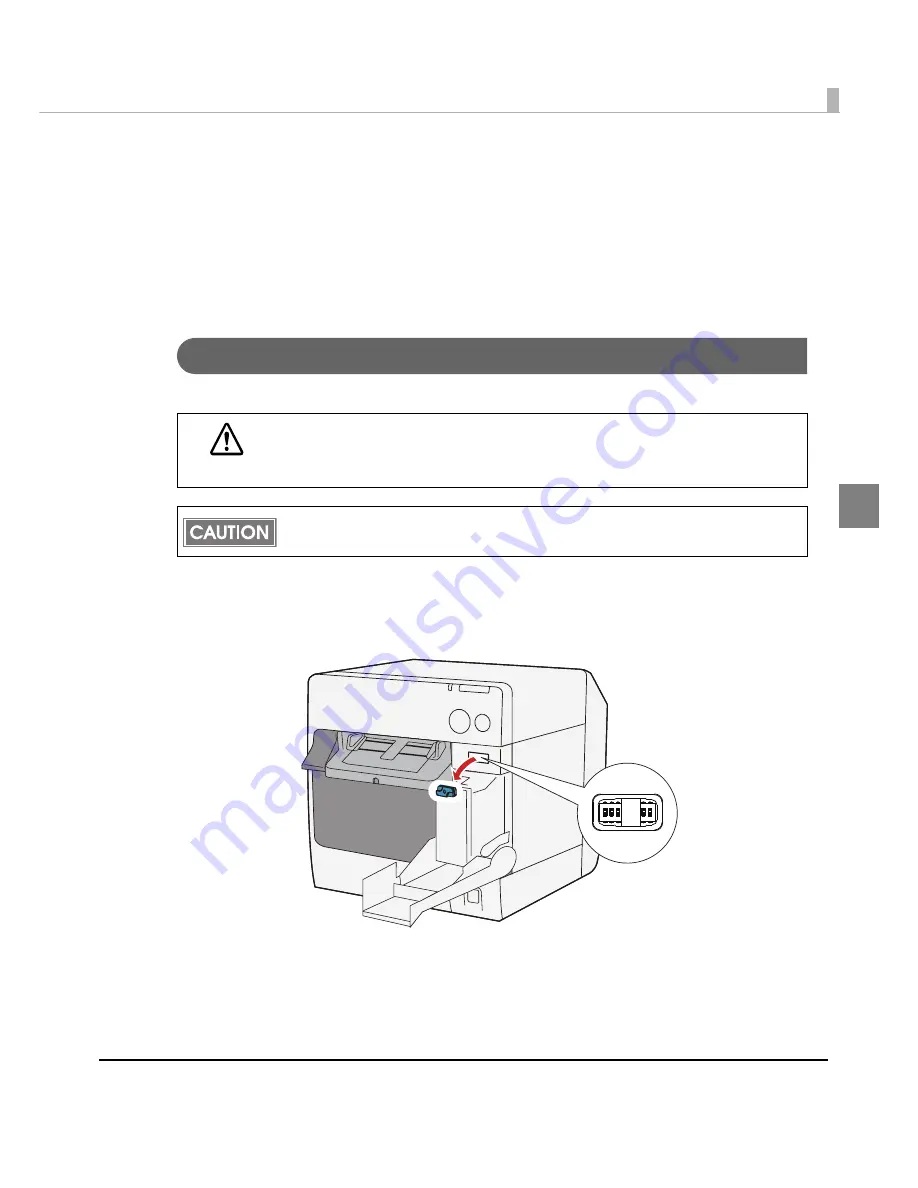
Setting Procedure
Follow
t
he s
t
eps below
t
o cha
ng
e
t
he DIP sw
it
ch se
tting
s.
1
Make sure the power supply for the printer is turned off.
2
Open the ink cartridge cover and remove the DIP switch cover.
3
Set the DIP switches, using the tip of a tool, such as a small screwdriver.
4
Attach the DIP switch cover, and close the ink cartridge cover.
CAUTION
Turn the power off before removing the DIP switch cover.
Otherwise, a short-circuit may cause the printer to malfunction.
DIP switch setting becomes enabled after turning the power on or completing reset by the
interface.
Содержание SecurColor TM-C3400
Страница 81: ...Chapter 2 Setup 81 2 For fanfold paper 1 Open the fanfold paper cover 2 Remove the remaining paper ...
Страница 86: ...86 7 Lock the paper ejection guide 8 Close the roll paper cover ...
Страница 91: ...Chapter 2 Setup 91 2 For fanfold paper 1 Open the fanfold paper cover 2 Remove the paper left ...
Страница 98: ...98 4 Close the fanfold paper cover This is the end of loading of the fanfold paper ...
Страница 100: ...100 3 Slide the bottom tray to align it with the paper length 4 Lock the paper ejection tray ...
Страница 130: ...130 ...
Страница 155: ...Chapter 4 Handling 155 4 6 Close the fanfold paper cover This is the end of replacing the fanfold paper ...


