157
Troubleshooting
Problems and their remedies
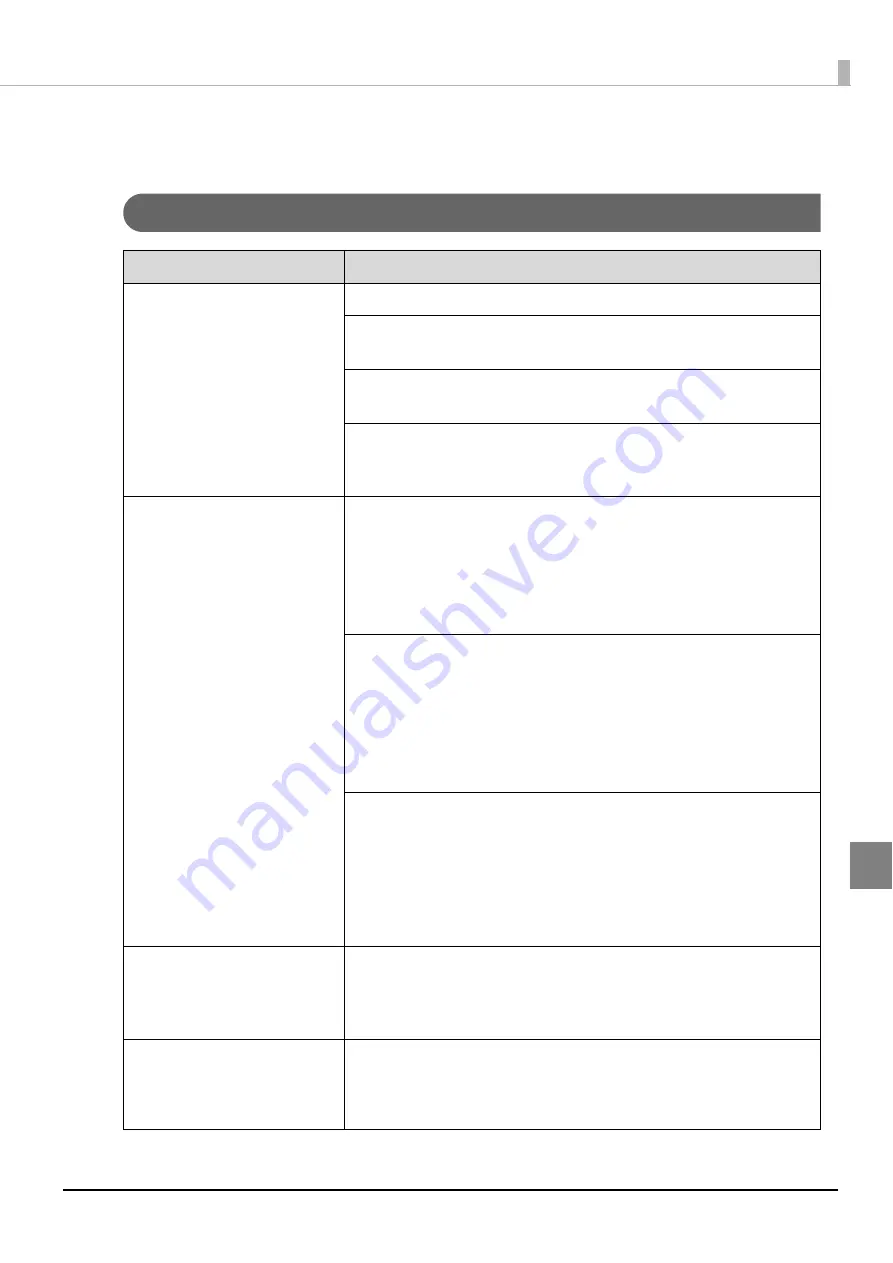
Power/control panel problems
Symptom/Problem Status
Check/Remedy Procedure
The power does not turn on.
Hold down the power button for a moment.
Is the power plug disconnected from the outlet?
Check if the plug is inserted only half-way or inserted at a slant.
Are you using a power strip or similar device?
Insert the power plug directly into the wall outlet.
Is power being supplied from the outlet?
Insert the power cable plug for another electronic product to check if
power is being supplied.
The power does not turn off.
Is a job being processed?
The power cannot be turned off while a job is being processed.
The power turns off automatically when the processing of all jobs
finishes.
If you hold down the power button for a moment (at least 3 seconds),
the power off process begins immediately. The jobs are cancelled.
Did you just turn on the power?
The power cannot be turned off for about 15 minutes once the power
is turned on.
The power turns off automatically 15 minutes after “Power off Please
wait” appears on the LCD.
If you hold down the power button for a moment (at least 3 seconds),
the power off process begins immediately.
Are the power LED and ERROR LED flashing?
If the power LED and ERROR LED are flashing, hold down the power
button for a moment (at least 3 seconds).
If the power still does not turn off, unplug the power cable from the
outlet. Then, turn on the power again, and be sure to use the power
button to turn off the power. Leaving the power on can cause drying
and clogging of the print head.
A rattling sound is made when
the power is turned on.
Is there a foreign object (such as blue protective tape for transporting)
inside the product?
Press the power button to turn off the power, and then open the disc
cover and check that there are no foreign objects inside.
“EPSON PP- 100N” remains
displayed and the product
does not work when the power
is turned on.
Repair is required.
Please contact Epson Information Center.
Содержание PP-100N - Discproducer - DVD Duplicator x2
Страница 1: ...User s Guide M00010600 ...
Страница 22: ...22 Stacker 2 Remove Gently lift and pull towards you to take out Attach Line up the indentations and attach ...
Страница 39: ...39 Preparation 4 Click OK ...
Страница 65: ...65 How to Use the Printer Driver 3 Click Set Printer The printer driver screen appears ...
Страница 92: ...92 5 Enter any name for Volume Label In this example we enter 20090101 6 Click Start Explorer ...
Страница 104: ...104 2 Select Type and Entry Method In this example we select QR Code and enter text The barcode appears ...
Страница 124: ...124 4 Click Republish ...
Страница 129: ...129 Maintenance The usage statuses of drivers 1 and 2 and the number of published discs appear in the Device screen ...


