4.
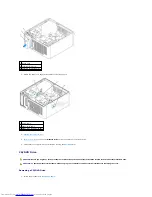
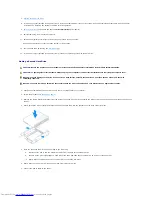
Attach the power and floppy-drive cables to the floppy drive.
5.
Replace the computer cover
.
6.
Enter system setup
and use the
Diskette Drive
option to enable your new floppy drive.
7.
Verify that your computer works correctly by running the
Dell Diagnostics
.
CD/DVD Drive
Removing a CD/DVD Drive
1.
Follow the procedures in "
Before You Begin
."
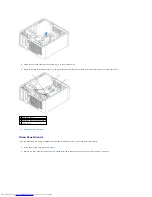
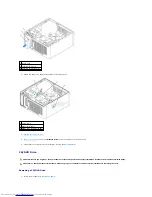
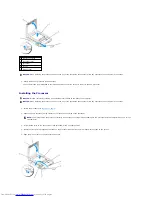
1 floppy drive
2 shoulder screws (4)
3 shoulder screw slots (2)
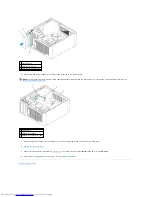
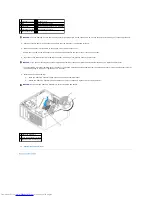
1 power cable
2 floppy-drive cable
3 floppy-drive connector (DSKT)
CAUTION:
Before you begin any of the procedures in this section, follow the safety instructions located in the Product Information Guide.
CAUTION:
To guard against electrical shock, always unplug your computer from the electrical outlet before replacing the cover.
Содержание OptiPlex GX520
Страница 1: ...Dell OptiPlex GX520 User s Guide Mini Tower Computer Desktop Computer Small Form Factor Computer ...
Страница 22: ...4 Press Alt b to restart the computer and implement your changes Back to Contents Page ...
Страница 29: ......
Страница 97: ...Back to Contents Page ...
Страница 108: ......
Страница 145: ......
Страница 149: ...10 Replace the computer cover Back to Contents Page 3 captive screw housing 2 ...
Страница 157: ...Back to Contents Page ...
Страница 166: ...Back to Contents Page ...
Страница 181: ...10 Replace the computer cover Back to Contents Page 3 captive screw in housing 2 ...
Страница 222: ...Back to Contents Page Dell OptiPlex GX520 User s Guide Back to Contents Page ...


