9.
If the drive you just installed is the primary drive, insert a bootable medium into your boot drive.
10.
Turn on the computer.
11.
Enter system setup
and update the appropriate
Primary Drive
option (
0
or
2
).
12.
Exit system setup, and reboot the computer.
13.
Partition and logically format your drive before you proceed to the next step.
For instructions, see the documentation that came with your operating system.
14.
Test the hard drive by running the
Dell Diagnostics
.
15.
Install your operating system on the hard drive.
For instructions, see the documentation that came with your operating system.
CD/DVD Drive
Removing a CD/DVD Drive
1.
Follow the procedures in "
Before You Begin
."
2.
Lay the computer on its side so that the system board is on the bottom of the inside of the computer.
3.
Remove the computer cover
.
4.
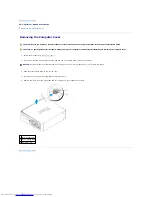
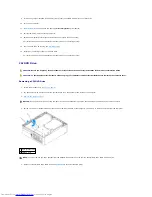
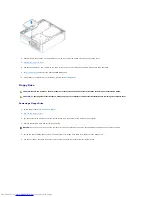
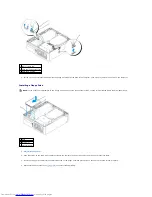
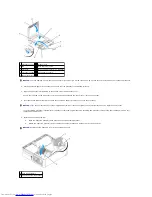
Pull up on the drive release latch and slide the drive towards the back of the computer. Then lift up to remove the drive from the computer.
5.
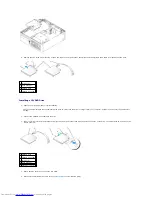
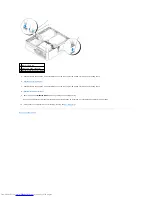
Disconnect the CD/DVD drive cable from the
system board
connector labeled (IDE).
CAUTION:
Before you begin any of the procedures in this section, follow the safety instructions in the
Product Information Guide
.
CAUTION:
To guard against electrical shock, always unplug your computer from the electrical outlet before removing the computer cover.
NOTICE:
Do not pull the drive out of the computer by the drive cables. Doing so may cause damage to cables and the cable connectors.
1 drive release latch
2 CD/DVD drive
NOTE:
You must remove the drive bracket from the CD/DVD drive before you can remove the CD/DVD drive cable from the drive.
Содержание OptiPlex GX520
Страница 1: ...Dell OptiPlex GX520 User s Guide Mini Tower Computer Desktop Computer Small Form Factor Computer ...
Страница 22: ...4 Press Alt b to restart the computer and implement your changes Back to Contents Page ...
Страница 29: ......
Страница 97: ...Back to Contents Page ...
Страница 108: ......
Страница 145: ......
Страница 149: ...10 Replace the computer cover Back to Contents Page 3 captive screw housing 2 ...
Страница 157: ...Back to Contents Page ...
Страница 166: ...Back to Contents Page ...
Страница 181: ...10 Replace the computer cover Back to Contents Page 3 captive screw in housing 2 ...
Страница 222: ...Back to Contents Page Dell OptiPlex GX520 User s Guide Back to Contents Page ...


