


8-7
Cisco Aironet Wireless LAN Client Adapters Installation and Configuration Guide for Windows
OL-1394-04
Chapter 8 Routine Procedures
Upgrading the Firmware
Note
If your wireless network uses host-based authentication, remember to select radio
firmware that supports 802.1X draft 10, which is functionally equivalent to the ratified
802.1X standard.
f.
Read and accept the terms and conditions of the Software License Agreement.
g.
Select the firmware file again to download it.
h.
Save the file to a floppy disk or to your computer’s hard drive.
i.
Find the file using Windows Explorer, double-click it, and extract the image file to a folder.
j.
Go to
Step 2
.
Step 2
Make sure the client adapter is installed in your computer and is operational.
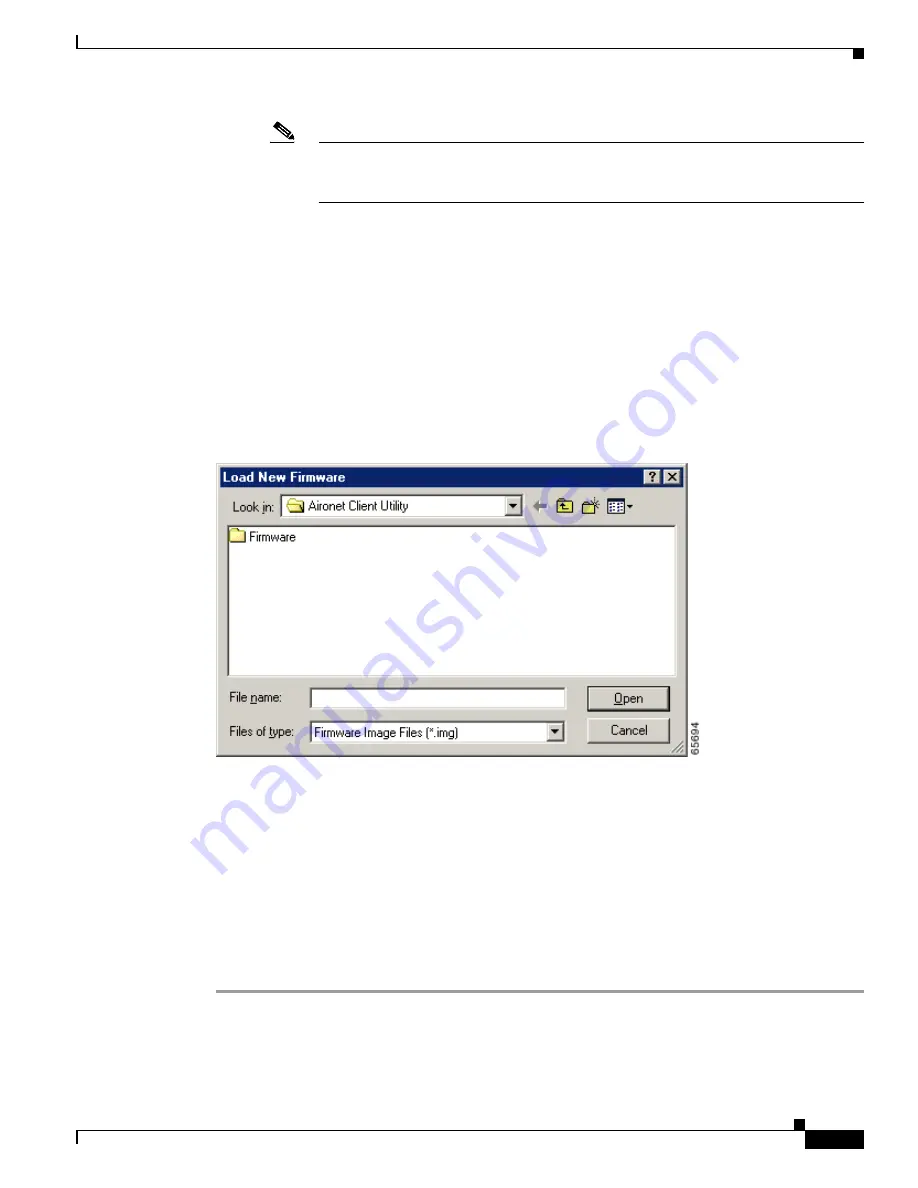
Step 3
Open ACU; then click the Load Firmware icon or select Load New Firmware from the Commands
drop-down menu. The Open window appears (see
Figure 8-3
).
Figure 8-3
Open Window
Step 4
Find the location of the new firmware in the Look in box. The default location is InstallPath\Firmware,
where InstallPath is the directory that ACU was installed in.
Step 5
Click the firmware image file (*.img) so that it appears in the File name box at the bottom of the Open
window.
Step 6
Click the Open button. A progress bar appears while the selected image is loaded into the client adapter’s
Flash memory.
Step 7
Click OK when the “Firmware Upgrade Complete!” message appears. The OK button cannot be selected
until the process is complete or an error occurs. If an error occurs, refer to the
“Error Messages”
section in
Chapter 9
.


