111
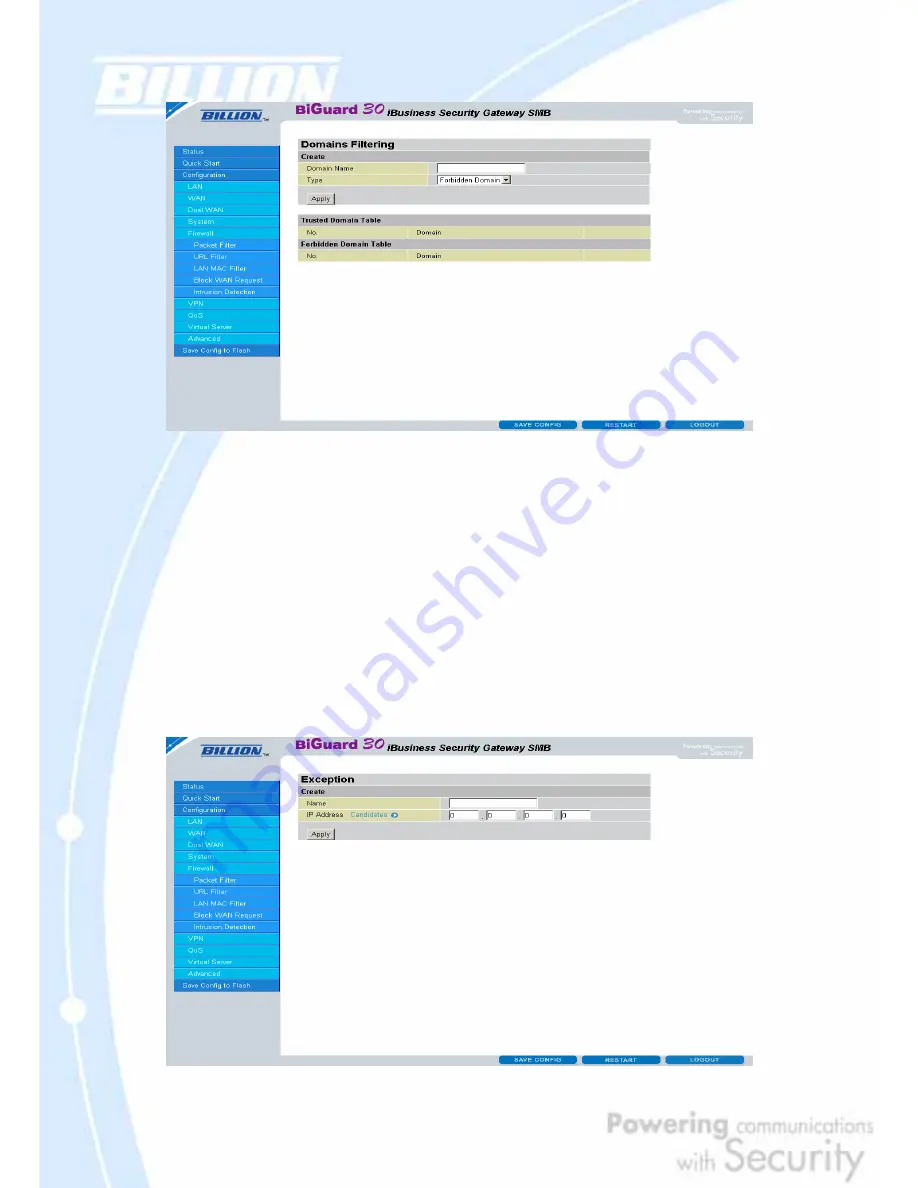
Enter a domain and select whether this domain is trusted or forbidden with the
pull-down menu. Next, click Apply. Your new domain will be added to either the
Trusted Domain or Forbidden Domain listing, depending on which you selected
previously.
Restrict URL Features: Use this to disable certain web features. Select the options
you want (Block Java Applet, Block ActiveX, Block Web proxy, Block Cookie, Block
Surfing by IP Address) and click
Apply
to save your changes.
You may also designate which IP addresses are to be excluded from these filters by
adding them to the Exception List. To do so, click Add.
Содержание BiGuard 30
Страница 1: ...BiGuard 30 iBusiness Security Gateway SMB User s Manual Version Release 5 00 FW 1 03...
Страница 46: ...46 2 Double click the Network icon The Network window displays a list of installed components...
Страница 48: ...48 c Select the manufacturer and model of your Ethernet adapter then click OK If you need TCP IP a Click Add...
Страница 51: ...51 2 In the Control Panel double click Network and choose the Configuration tab...
Страница 171: ...171 Main Aggressive mode peer ID is identifier string ISAKMP SA Established IPsec SA Established...
Страница 182: ...182 Step 4 From the same menu set the WAN2 DDNS settings Step 5 Click Save Config to save all changes to flash memory...
Страница 190: ...190 Step 4 Go to Configuration Advanced Dynamic DNS and input the dynamic DNS settings for WAN1 and WAN2 WAN1...
Страница 191: ...191 WAN 2 Step 5 Go to Configuration Virtual Server and set up a virtual server for both FTP and HTTP...
Страница 207: ...207 Step10 Input PPTP Server Address and press Next Step11 Please press Finish...
Страница 211: ...211 Step5 In another BiGuard as Client Go to Configuration WAN ISP Settings Step6 Click Apply and Save CONFIG...


