3
Configuring the Software
94
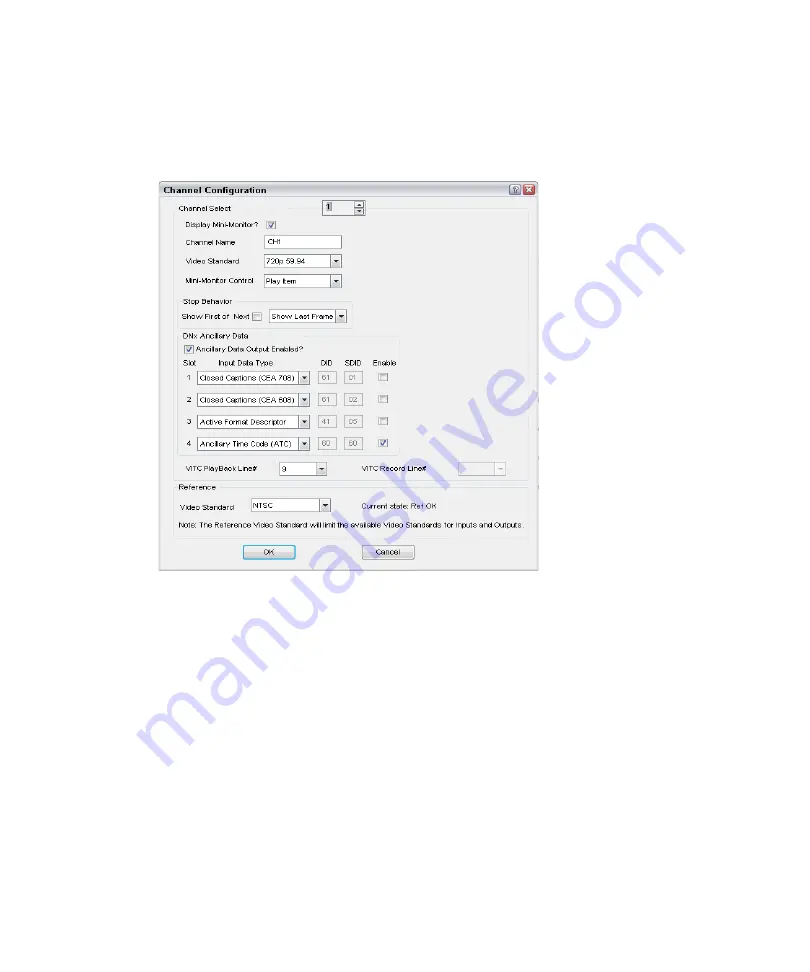
To configure channels in AirSpeed Multi Stream:
1. Select File > Preferences > Channel Configuration.
The Channel Configuration dialog box opens.
2. Select the channel you want to configure from the Channel Select list box. The channel
number you select corresponds to the MiniMonitor it will display on. For example
Channel 1 displays on MiniMonitor 1, Channel 2 displays on MiniMonitor 2, etc.
3. (Option) If you do not want to show the MiniMonitor for this channel, deselect the
Display Mini-Monitor check box.
4. (Option) In the Channel Name field, change the name of the selected channel by typing
a new name in the field.
5. (Option) In the Video Standard field, change the video standard for the selected channel
as required by your site. By default, the video standard is NTSC for all channels.
6. (Option) Select the behavior of the selected MiniMonitor. The default setting for the
MiniMonitor control is Play Item.
t
If “Play Item” is selected, pressing the space bar plays the clip highlighted in the
database directly on the channel with focus.
n
The highlight stays on the clip, instead of moving down to the next clip in the database.
Содержание AirSpeed series
Страница 1: ...Avid AirSpeed Multi Stream Installation and User s Guide...
Страница 16: ...16...
Страница 20: ...20...
Страница 80: ...2 Installing the Hardware and Setting Up Your System 80...
Страница 121: ...Optional AirSpeed Multi Stream Configuration Procedures 121 5 Click the Languages tab...
Страница 190: ...5 Working with Clips 190...
Страница 224: ...7 Working with the Remote Console 224...
Страница 264: ...B Performing Hardware Diagnostics 264...
Страница 266: ...C Network Teaming 266 4 Open the Teaming tab and enable Team this adapter with other adapters check box...
Страница 269: ...Setting Up Network Teaming 269...
Страница 270: ...C Network Teaming 270...
Страница 276: ...D Regulatory and Safety Notices 276 Taiwan EMC Regulations Taiwan EMC Regulations BSMI Class A EMC Warning...


