5
Working with Clips
176
The cued clip will transfer to the MiniMonitor and begin playing on the selected Output
channel.
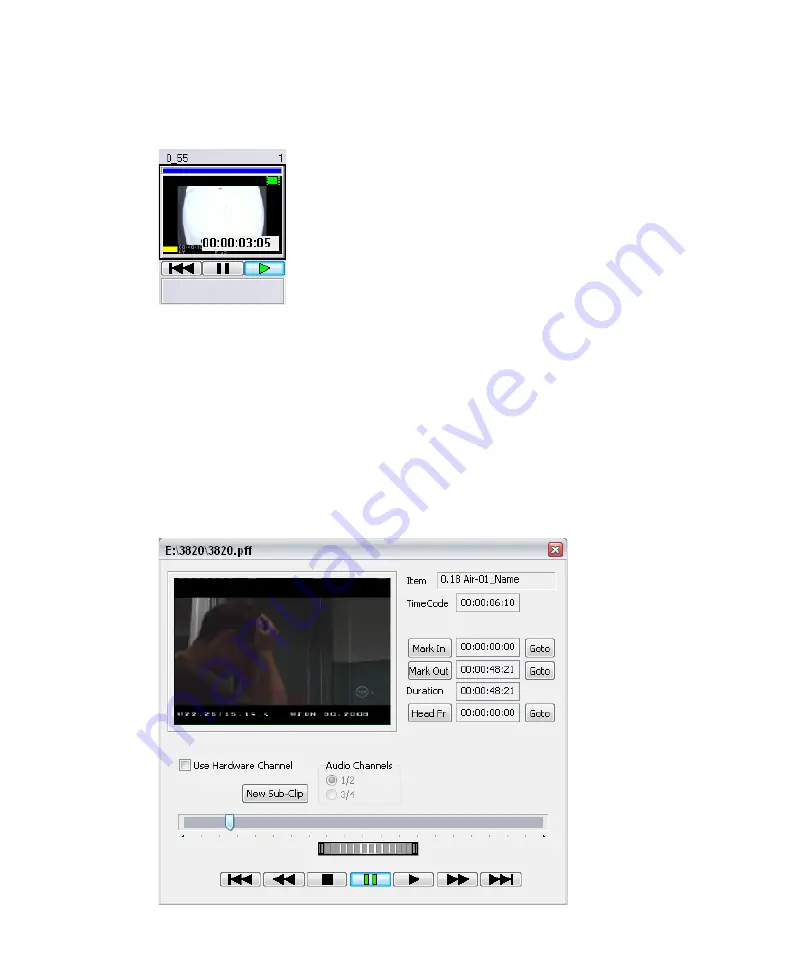
Changing a Clip’s Headframe
A clip's headframe image is taken from the first, middle or last frame of the clip, or it is
completely black, depending on the Default Headframe setting. See
Headframe for a Clip” on page 174
To change the headframe image:
1. Right-click on the headframe and select Preview, or press
F3
.
The Preview dialog box appears.
Содержание AirSpeed series
Страница 1: ...Avid AirSpeed Multi Stream Installation and User s Guide...
Страница 16: ...16...
Страница 20: ...20...
Страница 80: ...2 Installing the Hardware and Setting Up Your System 80...
Страница 121: ...Optional AirSpeed Multi Stream Configuration Procedures 121 5 Click the Languages tab...
Страница 190: ...5 Working with Clips 190...
Страница 224: ...7 Working with the Remote Console 224...
Страница 264: ...B Performing Hardware Diagnostics 264...
Страница 266: ...C Network Teaming 266 4 Open the Teaming tab and enable Team this adapter with other adapters check box...
Страница 269: ...Setting Up Network Teaming 269...
Страница 270: ...C Network Teaming 270...
Страница 276: ...D Regulatory and Safety Notices 276 Taiwan EMC Regulations Taiwan EMC Regulations BSMI Class A EMC Warning...


