5
Working with Clips
160
3. Right-click the MiniMonitor window and select Record Mode from the menu.
The MiniMonitor turns red and displays the word Record, indicating it is in
Record Mode.
n
The video signal present at the selected channel’s input will display in the corresponding
channels output.
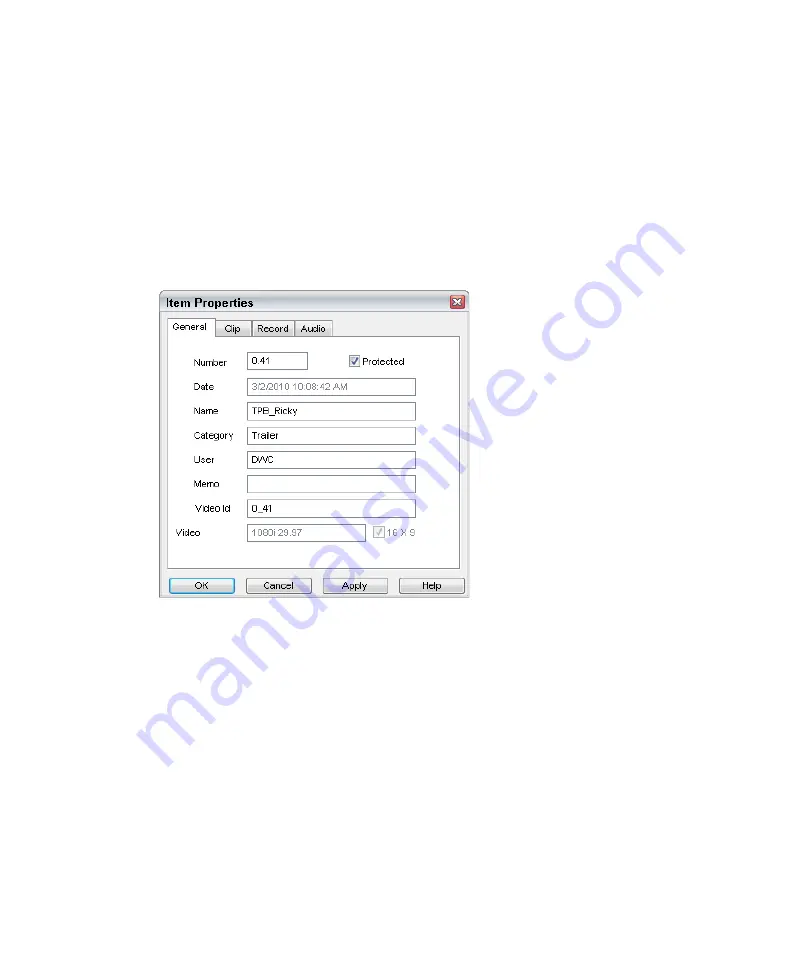
4. Right-click the window again and select Record from the menu.
The Item Properties dialog box appears.
5. Make your entries on the tabs as required and click OK to close the dialog box and begin
recording the clip.
n
The Name field can be edited only if you have not specified a clip name in the Clip name
field in the Destination Template of the Service Configuration.
The following topics provide more information about recording a clip:
•
“Clip Recording Methods” on page 163
•
Содержание AirSpeed series
Страница 1: ...Avid AirSpeed Multi Stream Installation and User s Guide...
Страница 16: ...16...
Страница 20: ...20...
Страница 80: ...2 Installing the Hardware and Setting Up Your System 80...
Страница 121: ...Optional AirSpeed Multi Stream Configuration Procedures 121 5 Click the Languages tab...
Страница 190: ...5 Working with Clips 190...
Страница 224: ...7 Working with the Remote Console 224...
Страница 264: ...B Performing Hardware Diagnostics 264...
Страница 266: ...C Network Teaming 266 4 Open the Teaming tab and enable Team this adapter with other adapters check box...
Страница 269: ...Setting Up Network Teaming 269...
Страница 270: ...C Network Teaming 270...
Страница 276: ...D Regulatory and Safety Notices 276 Taiwan EMC Regulations Taiwan EMC Regulations BSMI Class A EMC Warning...


