Description
Icon
Redline tag
Timeliner task (no attached items)
Timeliner task (with attached items)
Timeliner task (synchronized link)
Timeliner task (old or broken link)
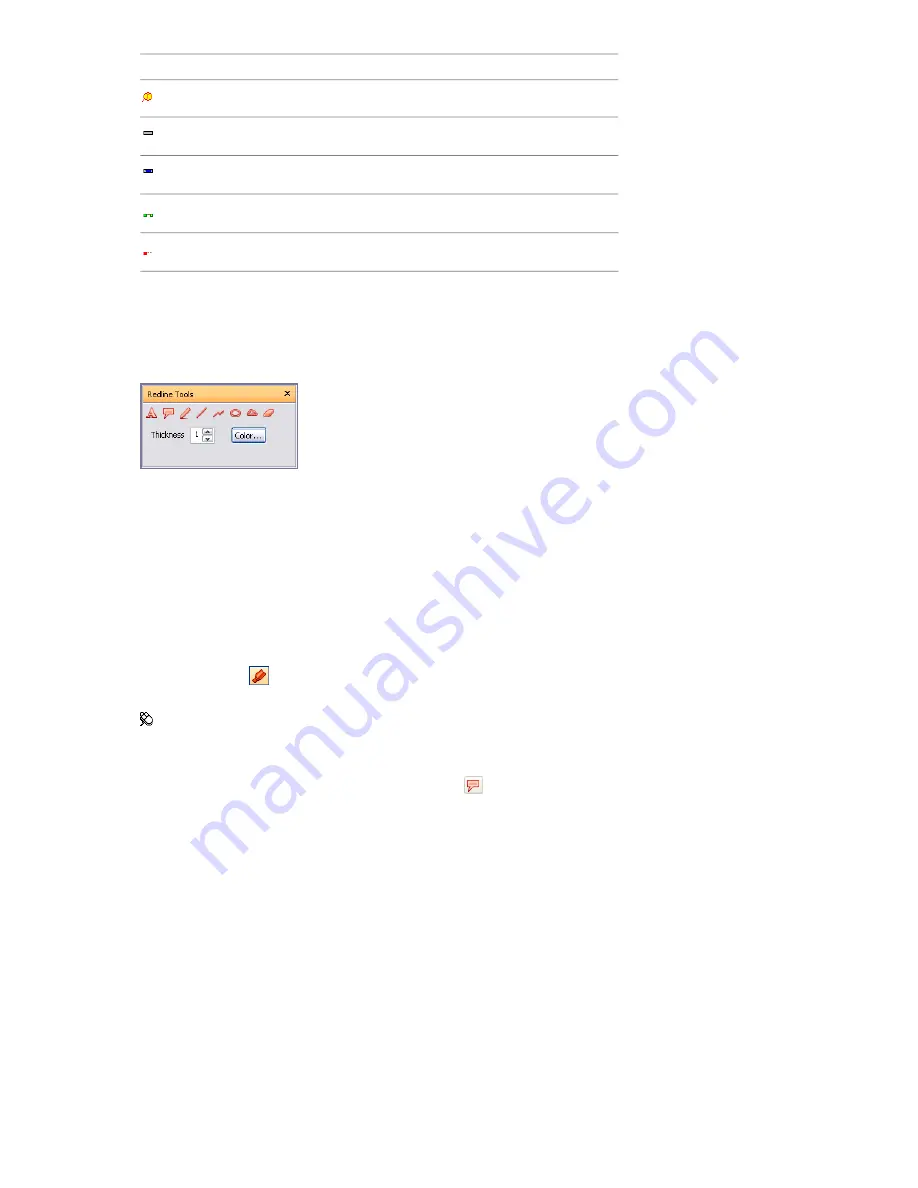
Redline Tools Window
The Redline Tools window is a dockable window with a number of buttons at the top enabling you to mark up
viewpoints with redline annotations.
The Thickness and Color controls enable you to modify the redline settings. These changes do not affect already
drawn redlines. Also, thickness only applies to lines; it does not affect redline text, which has a default size and
weight and cannot be modified.
All redlines (with an exception of redline tags) can only be added to a saved viewpoint or to a clash result which
has a saved viewpoint. If you don’t have any saved viewpoints, adding a redline tag will automatically create
and save a viewpoint for you.
You can also convert measurements to redlines. For more information, see “
” on page 212.
To toggle the Redline Tools window
■
Click Redline
on the Workspace toolbar.
Menu: Tools
➤
Redline
To add a redline tag
1
Open the Redline Tools window, and click Tag
.
2
In the Scene Area, click the object you want to tag.
3
Click the area where you want the tag label to be located. The redline tag is now added, and both points
arejoined by a leader line.
If the current viewpoint is not already saved, then it will be saved automatically and named 'Tag View X',
where
X
is the tag ID.
Add Comments and Redlines | 219
Содержание 507B1-90A211-1301 - NavisWorks Manage 2010
Страница 1: ...Autodesk Navisworks Manage 2010 User Guide March 2009 ...
Страница 12: ...xii Contents ...
Страница 14: ...2 Part 1 Welcome to Autodesk Navisworks Manage 2010 ...
Страница 64: ...52 Chapter 3 Installation ...
Страница 97: ...Get a Whole Project View 85 ...
Страница 98: ...86 Part 2 Get a Whole Project View ...
Страница 136: ...124 Chapter 5 Work with Files ...
Страница 178: ...To toggle ViewCube Click View Head Up Display ViewCube 166 Chapter 6 Explore Your Model ...
Страница 262: ...250 Chapter 9 Use Viewpoints and Sectioning Modes ...
Страница 270: ...258 Chapter 11 Work Within a Team ...
Страница 282: ...270 Chapter 12 Share Data ...
Страница 346: ...334 Chapter 14 Create Photorealistic Visualizations ...
Страница 460: ...448 Chapter 17 Autodesk Navisworks Reference ...
Страница 466: ...454 Glossary ...


