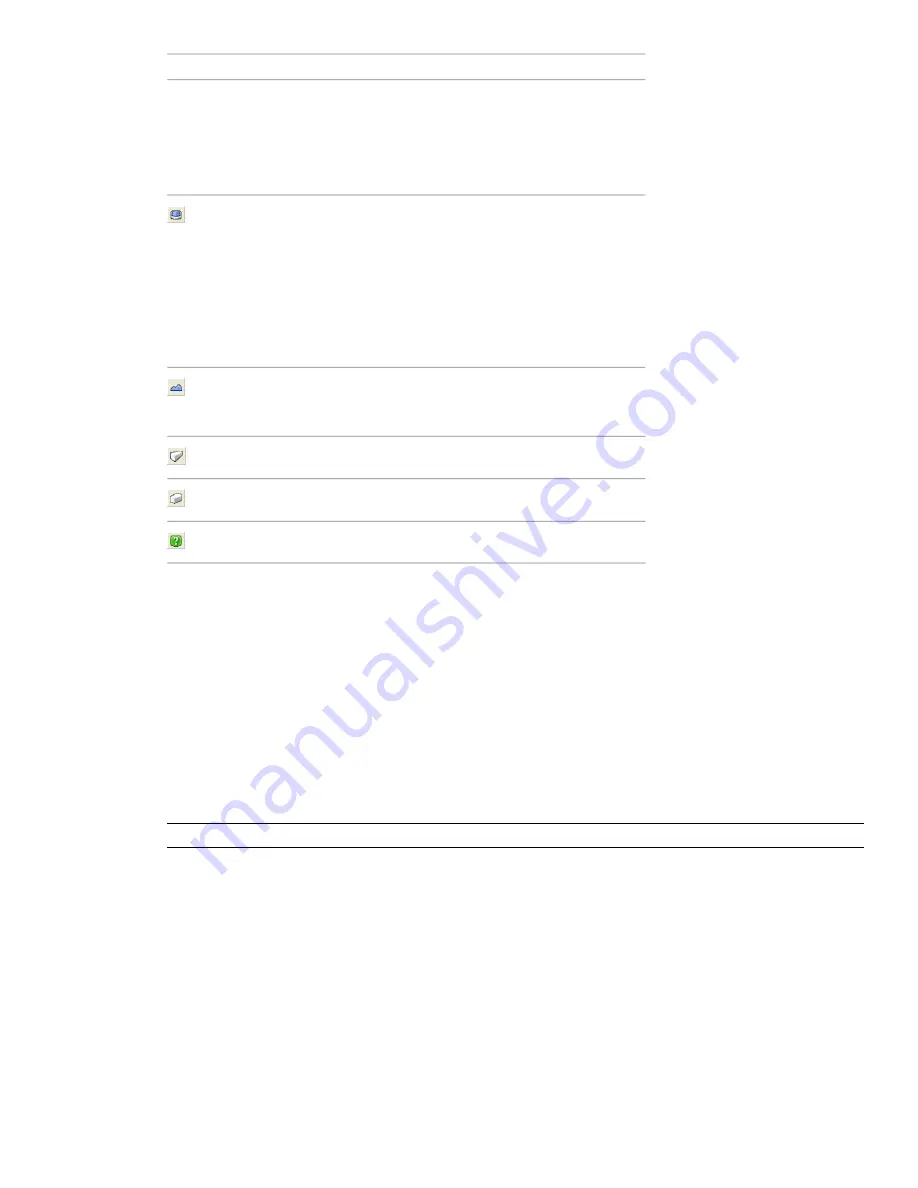
Description
Button
LEFT ARROW and RIGHT ARROW keys spin
the camera left and right respectively.
Holding down the SHIFT key speeds up
this movement. Holding down the CTRL
key rotates the camera around its viewing
axis, while still moving forward.
Selects turntable mode. Dragging the left
mouse button left and right, or using the
LEFT ARROW and RIGHT ARROW keys spins
the turntable left and right respectively.
Holding down the SHIFT key or spinning
the mouse wheel, temporarily switches this
mode to zoom mode. Holding down the
CTRL key temporarily switches this mode
to pan mode.
Shows all model. Clicking this button dol-
lies and pans the camera so that the entire
model is displayed.
Selects perspective camera view.
Selects orthographic camera view.
Opens the Help system.
The Shortcut Menu
Right-clicking in the Navigator window opens a shortcut menu.
Focus on Item
Focuses the camera on the selected item. The point you click becomes the focal point for examine,
orbit, and turntable navigation modes.
Speed
Frame Rate
Specifies the number of frames per second (FPS) that are rendered in the Navigator window.
The default setting is 6. You can set the frame rate from 1 through 20 frames per second. Reducing the value
reduces drop-out, but can cause jerky movement during navigation. Increasing the value ensures a smoother
navigation, but increases drop-out.
Hardware Acceleration
Select this option to utilize any available OpenGL hardware acceleration on your video
card.
NOTE
If your video card does not support OpenGL hardware acceleration, this option is not available.
Viewpoint
Rendering
Selects rendering mode for your model. Choose from:
■
Shaded
- renders the model with smooth shading and without textures. This is the default option.
■
Wireframe
- renders the model in wireframe; all triangle edges are visible in this mode.
■
Hidden Line
- renders the model in hidden line; this is equivalent to rendering model as shaded and wireframe
at the same time. The output is low quality as all the facet edges in the model are visible.
Lighting
Selects lighting mode for your model. Choose from:
■
No Lights
- turns off lighting. The model is shaded with flat rendering.
110 | Chapter 5 Work with Files
Содержание 507B1-90A211-1301 - NavisWorks Manage 2010
Страница 1: ...Autodesk Navisworks Manage 2010 User Guide March 2009 ...
Страница 12: ...xii Contents ...
Страница 14: ...2 Part 1 Welcome to Autodesk Navisworks Manage 2010 ...
Страница 64: ...52 Chapter 3 Installation ...
Страница 97: ...Get a Whole Project View 85 ...
Страница 98: ...86 Part 2 Get a Whole Project View ...
Страница 136: ...124 Chapter 5 Work with Files ...
Страница 178: ...To toggle ViewCube Click View Head Up Display ViewCube 166 Chapter 6 Explore Your Model ...
Страница 262: ...250 Chapter 9 Use Viewpoints and Sectioning Modes ...
Страница 270: ...258 Chapter 11 Work Within a Team ...
Страница 282: ...270 Chapter 12 Share Data ...
Страница 346: ...334 Chapter 14 Create Photorealistic Visualizations ...
Страница 460: ...448 Chapter 17 Autodesk Navisworks Reference ...
Страница 466: ...454 Glossary ...


