


Points and snap points are automatically snapped to. You can set the cursor to snap to the nearest vertex, edge,
or line when you pick geometry. You can also adjust the snapping angle and the snapping tolerance that are
used when you rotate geometry.
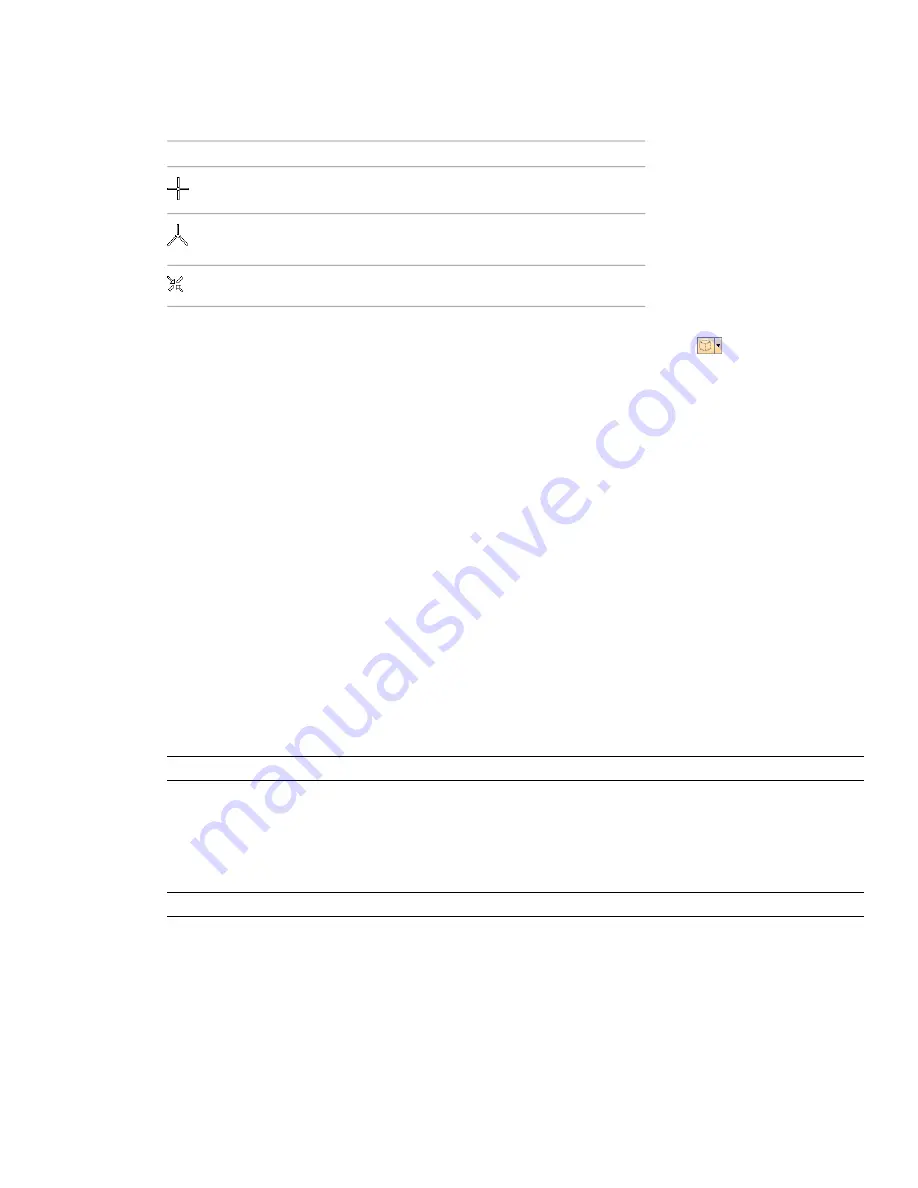
Different cursors feed back what is being snapped to:
Description
Cursor
No snap, but a point on a surface is found.
A vertex, point, snap point or line end is
found to snap to.
An edge is found to snap to.
Geometry in Autodesk Navisworks is tessellated with triangles, and therefore, the cursor snaps to edges that may
appear to be in the middle of a face. Consider viewing the model in hidden line mode
to clarify which vertex
or edge the cursor is snapping to.
To customize snap settings
1
Click Tools
➤
Global Options.
2
In the Options Editor, expand the Interface node, and click the Snapping option.
3
On the Snapping page, Picking area, select the check boxes for all required snaps, and enter the snapping
Tolerance. The smaller the value, the closer the cursor must be to a feature in the model before it snaps to
it.
4
In the Rotation area, enter the multiplier for the snapping angle into the Angles box, and the snapping
tolerance into the Angle Sensitivity box. The smaller the value, the closer to the snapping angle the cursor
must be for snap to take effect.
5
Click OK.
Reset to Original Values
In Autodesk Navisworks, you can reset object attributes back to the values in the original CAD files.
To restore original colors and transparencies for an object or a group of objects in your scene
NOTE
You cannot restore colors separately from transparencies.
1
Select the required objects in the Scene Area.
2
Click Edit
➤
Reset Item
➤
Colors and Transparencies.
To reset colors and transparencies for all objects in your scene
NOTE
You cannot restore colors separately from transparencies.
■
Click Edit
➤
Reset All
➤
Colors and Transparencies.
To reset transform for an object or a group of objects in your scene
1
Select the required objects in the Scene Area.
2
Click Edit
➤
Reset Item
➤
Reset Transforms.
210 | Chapter 8 Review Your Model
Содержание 507B1-90A211-1301 - NavisWorks Manage 2010
Страница 1: ...Autodesk Navisworks Manage 2010 User Guide March 2009 ...
Страница 12: ...xii Contents ...
Страница 14: ...2 Part 1 Welcome to Autodesk Navisworks Manage 2010 ...
Страница 64: ...52 Chapter 3 Installation ...
Страница 97: ...Get a Whole Project View 85 ...
Страница 98: ...86 Part 2 Get a Whole Project View ...
Страница 136: ...124 Chapter 5 Work with Files ...
Страница 178: ...To toggle ViewCube Click View Head Up Display ViewCube 166 Chapter 6 Explore Your Model ...
Страница 262: ...250 Chapter 9 Use Viewpoints and Sectioning Modes ...
Страница 270: ...258 Chapter 11 Work Within a Team ...
Страница 282: ...270 Chapter 12 Share Data ...
Страница 346: ...334 Chapter 14 Create Photorealistic Visualizations ...
Страница 460: ...448 Chapter 17 Autodesk Navisworks Reference ...
Страница 466: ...454 Glossary ...


