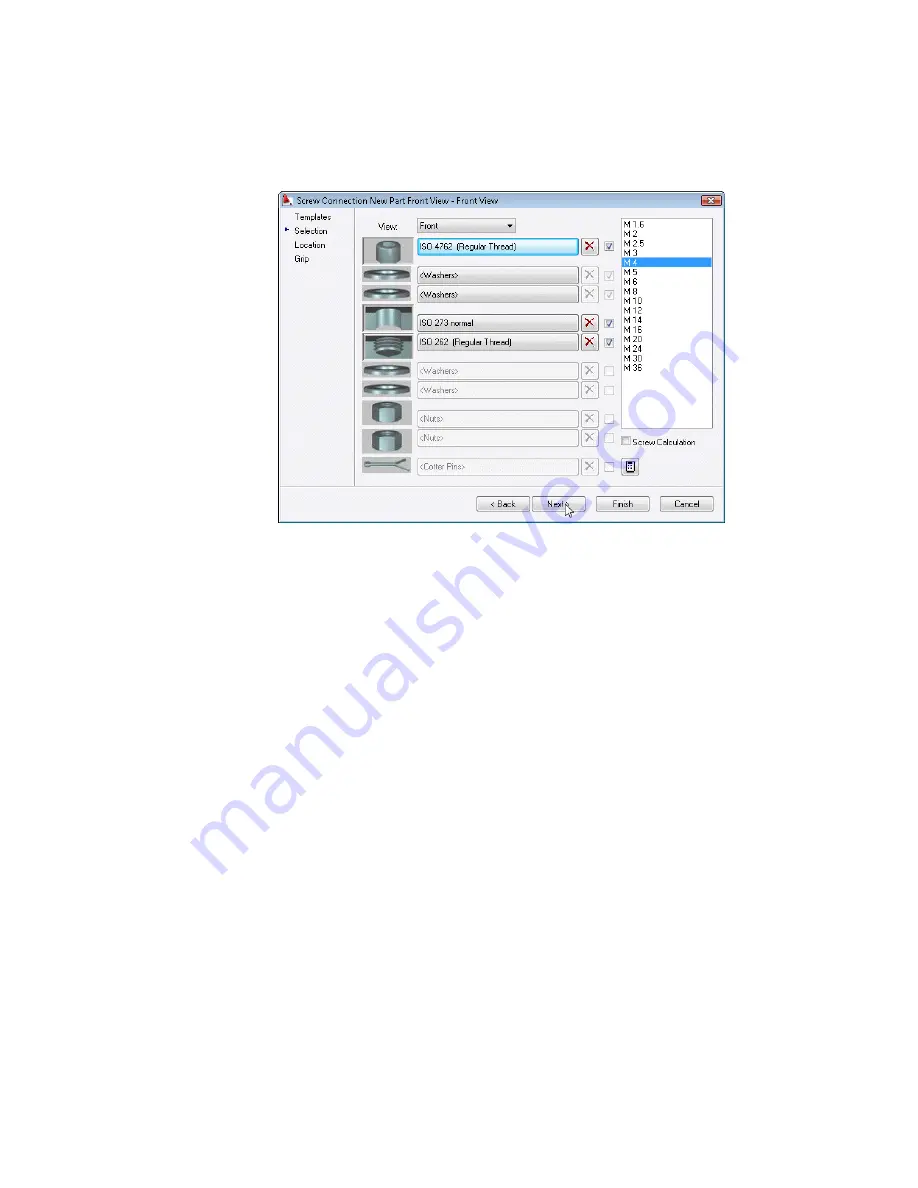
6
Respond to the prompts as follows:
Specify insertion point of first hole:
Press
ENTER
Specify endpoint of first hole [Gap between holes]:
Press
ENTER
7
In the Screw Connection New Part Front View - Front View dialog box,
Location representation, click Next.
8
In he Screw Connection New Part Front View - Front View dialog box,
Grip representation, click Finish.
Drag Size:
Drag the screw connection dynamically to the size M4 x 12, and then click
Drag Size:
Enter
8
, press
ENTER
The screw connection is edited to a screw length of 12 mm and a blind
hole depth of 8 mm.
Your drawing looks like this:
188 | Chapter 9 Working with Standard Parts
Содержание 057A1-09A111-1001 - AutoCAD LT 2009
Страница 1: ...AutoCAD Mechanical 2009 User s Guide January 2008 ...
Страница 10: ...2 ...
Страница 50: ...42 ...
Страница 58: ...50 ...
Страница 106: ...98 ...
Страница 157: ...This is the end of this tutorial chapter Inserting Fits Lists 149 ...
Страница 158: ...150 ...
Страница 174: ...166 ...
Страница 179: ...3 In the Select a Screw dialog box select Socket Head Types Inserting Screw Connections 171 ...
Страница 180: ...4 Select ISO 4762 and Front View 172 Chapter 9 Working with Standard Parts ...
Страница 188: ...4 Select ISO 10642 and Front View 180 Chapter 9 Working with Standard Parts ...
Страница 212: ...204 ...
Страница 229: ...6 In the Set Value dialog box specify Column Material Value 8 Creating Parts Lists 221 ...
Страница 242: ...Save your file This is the end of this tutorial chapter 234 Chapter 10 Working with BOMs and Parts Lists ...
Страница 263: ...Save your file This is the end of this tutorial chapter Inserting Bearings 255 ...
Страница 264: ...256 ...
Страница 266: ...258 ...
Страница 282: ...274 ...
Страница 292: ...284 ...
Страница 306: ...298 ...
Страница 348: ...340 ...
Страница 366: ...Save your file This is the end of the tutorial chapter 358 Chapter 18 Designing and Calculating Cams ...
Страница 368: ...360 ...
Страница 406: ...398 ...
Страница 414: ......


