Getting Started
P846/EN GS/D
MiCOM P846
(GS) 3-11
Default Display
HOT KEY MENU
EXIT
MiCOM
P846
HOTKEY
CB CTRL
<USR ASSX
STG GRP>
SETTING GROUP 1
SELECT
<MENU
USR ASS1>
NXT GRP
CONTROL INPUT 1
ON
<STG GRP
USR ASS2>
EXIT
CONTROL INPUT 2
ON
<USR ASS1 USR ASSX>
EXIT
CONTROL INPUT 2
ON
<USR ASS2
MENU>
EXIT
CONTROL INPUT 1
ON
<MENU
USR ASS2>
SETTING GROUP 2
SELECT
<MENU
USR ASS1>
NXT GRP
GS
SETTING GROUP 2
SELECTED
<MENU
USR ASS1>
CONTROL INPUT 1
EXIT
<MENU
USR ASS2>
OFF
Confirmation
screen
displayed for
2 seconds
Confirmation
screen
dispalyed for
2 seconds
(See CB Control in Application Notes)
NOTE: <<EXIT>> Key returns
the user to the Hotkey
Menu Screen
P1246ENc
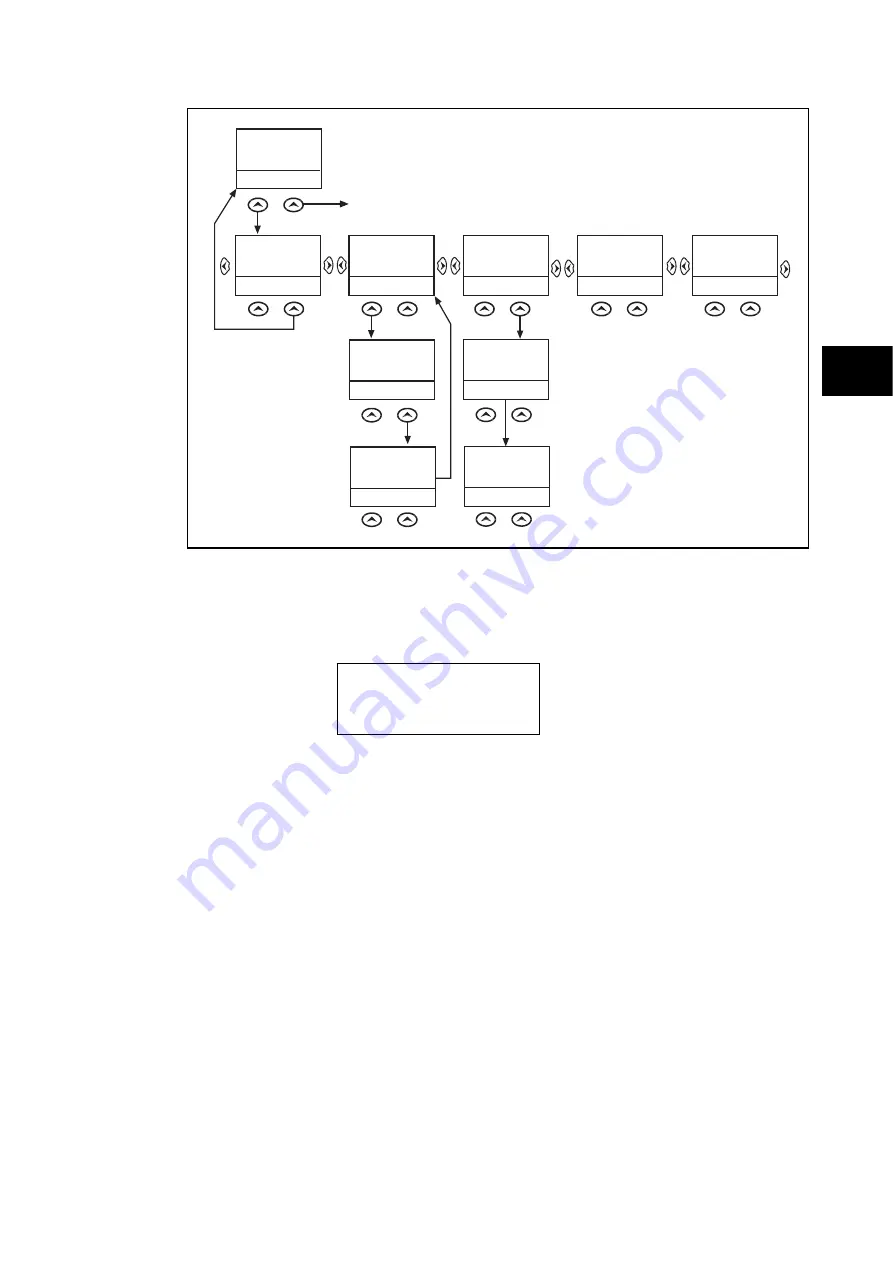
Figure 5: Hotkey menu navigation
1.8.4
Password entry
When entry of a password is required the following prompt will appear:
Enter password
**** Level 1
Note:
The password required to edit the setting is the prompt as shown
above
A flashing cursor will indicate
field of the password may be changed. Press
the
and
keys to vary each character between A and Z. To move between the
character
pressing the enter k
The display will revert to ‘Enter Password’ if an incorrect
.
which character
fields of the password, use the
and
keys. The password is confirmed by
ey
.
password is entered. At this point a message will be displayed indicating whether a correct
password has been entered and if so what level of access has been unlocked. If this level is
sufficient to edit the selected setting then the display will return to the setting page to allow
the edit to continue. If the correct level of password has not been entered then the password
prompt page will be returned to. To escape from this prompt press the clear key
.
Alternatively, the password can be entered using the ‘Password’ cell of the ‘System data’
column.
For the front panel user interface the password protected access will revert to the default
access level after a keypad inactivity time-out of 15 minutes. It is possible to manually reset
the password protection to the default level by moving to the ‘Password’ menu cell in the
‘System data’ column and pressing the clear key
instead of entering a password.
Содержание MiCOM P846
Страница 2: ......
Страница 4: ......
Страница 5: ...Safety Section P846 EN SS H11 SS SAFETY SECTION...
Страница 6: ...P846 EN SS H11 Safety Section SS...
Страница 8: ...P846 EN SS H11 Safety Section SS 2 SS...
Страница 16: ...P846 EN IT D Introduction MiCOM P846 IT...
Страница 18: ...P846 EN IT D Introduction IT 1 2 MiCOM P846 IT...
Страница 26: ...P846 EN TD D Technical Data MiCOM P846 TD...
Страница 38: ...P846 EN GS D Getting Started MiCOM P846 GS...
Страница 58: ...P846 EN ST D Getting Started MiCOM P846 ST...
Страница 60: ...P846 EN ST D Settings ST 4 2 MiCOM P846 ST...
Страница 78: ...P846 EN OP D Operation MiCOM P846 OP...
Страница 104: ...P846 EN OP D Operation OP 5 26 MiCOM P846 OP...
Страница 106: ...P846 EN AP D Application Notes MiCOM P846 AP...
Страница 108: ...P846 EN AP D Application Notes AP 6 2 MiCOM P846 AP...
Страница 122: ...P846 EN AP D Application Notes AP 6 16 MiCOM P846 AP...
Страница 124: ...P846 EN PL D Programmable Logic MiCOM P846 PL...
Страница 126: ...P846 EN PL D Programmable Logic PL 7 2 MiCOM P846 PL...
Страница 144: ...P846 EN MR D Measurements and Recording MiCOM P846 MR...
Страница 146: ...P846 EN MR D Measurements and Recording MR 8 2 MiCOM P846 MR...
Страница 160: ...P846 EN FD D Firmware Design MiCOM P846 FD...
Страница 182: ...P846 EN CM D Commissioning MiCOM P846 CM...
Страница 228: ...P846 EN CM D Commissioning CM 10 46 MiCOM P846 CM...
Страница 230: ...P846 EN MT D Maintenance MiCOM P846 MT...
Страница 232: ...P846 EN MT D Maintenance MT 11 2 MiCOM P846 MT...
Страница 238: ...P846 EN TS D Troubleshooting MiCOM P846 TS...
Страница 240: ...P846 EN TS D Troubleshooting TS 12 2 MiCOM P846 TS...
Страница 252: ...P846 EN SC D SCADA Communications MiCOM P846 SC...
Страница 272: ...P846 EN SG D Symbols and Glossary MiCOM P846 SG...
Страница 280: ...P846 EN SG D Symbols and Glossary SG 14 8 MiCOM P846 SG...
Страница 282: ...P846 EN IN D Installation MiCOM P846 IN...
Страница 284: ...P846 EN IN D Installation IN 15 2 MiCOM P846 IN...
Страница 293: ...Installation P846 EN IN D MiCOM P846 IN 15 11 7 P846 CASE DIMENSIONS Figure 3 Case dimensions IN...
Страница 295: ...Installation P846 EN IN D MiCOM P846 IN 15 13 P1756ENa IN Figure 5 Model B with 32 output contacts and 24 digital inputs...
Страница 296: ...P846 EN IN D Installation IN 15 14 MiCOM P846 IN...
Страница 297: ......


