Version 1.00
99
DISK MANAGEMENT
You can also choose to save the project on a specific machine. To avoid
confusion, the machines are listed by the tracks they represent. For
example, machine 1 will be shown as “1-16”, machine 2 as “17-32” etc..
DISK
This shows the disk ID to which the project will be saved on the selected
machine.
NOTE: It is not possible to save the project to another disk and the DISK field is shown for
information only. The system always saves the project back to the disk it was loaded from.
This is because saving a project to another disk would detach the project from the audio.
Imagine the situation where you load a project from hard disk on SCSI ID#0 and save it to an
MO on SCSI ID#1. When you remove the MO and try an play it elsewhere, because the audio
is not on that disk, the project would not play.
If you really want to have the project on another disk with its associated audio, you should
copy the project using the DISK COPY functions.
AUTOSAVE
With AUTOSAVE switched OFF, you must specifically save projects when
you feel it is appropriate. With AUTOSAVE switched to ON, whenever
you do anything, the project is saved (saving is very fast - you won’t
notice any deterioration in speed or performance). After you record, cut,
paste, erase, slip, undo, whatever, the project is saved automatically. As
well as alleviating the need for a manual save, it has the added advantage
that should anything go wrong, the project is safe.
Basically, there are pros and cons to the AUTOSAVE function - some
users like not to worry about having to save and are happy for their
every action to be saved immediately, others prefer to save manually as
and when they like. You have the choice!
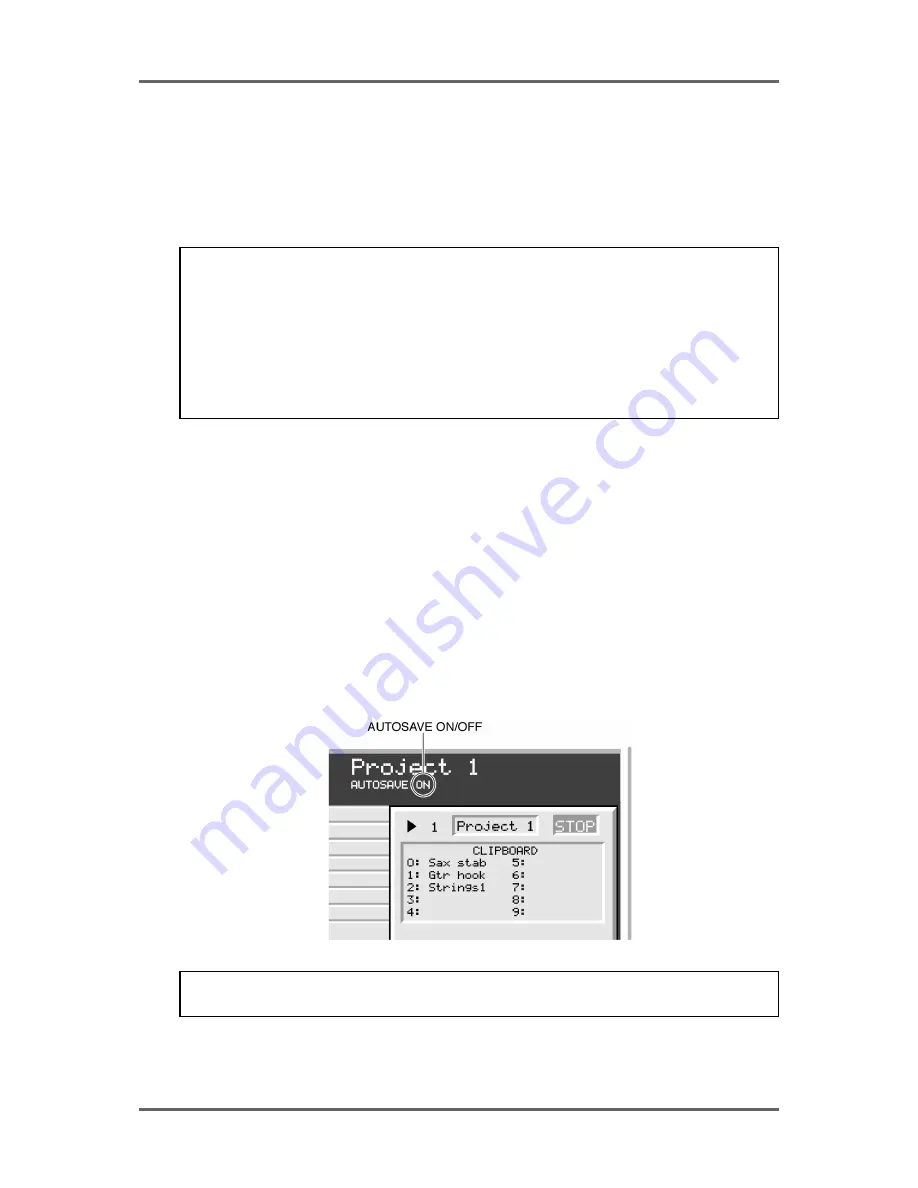
When AUTOSAVE is switched ON, this is shown on the VGA monitor to
the top right of the GRID:
NOTE: On the DD8 or DR16pro, AUTOSAVE is always switched ON by default after power-
up. On the DD1500, the AUTOSAVE setting is recalled from flash-ROM after power-up.
Содержание RE32
Страница 10: ...Page ix ...


