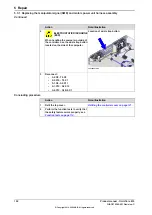
Removing the drive unit
Note/Illustration
Action
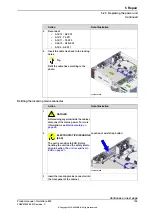
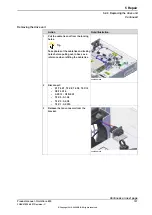
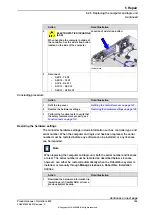
xx2100001336
Pull the cable ties out from the locking
holes.
Tip
Take photos of the cable ties and locking
holes before pulling out, to have as a
reference when refitting the cable ties.
1
Disconnect:
•
X1-T4.X7, T4.X8, T4.X9, T4.X15
•
X2-T4.X16
•
A2.X13 - G1/G2.X1
•
T4.X5 - A1.X4
•
T4.X3 - A2.X9
•
T4.X1 - A2.X10
2
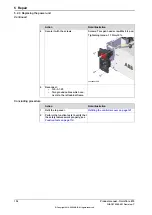
xx2100001331
Release the fan connector from the
bracket.
3
Continues on next page
Product manual - OmniCore E10
137
3HAC079399-001 Revision: C
© Copyright 2019-2022 ABB. All rights reserved.
5 Repair
5.2.4 Replacing the drive unit
Continued
Содержание OmniCore E10
Страница 1: ...ROBOTICS Product manual OmniCore E10 ...
Страница 2: ...Trace back information Workspace 22A version a10 Checked in 2022 03 02 Skribenta version 5 4 005 ...
Страница 8: ...This page is intentionally left blank ...
Страница 34: ...This page is intentionally left blank ...
Страница 198: ...This page is intentionally left blank ...
Страница 206: ...This page is intentionally left blank ...
Страница 224: ...This page is intentionally left blank ...
Страница 228: ......
Страница 229: ......


