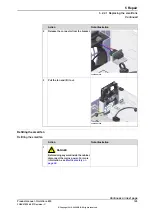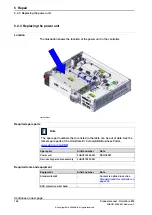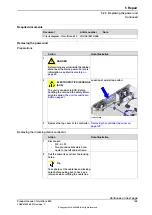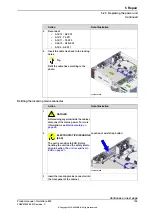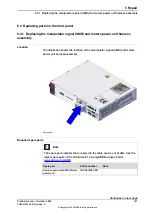
Note/Illustration
Action
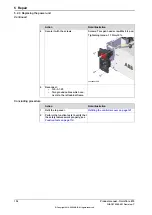
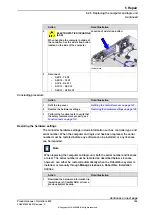
Reconnect:
•
A1.X13 - A2.X12
•
A1.X2 - T4.X17
•
A1.X11 - T4.X13
•
A2.X13 - G1/G2.X1
•
A1.X6 - A2.X11
5
xx2100001333
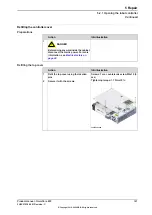
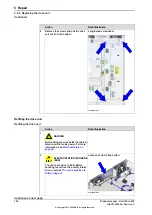
Insert the cable ties back to the locking
holes.
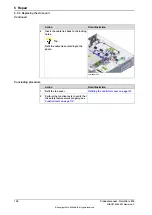
Tip
Refit the cable ties according to the
photo.
6
Refitting the incoming mains connector
Note/Illustration
Action
DANGER
Before doing any work inside the cabinet,
disconnect the mains power. For more
information, see
1
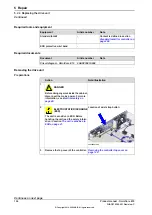
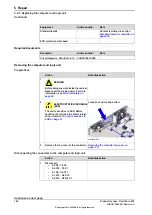
Location of wrist strap button:
ELECTROSTATIC DISCHARGE
(ESD)
The unit is sensitive to ESD. Before
handling the unit read the safety inform-
ation in section
2
xx2100001295
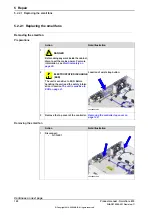
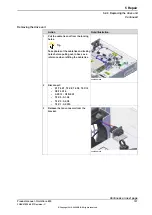
Insert the incoming mains connector into
the front panel of the cabinet.
3
Continues on next page
Product manual - OmniCore E10
133
3HAC079399-001 Revision: C
© Copyright 2019-2022 ABB. All rights reserved.
5 Repair
5.2.3 Replacing the power unit
Continued
Содержание OmniCore E10
Страница 1: ...ROBOTICS Product manual OmniCore E10 ...
Страница 2: ...Trace back information Workspace 22A version a10 Checked in 2022 03 02 Skribenta version 5 4 005 ...
Страница 8: ...This page is intentionally left blank ...
Страница 34: ...This page is intentionally left blank ...
Страница 198: ...This page is intentionally left blank ...
Страница 206: ...This page is intentionally left blank ...
Страница 224: ...This page is intentionally left blank ...
Страница 228: ......
Страница 229: ......

