2-10 Installation
bb
_________________________________________
6.
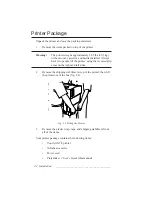
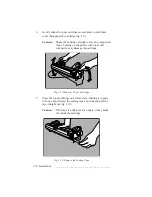
Gently shake the toner cartridge several times to distribute
toner throughout the cartridge (fig. 2.9).
Caution:
Shake the cartridge enough to free any compacted
toner. Turning on the printer with toner still
compacted may damage the cartridge.
Fig. 2.9 Shake the Toner Cartridge
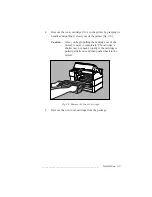
7.
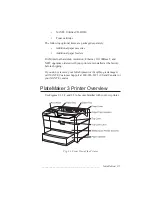
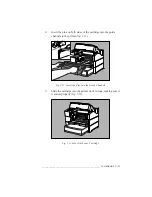
Place the toner cartridge on a flat surface, holding it in place
with one hand. Grasp the sealing tape’s end tab and pull the
tape straight out (fig. 2.10).
Caution:
If the tape is pulled out at an angle, it may break
off inside the cartridge.
Fig. 2.10 Remove the Sealing Tape
Summary of Contents for PlateMaker 3
Page 2: ...1 2 Introductionbb ________________________________________ Notes...
Page 10: ...1 10 Introductionbb ________________________________________...
Page 12: ...2 2 Installationbb_________________________________________ Notes...
Page 40: ...3 2 Macintosh Setupbb ____________________________________ Notes...
Page 90: ...3 52 Macintosh Setupbb ____________________________________...
Page 92: ...4 2 PC Setupbb __________________________________________ Notes...
Page 142: ...5 2 Ethernet Setupbb ______________________________________ Notes...
Page 212: ...6 38 Configurationbb ______________________________________...
Page 214: ...7 2 Media Optionsbb ______________________________________ Notes...
Page 224: ...8 2 Printing with Various Media Types bb _____________________ Notes...
Page 232: ...9 2 Maintenance and Specificationsbb ________________________ Notes...
Page 246: ...10 2 Printer Optionsbb ____________________________________ Notes...
Page 262: ...10 18 Printer Optionsbb ____________________________________...
Page 264: ...11 2 Troubleshootingbb____________________________________ Notes...


