Chapter 10: Creating Aliases and Implementing Authentication
164
WatchGuard Firebox System
5
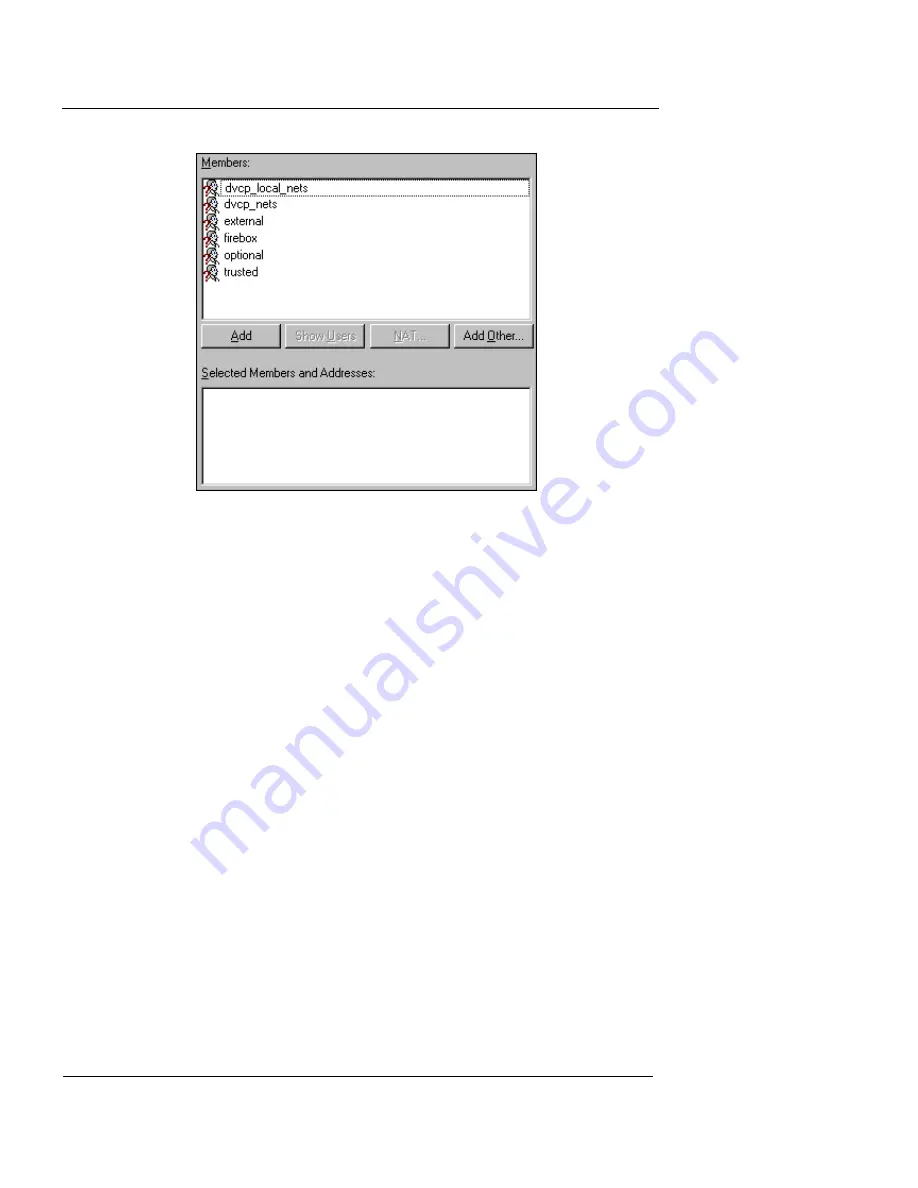
Define the alias by adding members. To add an existing
member, click the name in the
Members
list. Click
Add
.
6
To configure a new member, click
Add Other
.
The Add Member dialog box appears.
7
Use the
Choose Type
drop-down list to select a
category. In the
Value
text box, enter the address,
range, or host name. Click
OK
.
8
When you finish adding members, click
OK
.
The Host Alias dialog box appears listing the new alias. Click the
alias to view its members.
To modify an alias, select it, click
Edit,
and then add or
delete members.
To remove an alias, select it, click
Remove
, and then
remove the alias from
Properties
box of any services con-
figured to use the alias. For more information, see “Defin-
ing Service Properties” on page 124.
Summary of Contents for Firebox X1000
Page 1: ...WatchGuard Firebox System User Guide WatchGuard Firebox System...
Page 12: ...xii WatchGuard Firebox System...
Page 44: ...Chapter 2 Service and Support 22 WatchGuard Firebox System...
Page 61: ...Cabling the Firebox User Guide 39...
Page 68: ...Chapter 3 Getting Started 46 WatchGuard Firebox System...
Page 78: ...Chapter 4 Firebox Basics 56 WatchGuard Firebox System...
Page 156: ...Chapter 8 Configuring Filtered Services 134 WatchGuard Firebox System...
Page 182: ...Chapter 9 Configuring Proxied Services 160 WatchGuard Firebox System...
Page 220: ...Chapter 11 Intrusion Detection and Prevention 198 WatchGuard Firebox System...
Page 242: ...Chapter 12 Setting Up Logging and Notification 220 WatchGuard Firebox System...
Page 256: ...Chapter 13 Reviewing and Working with Log Files 234 WatchGuard Firebox System...
Page 274: ...Chapter 14 Generating Reports of Network Activity 252 WatchGuard Firebox System...


