Installing the Dektak 150 System
2-19
5
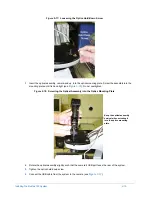
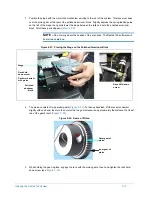
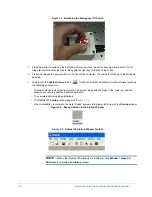
Turn the knob on the exchange tool so that the green dot is visible (
) and the magnet is
engaged.
6
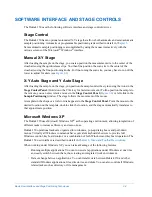
Holding the exchange tool from the edges, align its pins with the outside of the sensor. (Because this is a
precision alignment, you may want to practice several times without the stylus in the way.) Push up until the
tool is flush with the bottom of the sensor (see
Figure 2-25: Aligning the Exchange Tool with the Sensor
7
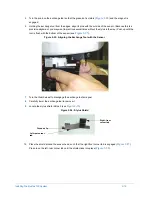
Turn the thumb wheel to disengage the exchange tool's magnet.
8
Carefully lower the exchange tool to remove it.
9
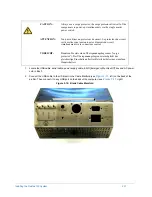
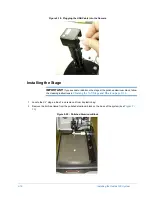
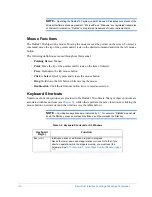
Locate the stylus shield in Box 3 (see
).
Figure 2-26: Stylus Shield
10
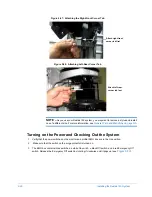
Place the shield around the sensor head, such that the right-front corner tab is engaged (
).
Press in on the left -rear corner tab until the shield clicks into place (
Ground clip
Left-rear corner
tab
Right- front
corner tab
Summary of Contents for Dektak 150
Page 1: ......
Page 7: ......
Page 17: ......
Page 81: ......
Page 105: ......
Page 149: ......
Page 191: ......
Page 251: ......
Page 257: ...A 6 Facilities Specifications Figure A 6 Dektak 150 without Enclosure Side View ...
Page 258: ...Facilities Specifications A 7 Figure A 7 Dektak 150 Dimensions without Enclosure Top View ...
Page 259: ...A 8 Facilities Specifications Figure A 8 Dektak 150 without Enclosure Center of Mass ...
Page 273: ......
Page 283: ......
Page 321: ......
Page 331: ......
Page 333: ......
Page 336: ......
Page 337: ......
Page 349: ......


