


2-18
Installing the Dektak 150 System
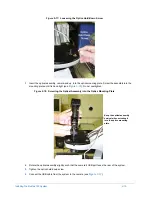
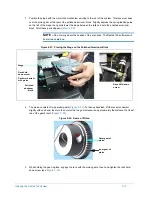
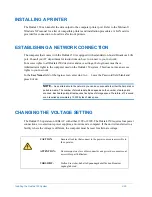
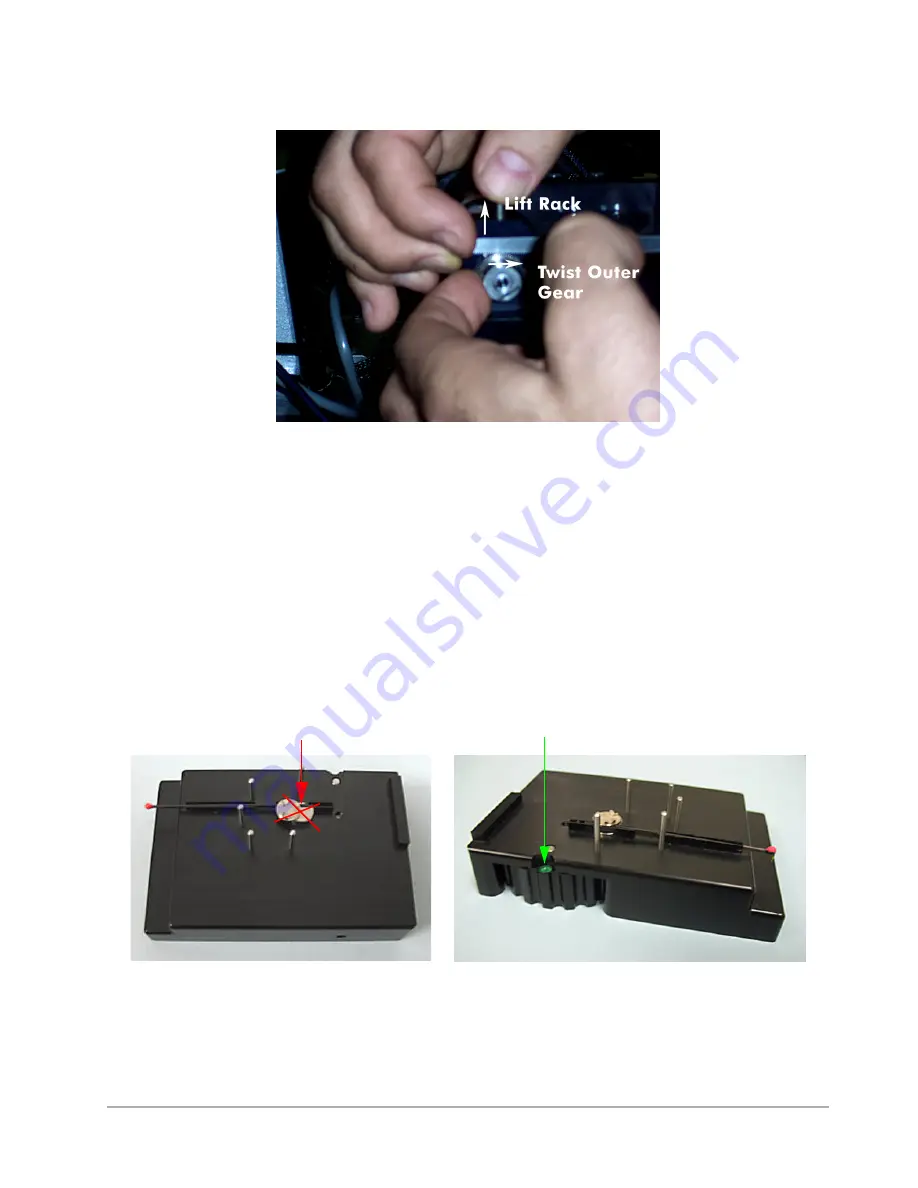
Figure 2-23: Adjusting the Anti-Backlash Gear Mechanism
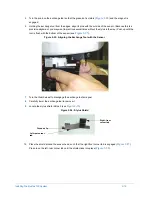
Installing the Stylus
1
Locate the stylus and stylus exchange tool in Box 3. Each stylus is shipped in its own protective plastic
case.
2
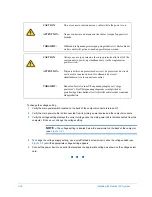
The exchange tool is designed to magnetically hold the stylus until it is seated in the sensor head. Turn the
thumb wheel on the exchange tool so that the green dot (see
) is NOT visible (that is, the
magnet is disengaged).
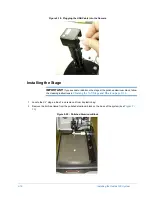
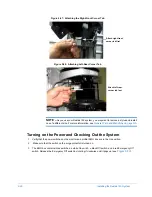
3
Open the stylus case, and gently remove the stylus. Lift the stylus by its central disk, not by the beam.
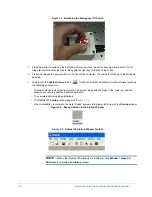
4
Place the stylus into the exchange tool, such that the round disk is aligned with the silver magnet on the
tool. The stylus arm must be centered within the long trench (see
). The stylus tip should point
down.
Figure 2-24: Alignment of Stylus and Stylus Exchange Tool
Stylus misaligned with exchange tool
Stylus correctly aligned with exchange tool
Green dot
Incorrect
position
Summary of Contents for Dektak 150
Page 1: ......
Page 7: ......
Page 17: ......
Page 81: ......
Page 105: ......
Page 149: ......
Page 191: ......
Page 251: ......
Page 257: ...A 6 Facilities Specifications Figure A 6 Dektak 150 without Enclosure Side View ...
Page 258: ...Facilities Specifications A 7 Figure A 7 Dektak 150 Dimensions without Enclosure Top View ...
Page 259: ...A 8 Facilities Specifications Figure A 8 Dektak 150 without Enclosure Center of Mass ...
Page 273: ......
Page 283: ......
Page 321: ......
Page 331: ......
Page 333: ......
Page 336: ......
Page 337: ......
Page 349: ......