4-6
Single Scan Operation
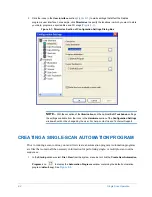
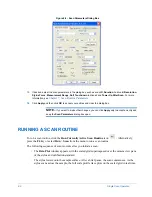
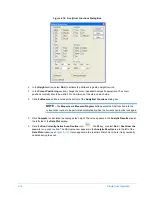
Figure 4-5: Scan Parameters Dialog Box
15
If desired, adjust the scan parameters in the dialog box, such as scan
ID
,
Duration
, horizontal
Resolution
,
Stylus Force
,
Measurement
Range, Soft Touchdown
(optional) and
Tower Up After Scan
. For more
information, see
Chapter 7, Scan Routine Parameters
16
Click
Apply
and then click
OK
to accept your entries and close the dialog box.
NOTE –
If you want to make other changes, you can click
Apply
only to accept an entry and
keep the
Scan Parameters
dialog box open.
RUNNING A SCAN ROUTINE
To run a scan routine, click the
Run Currently Active Scan Routine
icon
. Alternatively,
press the
F4
key or select
Run
>
Scan
from the menu to run a scan routine.
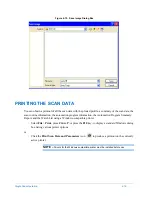
The following sequence of events occurs after you initiate a scan:
•
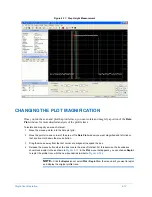
The
Data Plot
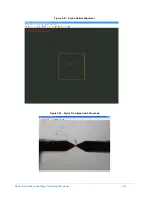
window appears with the scaled grid superimposed over the camera view pane
of the stylus and calibration standard.
•
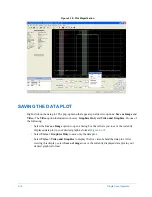
The stylus lowers onto the sample surface. After a brief pause, the scan commences. As the
stylus scans across the sample, the full scale profile trace plots on the scaled grid in real time.
Summary of Contents for Dektak 150
Page 1: ......
Page 7: ......
Page 17: ......
Page 81: ......
Page 105: ......
Page 149: ......
Page 191: ......
Page 251: ......
Page 257: ...A 6 Facilities Specifications Figure A 6 Dektak 150 without Enclosure Side View ...
Page 258: ...Facilities Specifications A 7 Figure A 7 Dektak 150 Dimensions without Enclosure Top View ...
Page 259: ...A 8 Facilities Specifications Figure A 8 Dektak 150 without Enclosure Center of Mass ...
Page 273: ......
Page 283: ......
Page 321: ......
Page 331: ......
Page 333: ......
Page 336: ......
Page 337: ......
Page 349: ......

