2-8
Installing the Dektak 150 System
Removing the Shipping Brackets from the Profiler
1
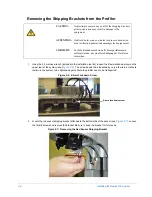
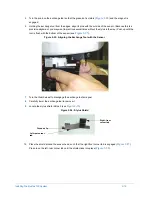
Using the 2.5 mm hex wrench (included in the installation tool kit), loosen the Z-axis lockdown screw on the
upper rear of the system (see
). The screw needs to be loosened by only a few turns. It should
remain in the system, to be tightened again should the profiler need to be transported.
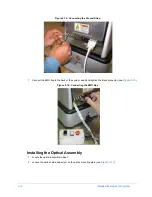
Figure 2-6: Z-Axis Lockdown Screw
2
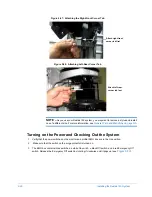
Locate the red sensor shipping bracket attached to the bottom side of the sensor (see
). Loosen
the thumb screws and remove the bracket. Be sure to keep the bracket for future use.
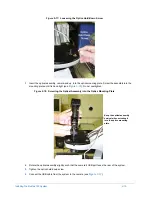
Figure 2-7: Removing the Red Sensor Shipping Bracket
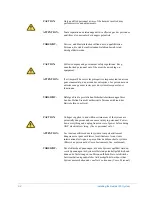
CAUTION:
Neglecting to remove any or all of the shipping brackets
prior to operation may result in damage to the
equipment.
ATTENTION:
Oublier d’enlever une ou toutes les pinces de maintien
avant utilisation pourrait endommager les équipements.
VORSICHT:
Vor Inbetriebnahme müssen alle Transportklammern
entfernt werden, um eine Beschädigung des Gerätes zu
vermeiden.
Z-axis lockdown screw
Summary of Contents for Dektak 150
Page 1: ......
Page 7: ......
Page 17: ......
Page 81: ......
Page 105: ......
Page 149: ......
Page 191: ......
Page 251: ......
Page 257: ...A 6 Facilities Specifications Figure A 6 Dektak 150 without Enclosure Side View ...
Page 258: ...Facilities Specifications A 7 Figure A 7 Dektak 150 Dimensions without Enclosure Top View ...
Page 259: ...A 8 Facilities Specifications Figure A 8 Dektak 150 without Enclosure Center of Mass ...
Page 273: ......
Page 283: ......
Page 321: ......
Page 331: ......
Page 333: ......
Page 336: ......
Page 337: ......
Page 349: ......

