7-6
WA R N IN G :
B U R N H A ZA R D
Components may be hot! Be certain the
“UPPER SOIL PROBE TEMP” and “UPPER SOIL
VALVE TEMP” are OFF and the parts are cool
before continuing.
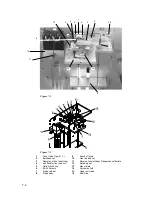
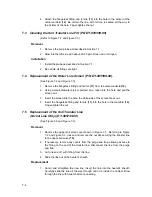
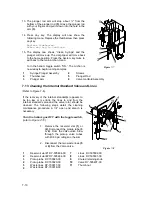
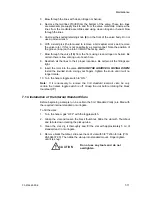
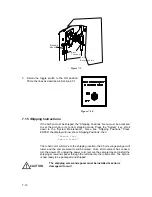
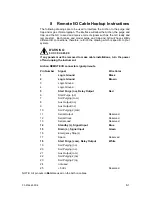
1. Remove the soil probe cover. Disconnect the short line (16) going into the
heated upper soil valve (15). Attach the tubing from a flow meter to the line.
Load a clean vial with a new septum in the tray and run it as a manual soil
sample. Check the flow rate out of the line. It should be the same as the flow
from the soil probe bulkhead nut (2).
2. If the two flow rates are not equal, replace the vial and septum and repeat the
soil purge. If the flows still do not match, the soil probe may be damaged and
should be replaced. See Section 7.1.
3. If the flows do match, check the flow coming out of the upper soil valve (15).
A “jig” should be made to test the flow. Remove the transfer line (4) from the
upper soil valve. Using a 2-3" (5.0 cm - 7.5 cm) piece of 1/16" OD stainless
steel tubing, a Valco nut and a two piece compression ferrule, insert the jig
into the valve and tighten. Measure the purge flow out of the jig. The flow
should be equal to the flow from the shortline (6).
4. If the flows do not match, the upper soil valve is leaking, and it should be
replaced.
5. If the flows do match, the fitting on the end of the soil transfer line in the
purge and trap may be leaking, or a leak exists within the purge and trap.
6. Reattach the transfer line into the upper soil valve and recheck the flow at the
host purge and trap vent. If the flows do not match, check the fitting, on the
soil transfer line, in the purge and trap, and leak check the host purge and
trap per its recommendations.
7. Using isopropanol and water, recheck all the fittings again to insure that they
are leak tight. Once these steps have been completed and the flow rates now
match, the system is leak tight and ready for use.
7.9
Replacement of the Heated Upper Soil Valve
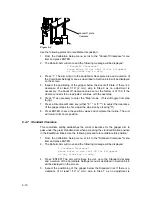
Use the following procedure to replace the upper soil valve, refer to Figure 7-2
and Figure 7-3.
WA R N IN G :
S H O C K H A ZA R D
Disconnect instrument from power source
before proceeding.
1. Turn off the power to the instrument and remove the power cable.
2. Remove the rear panel by loosening the two quarter-turn fasteners located at
the top of the panel.
3. Remove the Upper Soil Valve cover by loosening the front screw with a 3/32”
Allen wrench. Also, remove the upper soil probe.
4. Loosen and remove the two 1/16” lines (16) installed in the valve using a ¼”
wrench. Remove the three screws under the valve plate (13) and the two
screws on the right of the valve.

