2-8
Tools required are: 1/4", 2 ea. 5/16" open end wrenches, small flat blade
screwdriver, 9/64" and 3/32" Allen wrenches, and small needle nose pliers.
The installation of the Archon involves four primary steps. Note: All steps do not
apply to every purge and trap. Installation to each instrument is explained in detail
in later sections.
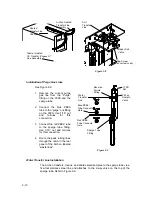
1. Installation of the four way “cross” fitting in the 2000 and 3000 valve oven.
2. Installation of the Archon heated soil transfer line.
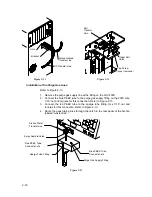
3. Installation of the PEEK tubing for purge gas cut off.
4. Installation of the water transfer line.
The Archon installation kit contains various nuts, ferrules, and fittings shipped in
the smaller carton with the Archon. Examine the contents of the carton to confirm
that all items are correct. Refer to Sections 2.1 through 2.3 for unpacking and
component details.
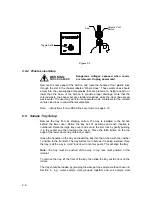
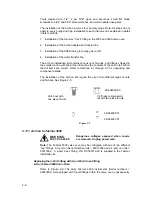
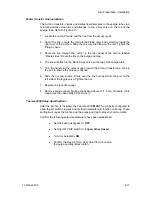
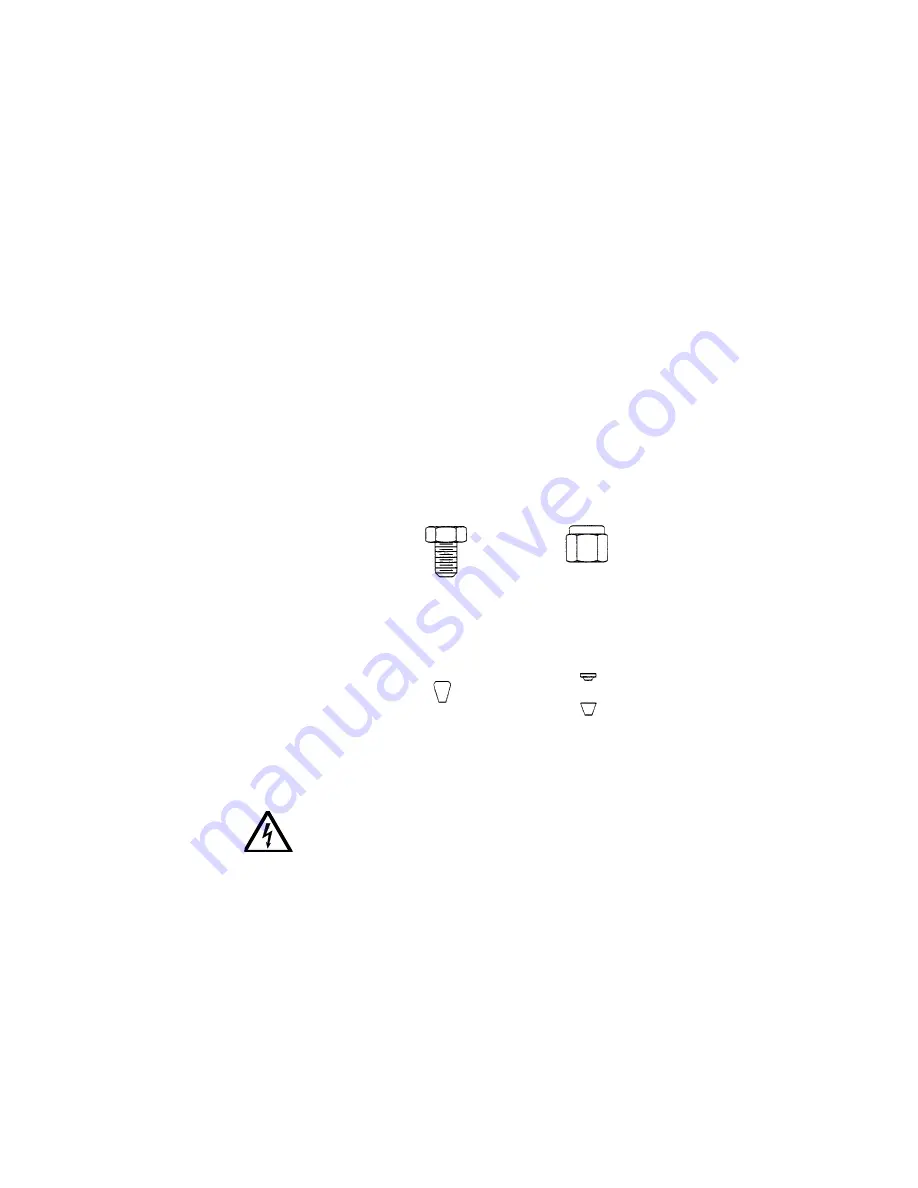
The installation of the Archon will require the use of two different types of nuts
and ferrules. See Figure 2-5.
Figure 2-5
2.11.1 Archon to Tekmar 3000
WA R N IN G :
S H O C K H A ZA R D
Dangerous voltages exposed when covers
are removed. Unplug power cord.
Note: The Tekmar 3000 valve oven may be configured with one of two different
“tee” fittings. A 3-port on Serial Number units < 95073002 and a 4-port on units >
95073002. A 4-port cross fitting, P/N DY-505716-00 is supplied in the Tekmar
installation kit.
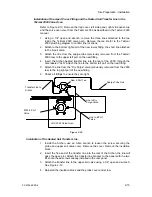
Replacing the 3-Port Fitting with the 4-Port Cross Fitting
in the Tekmar 3000 Valve Oven
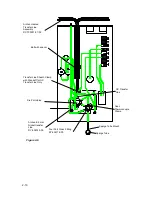
Refer to Figure 2-6. The early Tekmar 3000 instruments (Serial numbers <
95073002) were shipped with 3-port fittings within the valve oven; consequently,
1/8 “brass compression
nut with two piece ferrule.
Valco nut with
one piece ferrule
28-694029-00
28-694028-01
28-694027-01

