Site Preparation / Installation
03-914642-00:6
2-11
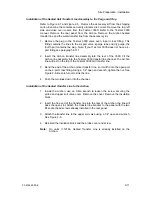
Installation of the Heated Soil Transfer Line Assembly to the Purge and Trap
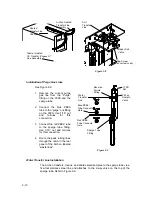
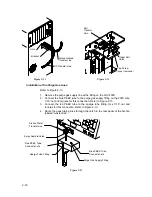
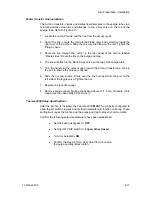
Refer to Figure 2-7 and Figure 2-8. Remove the accessory kit from the shipping
carton. Examine the contents and verify all items are correct. Remove the top, left
side and valve oven covers from the Tekmar 3000. Refer to the Tekmar 3000
manual. Remove the rear panel from the Archon. Remove the Archon heated
transfer line and the water transfer line from the accessory kit.
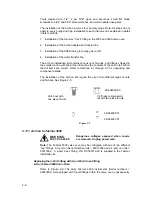
1. Remove the plug in the Tekmar 3000 valve oven, 4-port cross fitting. This
fitting contains the lines to the six port valve, sparge tube and dry purge, the
fourth port contains the plug. Note: If your Tekmar 3000 does not have a 4-
port fitting see paragraph 2.11.1.
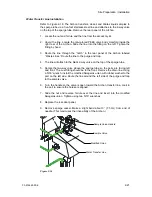
2. Insert the Archon transfer line assembly into the rear of the 3000. Fit the
Archon line assembly into the Tekmar 3000 transfer line channel. The Archon
line will rest on the top of the Tekmar 3000 GC transfer line.
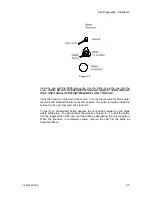
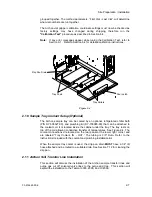
3. Bend the end of the Archon nickel transfer line, so it will fit into the open port
on the 4-port cross fitting. Using a 1/4" open end wrench, tighten the nut. See
Figure 2-6. Be careful not to kink the line.
4. Push the two lines down into the channel.
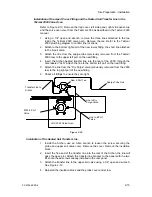
Installation of the Heated Transfer Line to the Archon
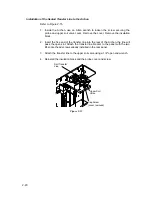
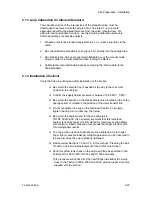
1. Inside the Archon, use an Allen wrench to loosen the screw securing the
probe and upper soil valve cover. Remove the cover. Remove the insulation
block.
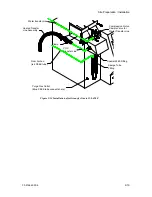
2. Insert the free end of the transfer line into the rear of the Archon, the line will
pass the open slot. Attach the transfer line bracket to the panel with the two
#4 socket head screws already installed in the rear panel.
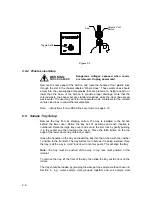
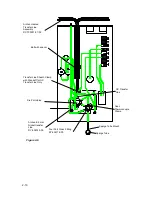
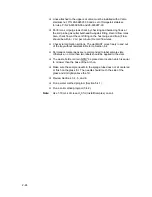
3. Attach the transfer line to the upper soil valve using a 1/4" open end wrench.
See Figure 2-8.
4. Reinstall the insulation block and the probe cover and screw.
Note:
On units =>12146, Heated Transfer Line is already installed on the
Archon.


