Sending Functions
6-6
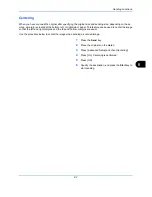
Zoom
Scans the original by automatically zooming it depending on the sending size.
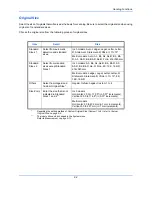
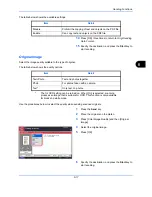
The table below lists the available options.
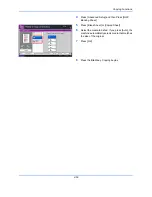
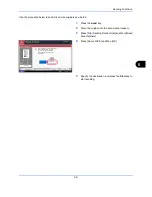
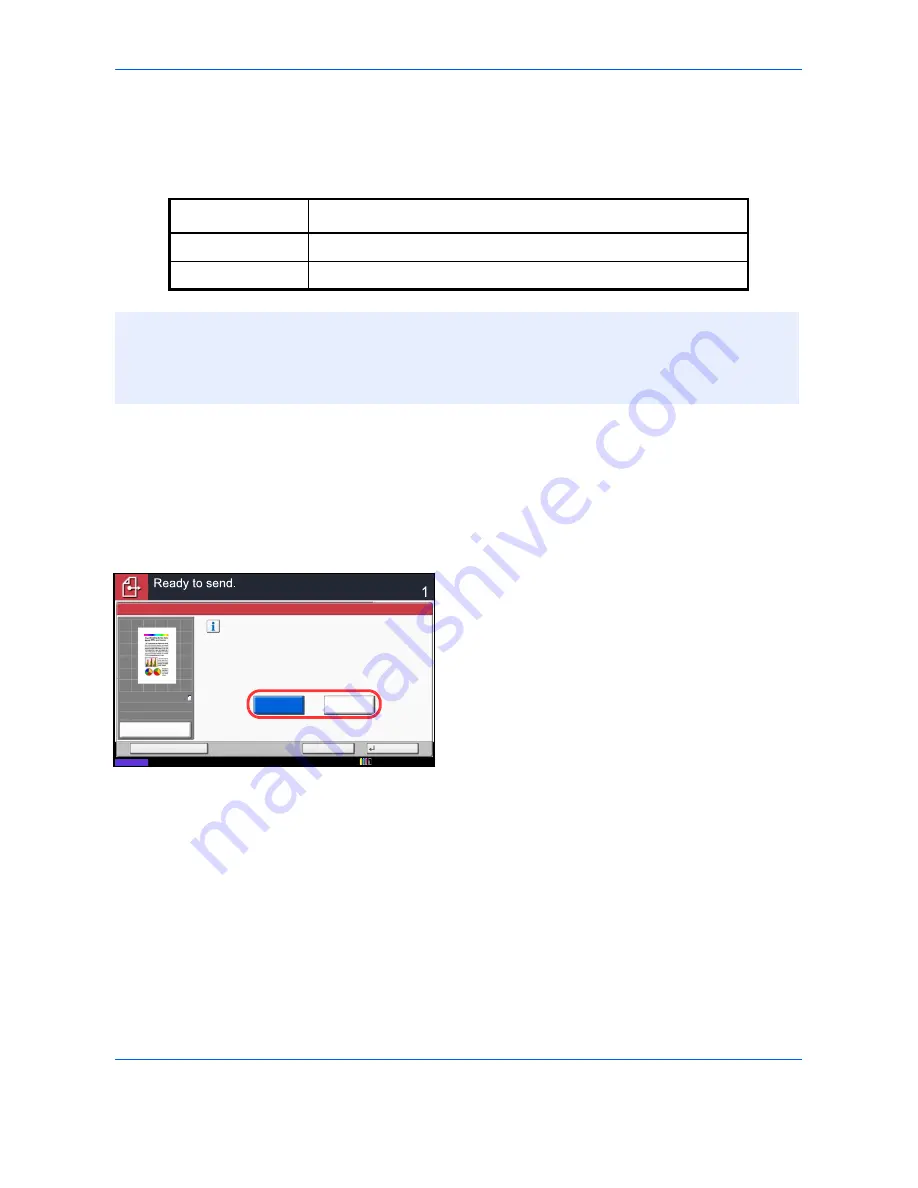
Use the procedure below to enlarge or reduce the original to match the transmission size.
1
Press the
Send
key.
2
Place the originals on the platen.
3
Select the transmission size.
4
Press [Advanced Setup] and then [Zoom].
5
Press [100%] or [Auto].
6
Press [OK].
7
Specify the destination, and press the
Start
key to
start sending.
Item
Detail
100%
No Zoom (to be scanned at actual size)
Auto
Zoomed automatically according to the specified sending size.
NOTE:
When zooming in or out, see
Sending Size on page 6-4
when selecting the sending size.
Depending on the combination of original size and sending size, the image is placed at the edge of the paper.
To select the original size vertically and horizontally on the page, use the centering setting described in
Centering on page 6-7
.
Enlarge or reduce the original.
[100%]: Produce at actual size.
[Auto]: Enlarge or reduce to match the required size.
Auto
Zoom
100%
Status
Cancel
OK
Add Shortcut
Destination
100%
A4
A4
Preview
Original
Zoom
Send
:
:
:
12/12/2011 10:10
Summary of Contents for 2550ci
Page 1: ...2550ci Copy Print Scan Fax A3 USER MANUAL DIGITAL MULTIFUNCTIONAL COLOUR SYSTEM ...
Page 254: ...Sending Functions 6 44 ...
Page 408: ...Default Setting System Menu 9 112 ...
Page 442: ...Management 10 34 ...
Page 480: ...Troubleshooting 12 26 5 Push the fuser cover back in place and close right cover 1 ...
Page 488: ...Troubleshooting 12 34 ...
Page 491: ...Appendix 3 Key Counter DT 730 Document Table ...
Page 516: ...Appendix 28 ...
Page 528: ...Index Index 12 ...
Page 529: ......


