4-110
Using the Operation Panel
3
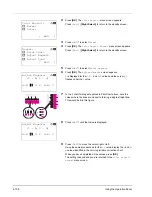
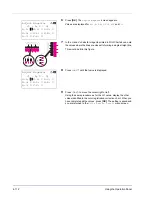
Press
U
or
V
to select
Detail
.
4
Press
[OK]
. The
Color Regist.
Detail
menu screen appears.
Press
[Exit]
(
[Right Select]
) to return to the standby screen.
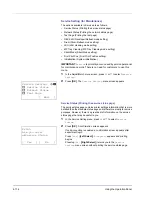
5
Press
U
or
V
to select
Print Chart
.
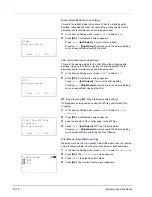
6
Press
[OK]
. A confirmation screen appears.
Press
[Yes]
(
[Left Select]
).
Completed
appears and printing
begins.
Pressing
[No]
(
[Right Select]
) returns you to the
Color Regist.
Detail
menu screen without printing the registration chart.
If Job Accounting is enabled, a confirmation screen appears after
department login.
If Job Accounting is enabled, also enter the account ID.
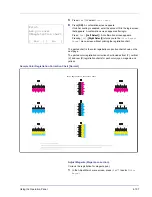
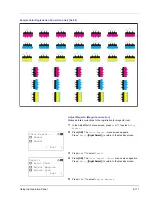
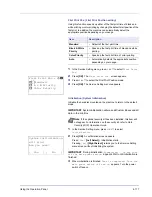
The printed chart is the color registration correction chart shown on the
next page.
There are
H-1
to
H-7
(upper part) and
V-1
to
V-5
(lower part) registration
charts for each color (cyan, magenta and yellow) included on the color
registration correction chart.
Detail:
a
b
1
Print Chart
2
Adjust Magenta
3
Adjust Cyan
[ Exit
]
Print.
Are you sure?
z
Registration chart
[
Yes
] [
No ]
Summary of Contents for CLP 4550
Page 1: ...Instruction Handbook CLP 4550 Colour Printer ...
Page 26: ...1 6 MachineParts ...
Page 40: ...2 14 PrintingOperation ...
Page 68: ...4 12 Using the Operation Panel Menu Map Sample Menu Map Printer Firmware version ...
Page 174: ...4 118 Using the Operation Panel ...
Page 184: ...5 10 Maintenance 6 Press the specified position to close left cover 1 ...
Page 212: ...6 28 Troubleshooting ...
Page 226: ...A 14 ...
Page 230: ...Glossary 4 ...
Page 234: ...Index 4 ...
Page 235: ...A1 ...
Page 236: ...UTAX GmbH Ohechaussee 235 22848 Norderstedt Germany ...


