4-74
Using the Operation Panel
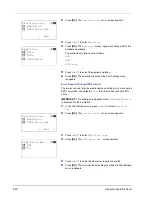
Press
U
or
V
to increase or decrease, respectively, the value at the
blinking cursor.
4
Press
[OK]
. The date is set and the Date Setting menu reappears.
Time (time setting)
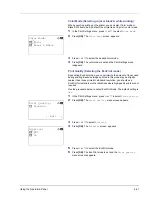
1
In the Date Setting menu, press
U
or
V
to select
Time
.
2
Press
[OK]
. The
Time
screen appears.
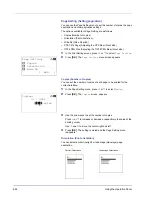
3
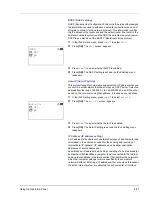
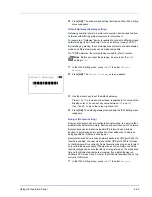
Use the arrow keys to set the hour, minute, and second.
Use
Y
and
Z
to move the cursor right and left.
Press
U
or
V
to increase or decrease, respectively, the value at the
blinking cursor.
4
Press
[OK]
. The time is set and the Date Setting menu reappears.
Date Format (date format selection)
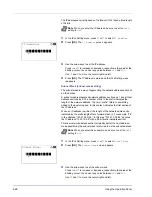
One of three formats can be selected for the date format.
1
In the Date Setting menu, press
U
or
V
to select
Date Format
.
2
Press
[OK]
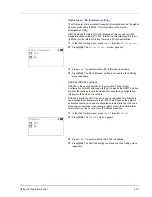
. The
Date Format
screen appears.
3
Press
U
or
V
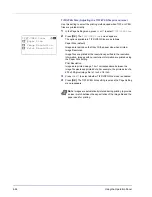
to select the desired date format.
The following date formats can be selected:
Month/Day/Year
Day/Month/Year
Year/Month/Day
4
Press
[OK]
. The date format is set and the Date Setting menu
reappears.
Time:
a
b
Hour Min. Second
/11-
: 45 : 50
M
[ Exit
]
Date Format:
a
b
1
*Month/Day/Year
2
Day/Month/Year
3
Year/Month/Day
[ Exit
]
Summary of Contents for CLP 4550
Page 1: ...Instruction Handbook CLP 4550 Colour Printer ...
Page 26: ...1 6 MachineParts ...
Page 40: ...2 14 PrintingOperation ...
Page 68: ...4 12 Using the Operation Panel Menu Map Sample Menu Map Printer Firmware version ...
Page 174: ...4 118 Using the Operation Panel ...
Page 184: ...5 10 Maintenance 6 Press the specified position to close left cover 1 ...
Page 212: ...6 28 Troubleshooting ...
Page 226: ...A 14 ...
Page 230: ...Glossary 4 ...
Page 234: ...Index 4 ...
Page 235: ...A1 ...
Page 236: ...UTAX GmbH Ohechaussee 235 22848 Norderstedt Germany ...

