Specifying the Remote Fax 51
Alphabet Dialing
This method allows you to select the remote Fax using an alphabetic index search of the loca-
tion IDs programmed into One Touch (up to 75 locations), Abbreviated Number Dialing (up to
300 locations) and Group Dialing (up to 50 groups) directories.
y
It is required to register the One Touch keys, abbreviated dial numbers and Group Dialing
numbers beforehand. (
P.156 “Abbreviated Dial Numbers”,
P.160 “One Touch Key Dial
Numbers”,
P.166 “Group Number Dialing”)
y
You can confirm the One Touch keys, abbreviated dial numbers and Group Dialing numbers
already registered. (
P.236 “Dialer list”)
5
Enter the abbreviated dial
number (1 to 999) assigned
to the desired remote Fax
and press the [ENTER] or
[START] button.
When setting originals on the glass
The abbreviated dial number and the name of the remote party appear on the
LCD display for about 2 seconds, and “BUILD FAX JOB” screen appears.
y
When you want to send multi-page originals with the current scanning condi-
tions unchanged, place the next original on the glass, and select “1. SCAN
NEXT ORIGINAL” on “BUILD FAX JOB” screen, then press the [ENTER] but-
ton. After finished scanning of the last page, select “3. COMPLETE” on
“BUILD FAX JOB” screen and press the [ENTER] button to send the originals.
y
When you want to change the scanning conditions for each page, select “2.
CHANGE CURRENT SETTINGS” on “BUILD FAX JOB” screen and press the
[ENTER] button.
For details of this operation, see the following page.
P.45 “Setting the Scanning Conditions for Each Page”
y
When you want to send single-page original, select “3. COMPLETE” on
“BUILD FAX JOB” screen and press the [ENTER] button to send the original.
When using the (Reversing) Automatic Document Feeder (optional)
The abbreviated dial number and the name of the remote party appear on the
LCD display for about 2 seconds, and the equipment automatically starts scan-
ning and sending the document.
y
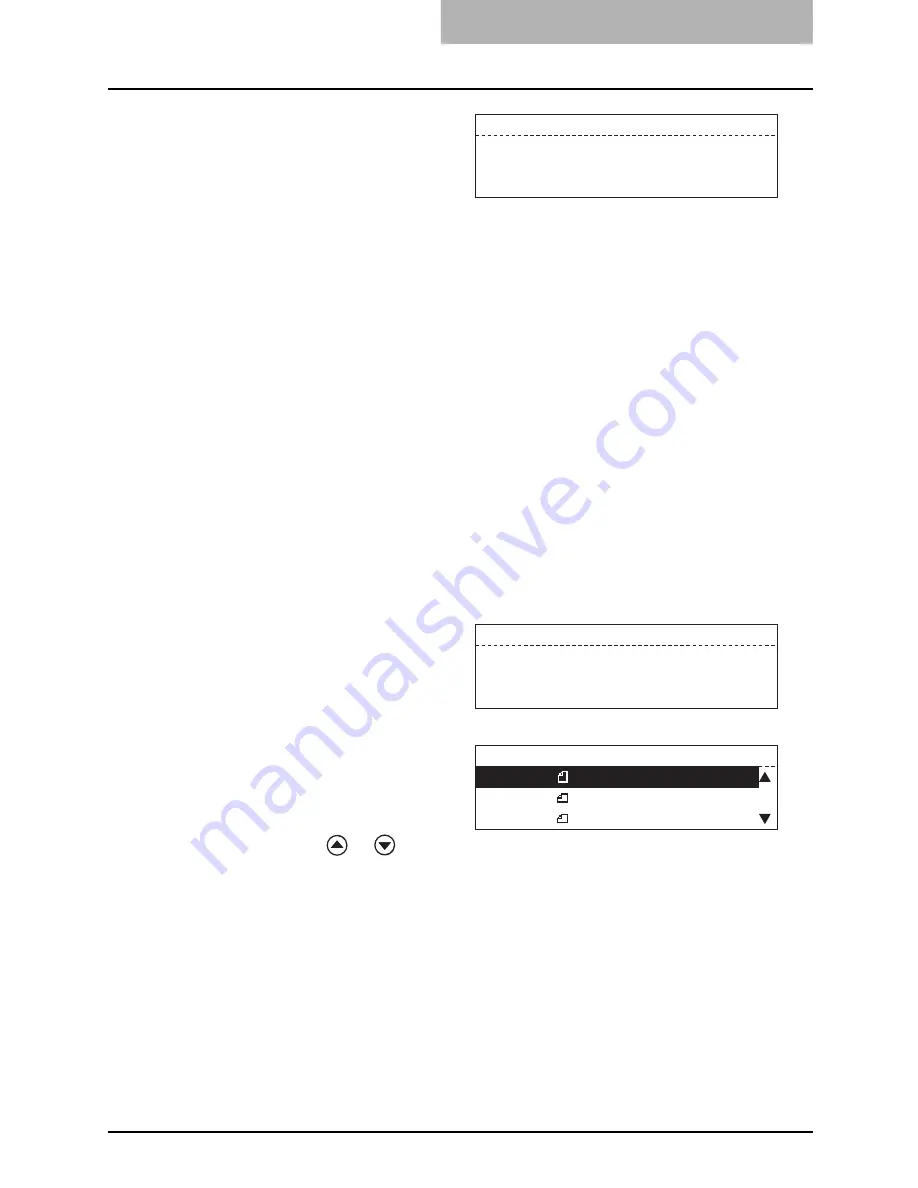
If an abbreviated dial number is
not programmed, the message
"Number not listed" is displayed
for 2 seconds and the display
returns to the previous status
screen.
y
The screen on the right may
appear when the equipment has
failed to detect the original size.
In this case, re-place the origi-
nal, or select the original size
using the
or
button and
press the [ENTER] button.
TELEPHONE NUMBERS LIST
Madrid Office
ABB. NUMBER: 007
TELEPHONE NUMBERS LIST
Number not listed
ABB. NUMBER: 085
Select original size
2.LD
3.LT-R
1.LT
Summary of Contents for GD-1221
Page 1: ...GD 1221 MULTIFUNCTIONAL DIGITAL SYSTEMS Operator s Manual for Facsimile Function ...
Page 2: ......
Page 9: ...Notice to Users 7 ...
Page 14: ......
Page 18: ...16 CONTENTS ...
Page 22: ......
Page 34: ...Canceling Transmissions 74 Canceling Reserved Memory Transmissions 76 ...
Page 248: ...5 ENTERING SETTING ITEMS 246 Printing List ...
Page 254: ......
Page 258: ......
Page 262: ...260 INDEX ...


