


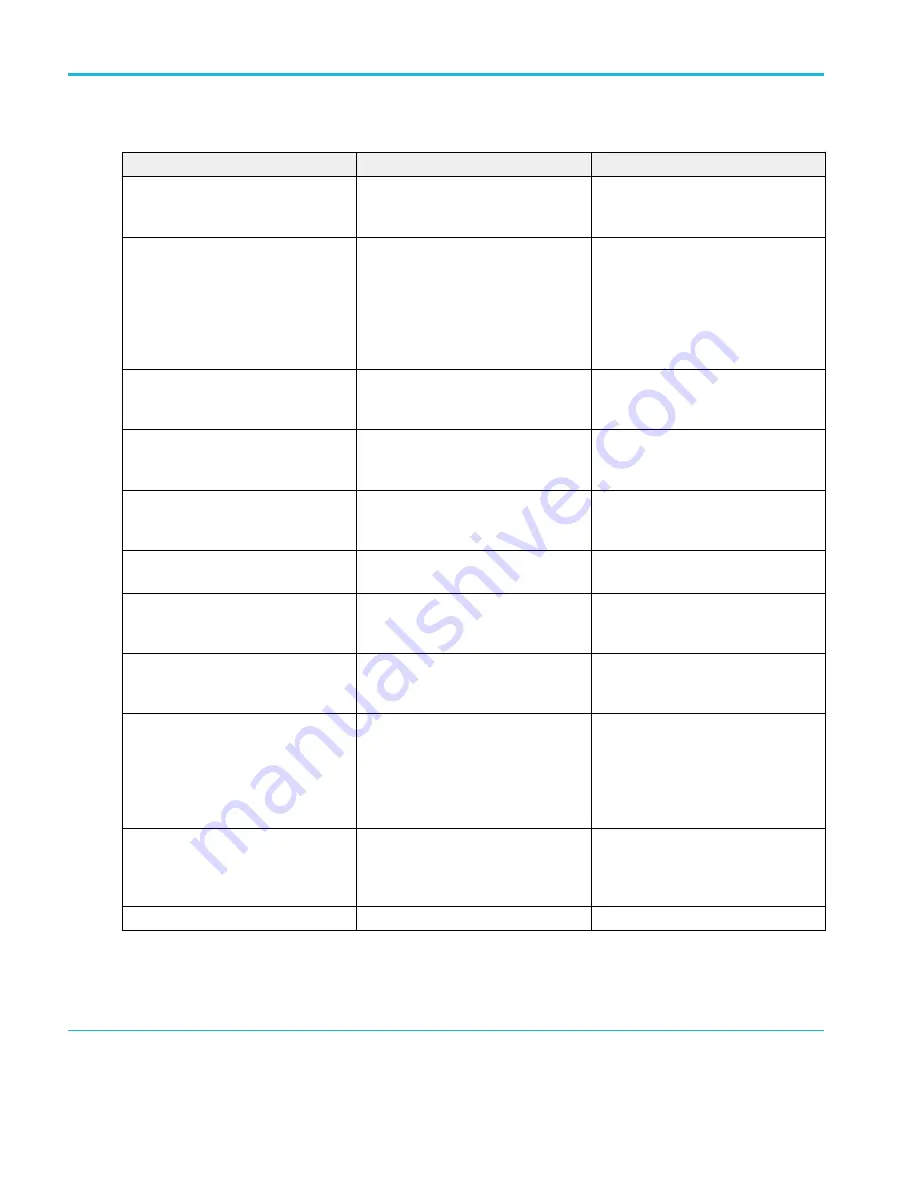
Table 6: Common touchscreen UI tasks (with mouse equivalents)
Task
Touchscreen UI action
Mouse action
Add a channel, math, reference, or bus
waveform to the screen.
Tap an inactive channel button, Add New
Math, Add New Reference, or Add New
Bus button.
Click an inactive channel button, Add
New Math, Add New Reference, or Add
New Bus button.
Select a channel, math, reference, or bus
waveform to make it active
Stacked or Overlay mode: Tap the
Channel or Waveform badge.
Stacked mode: Tap the channel, math,
reference, or bus waveform slice or
handle.
Overlay mode: Tap the channel or
waveform handle.
Stacked or Overlay mode: Left-click the
Channel or Waveform badge.
Stacked mode: Left-click the channel,
math, reference, or bus waveform slice or
handle.
Overlay mode: Left-click the channel or
waveform handle.
Display scale or navigation buttons on a
badge (waveform, measurement
2
,
search, horizontal).
Tap the badge.
Click the badge.
Open a configuration menu on any item
(all badges, views, cursor readouts,
labels, and so on).
Double-tap the badge, view, or other
object.
Double-click the badge, view, or other
object.
Open a right-click menu (badges, views). Touch and hold on the badge, Waveform
View, Plot view, or other screen item until
a menu opens.
Right-click the object.
Close a configuration menu
3
.
Tap anywhere outside the menu or
dialog.
Click anywhere outside the menu or
dialog.
Move a menu.
Touch and hold the menu title bar or a
blank area in the menu, then drag the
menu to new position.
Click and hold the right mouse button on
title or blank area, drag to new position.
Move a note
4
.
Touch and hold on a note and quickly
5
start to drag, then move to new position.
Click and hold the right mouse button on
the note and quickly start to drag, then
move to the new position.
Change horizontal or vertical settings
directly on a waveform.
Vertical changes only apply to the
selected channel or waveform; horizontal
changes apply to all channels and
waveforms.
Tap a badge and use the Scale buttons.
Touch and hold two fingertips on the
waveform view, move them together or
apart vertically or horizontally, lift from
screen; repeat.
Left-click a channel, waveform, or
Horizontal badge and click on the Scale
buttons.
Increase or decrease the zoom area
(while in Zoom mode)
Touch and hold two fingertips on the
waveform view, move them together or
apart vertically or horizontally, lift from
screen; repeat.
Click the + or - buttons on the Zoom Title
bar.
Click the Draw-a-Box button, draw a box
around the waveform area of interest.
Quickly scroll or pan a waveform or list.
Touch and drag in the waveform or list.
Click and drag in the waveform or list.
2
Not all measurement or search badges display navigation buttons.
3
Some dialog boxes will not close until you click an OK, Close, or other button in the dialog.
4
Notes are screen objects and are not associated with any particular waveform channel or slice.
5
Start to move the note as soon as selected (highlighted), otherwise the UI opens the right-click menu.
Getting acquainted with your instrument
62
MSO54, MSO56, MSO58, MSO58LP, MSO64 Help
Summary of Contents for 6 series
Page 24: ...Product documents and support 4 MSO54 MSO56 MSO58 MSO58LP MSO64 Help ...
Page 42: ...Options 22 MSO54 MSO56 MSO58 MSO58LP MSO64 Help ...
Page 54: ...Install your instrument 34 MSO54 MSO56 MSO58 MSO58LP MSO64 Help ...
Page 84: ...Getting acquainted with your instrument 64 MSO54 MSO56 MSO58 MSO58LP MSO64 Help ...
Page 102: ...Configure the instrument 82 MSO54 MSO56 MSO58 MSO58LP MSO64 Help ...
Page 148: ...Advanced triggering 128 MSO54 MSO56 MSO58 MSO58LP MSO64 Help ...
Page 154: ...Zooming on waveforms 134 MSO54 MSO56 MSO58 MSO58LP MSO64 Help ...
Page 438: ...Waveform acquisition concepts 418 MSO54 MSO56 MSO58 MSO58LP MSO64 Help ...
Page 448: ...Waveform display concepts 428 MSO54 MSO56 MSO58 MSO58LP MSO64 Help ...
Page 518: ...Index 498 MSO54 MSO56 MSO58 MSO58LP MSO64 Help ...


