


Maintenance, Service, and Repair
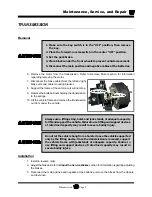
Transmission
Page 8
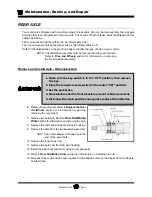
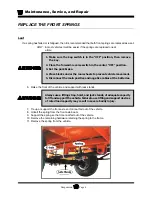
Replace the Axle Bearing
NOTE: The axle must be removed from the transmission for this procedure.
Refer to
Remove and Install Axle
for information regarding
removing the rear axle.
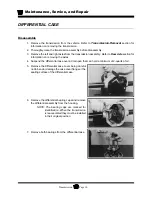
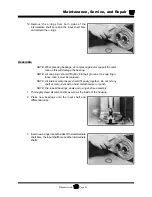
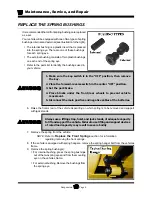
Removable Hub:
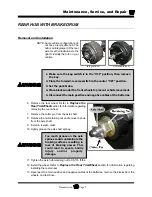
1. Remove the hub from the axle shaft. Refer to
Rear Hub/Brake Drum
for information regarding
removing the hub.
2. Press the axle bearing off of the axle shaft and discard.
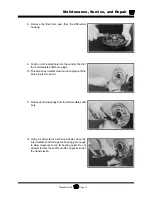
3. Press a new bearing onto the axle shaft.
4. If the axle is not to be immediately installed into a vehicle, pack the bearing with grease and
wrap it in plastic to prevent corrosion.
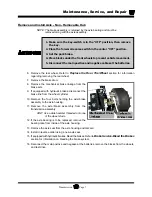
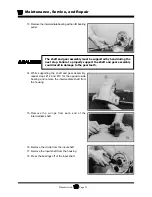
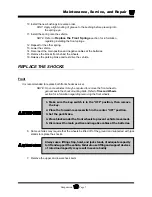
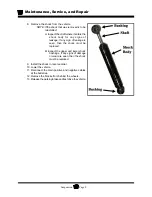
Non-Removable Hub
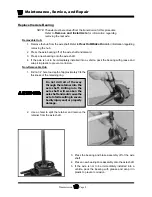
1. Drill a 1/4” hole to a depth of approximately 3/4 the
thickness of the retaining ring.
2. Use a chisel to split the retainer and remove the
retainer from the axle shaft.
Do not drill all of the way
through the retainer into the
axle shaft. Drilling into the
axle shaft will weaken the
axle shaft and could cause the
axle to fail resulting in severe
bodily injury and/or property
damage.
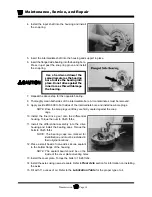
3. Press the bearing and brake assembly off of the axle
shaft.
4. Press a new bearing/race assembly onto the axle shaft.
5. If the axle is not to be immediately installed into a
vehicle, pack the bearing with grease and wrap it in
plastic to prevent corrosion.
Summary of Contents for B 1-50
Page 2: ......
Page 6: ...TAYLOR DUNN ...
Page 14: ...Model B 1 00 ...
Page 30: ...TAYLOR DUNN ...
Page 36: ...TAYLOR DUNN ...
Page 52: ...TAYLOR DUNN ...
Page 66: ...Maintenance Service and Repair Steering Page 14 Exploded View of Steering Gear ...
Page 90: ...TAYLOR DUNN ...
Page 124: ...TAYLOR DUNN ...
Page 130: ...TAYLOR DUNN ...
Page 161: ...Wire Diagrams ...
Page 194: ...Illustrated Parts PARTS PAGE 10 Front Suspension 4 3 2 1 5 10 6 8 9 7 11 12 ...
Page 202: ...Illustrated Parts PARTS PAGE 18 Motor 2 3 5 6 4 7 8 1 9 10 Armature 9 ...
Page 206: ...Illustrated Parts PARTS PAGE 22 Wheels and Tires Ref wheel hub 1 2 5 assembly 4 3 6 7 8 9 ...
Page 208: ...Illustrated Parts PARTS PAGE 24 Instrument Panel dash ...
Page 217: ...Illustrated Parts PARTS PAGE 33 This page intentionaly left blank ...
Page 220: ...Illustrated Parts PARTS PAGE 36 Seat Cushions Deck and Lights B 1 50 ...
Page 222: ...Illustrated Parts PARTS PAGE 38 Seat Cushions Deck and Lights MX 1600 ...
Page 224: ...Illustrated Parts PARTS PAGE 40 Decals B 1 50 VIEW FROM INSIDE OF COWL 1 2 3 4 5 6 7 8 9 ...
Page 230: ...Illustrated Parts PARTS PAGE 46 Stake Sides B 1 50 1 2 3 4 5 6 7 8 ...


