Chapter 3
Maintaining the Netra X4200 M2 Server
95
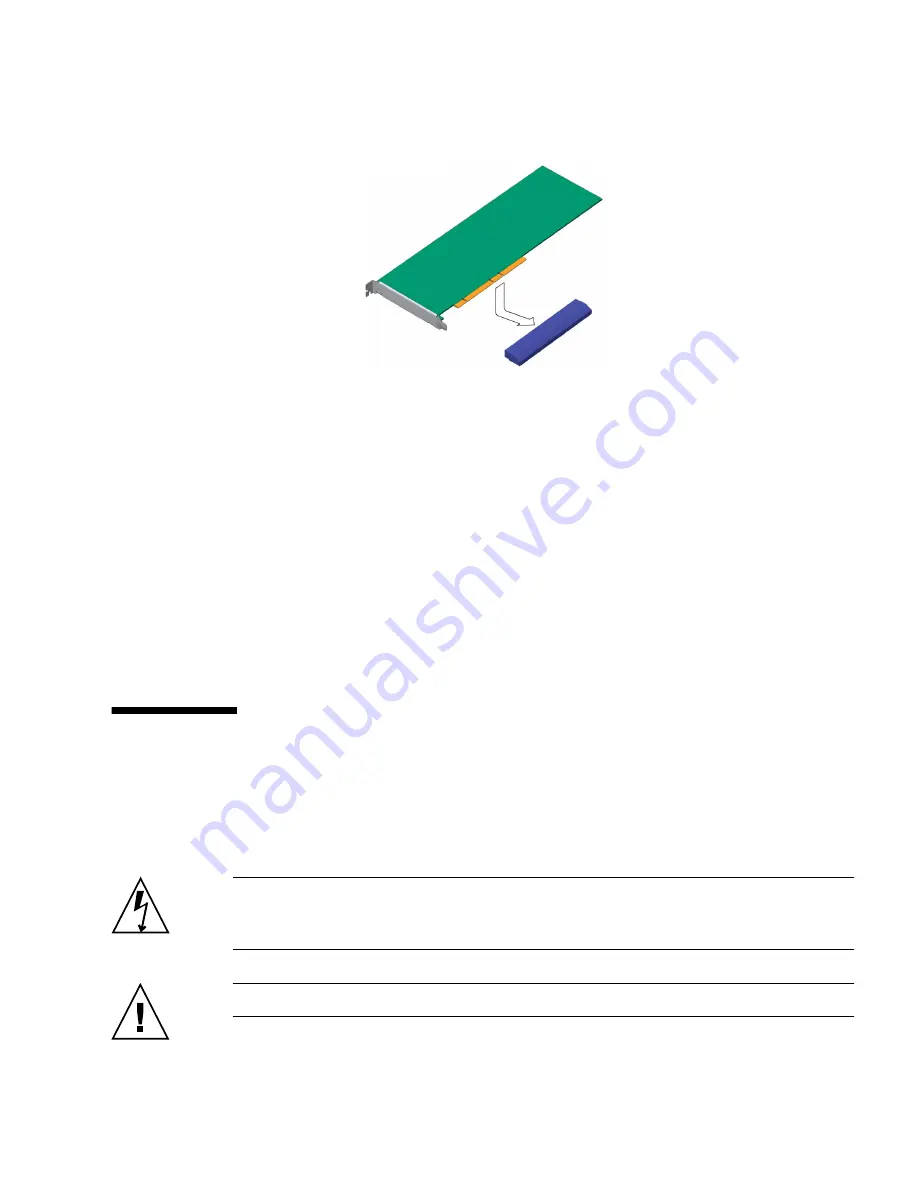
FIGURE 3-69
Installing the PCI-E Card Into the PCI Tray
6. Tighten the captive PCI-E card securing screw and adjust the green retention
latch.
7. Perform the following tasks to bring the server back online:
■
“Installing the PCI Tray” on page 108
■
“Installing the Top Cover” on page 126
■
“Removing Antistatic Measures” on page 127
■
“Reinstalling the Server Chassis in the Rack” on page 127
■
“Reconnecting Cables to the Server” on page 130
■
“Powering On the Server” on page 131
Replacing a Power Supply
The server’s redundant hot-pluggable power supplies enable you to remove and
replace a power supply without shutting the server down provided that the other
power supply is online and working.
Caution –
It is a violation of UL rules to add a DC power supply into a chassis that
does not have the DC label indicating the correct safety information. (There is no
functional difference that would prevent this, aside from the DC label.)
Caution –
Do
not
mix AC and DC power supplies in the same server.
Summary of Contents for Netra X4200 M2
Page 10: ...x Netra X4200 M2 Server Service Manual May 2007...
Page 14: ...xiv Netra X4200 M2 Server Service Manual May 2007...
Page 24: ...10 Netra X4200 M2 Server Service Manual May 2007...
Page 46: ...32 Netra X4200 M2 Server Service Manual May 2007 Sun ESD mat part number 250 1088...
Page 133: ...Chapter 3 Maintaining the Netra X4200 M2 Server 119...
Page 134: ...120 Netra X4200 M2 Server Service Manual May 2007...
Page 146: ...130 Netra X4200 M2 Server Service Manual May 2007...
Page 154: ...138 Netra X4200 M2 Server Service Manual May 2007...
Page 172: ...156 Netra X4200 M2 Server Service Manual May 2007...


