Chapter 3
Maintaining the Netra X4200 M2 Server
91
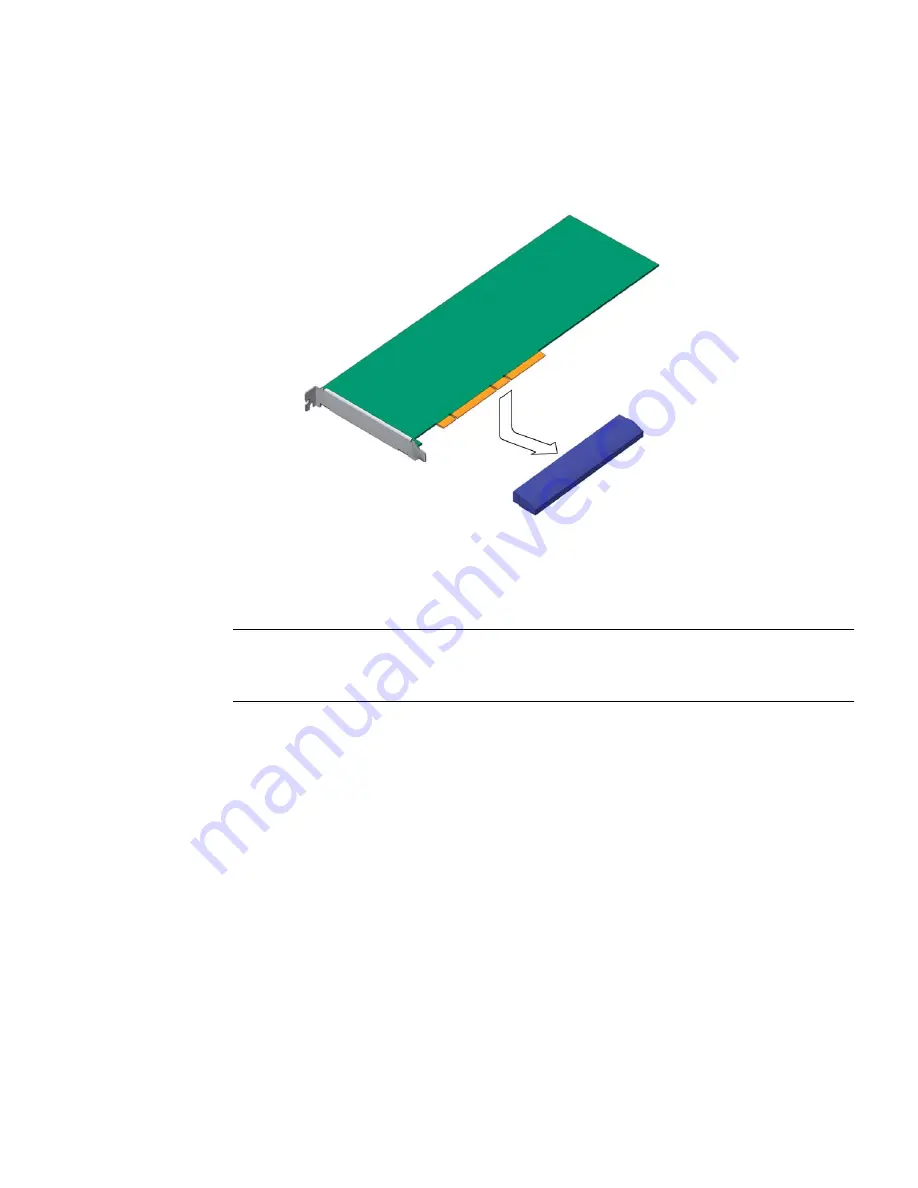
5. Lower the PCI-X card into position on the PCI tray, then slide it to the right to
seat it into the connector (
FIGURE 3-66
).
FIGURE 3-66
Installing the PCI-X Card Into the PCI Tray
6. Tighten the PCI-X card bracket screw.
Note –
The captive PCI card bracket screws are located on the sides of the PCI tray
assembly for PCI-E slot 0 and PCI-X slot 1 only. All other slots use green ertention
latches for securing plug-in cards.
7. Using a Philips screwdriver, remove and reposition green retention latches to
properly secure the installed option cards.
8. Perform the following tasks to bring the server back online:
■
“Installing the Top Cover” on page 126
■
“Removing Antistatic Measures” on page 127
■
“Reinstalling the Server Chassis in the Rack” on page 127
■
“Reconnecting Cables to the Server” on page 130
■
“Powering On the Server” on page 131
Summary of Contents for Netra X4200 M2
Page 10: ...x Netra X4200 M2 Server Service Manual May 2007...
Page 14: ...xiv Netra X4200 M2 Server Service Manual May 2007...
Page 24: ...10 Netra X4200 M2 Server Service Manual May 2007...
Page 46: ...32 Netra X4200 M2 Server Service Manual May 2007 Sun ESD mat part number 250 1088...
Page 133: ...Chapter 3 Maintaining the Netra X4200 M2 Server 119...
Page 134: ...120 Netra X4200 M2 Server Service Manual May 2007...
Page 146: ...130 Netra X4200 M2 Server Service Manual May 2007...
Page 154: ...138 Netra X4200 M2 Server Service Manual May 2007...
Page 172: ...156 Netra X4200 M2 Server Service Manual May 2007...


